Loading...
Loading...
Loading...
Loading...
Loading...
Loading...
Loading...
This section provides step by step instruction on how to use the Marketplace app.
Download and install the app now to get started.
The Marketplace App is a decentralized desktop application which provides an intuitive interface for the general community having limited technical background to easily participate in running worker nodes on their local machines.
It supports Windows, MacOS, and Ubuntu systems.
Download and install the Marketplace app on your machine from the download links provided in the official EWX Website.
Lifting is the process of migrating EWTs from Energy Web Chain (EWC) to Energy Web X (EWX).
Lifted tokens take approximately 30 minutes to reflect in your EWX account after successful transaction from the Marketplace app.
Lowering is the process of migrating EWTs from Energy Web X (EWX) to Energy Web Chain (EWC).
Lowered tokens take approximately 24 hours to reflect in your EWC account after successful transaction from the Marketplace app.
Server-based worker node accounts can be created manually or generated from Launchpad. In any case, below are the steps to guide you on how to setup your account.
Operator Account - an EWX account which serves as the main account of the operator to be used in EWT management (lifting/lowering), subscriptions, rewards, etc
Worker Node Account - an EWX account with the sole purpose of casting votes on behalf of the operator
Marketplace Desktop App - download the latest version from https://www.energywebx.com/
Public Address of the Worker Node Account - the worker node account must already be created from Launchpad or from any wallet which supports EWX
Operator Account with enough EWT balance - create an account from any wallet which supports EWX and make sure to lift enough EWT for signing-up as operator, linking worker account to operator, opting-in to solution groups, etc
To sign-up as an operator, you must prepare your "operator" EWX account. This account is just a normal account created on EWX network via any supported Polkadot wallet. For now, we suggest to use Sub Wallet or Nova Wallet. Make sure to always keep your seedphrase copied and secured elsewhere. In addition, please ensure that your operator account has sufficient EWT balance to proceed with any on-chain transaction.
Please follow below steps to sign-up as an operator.
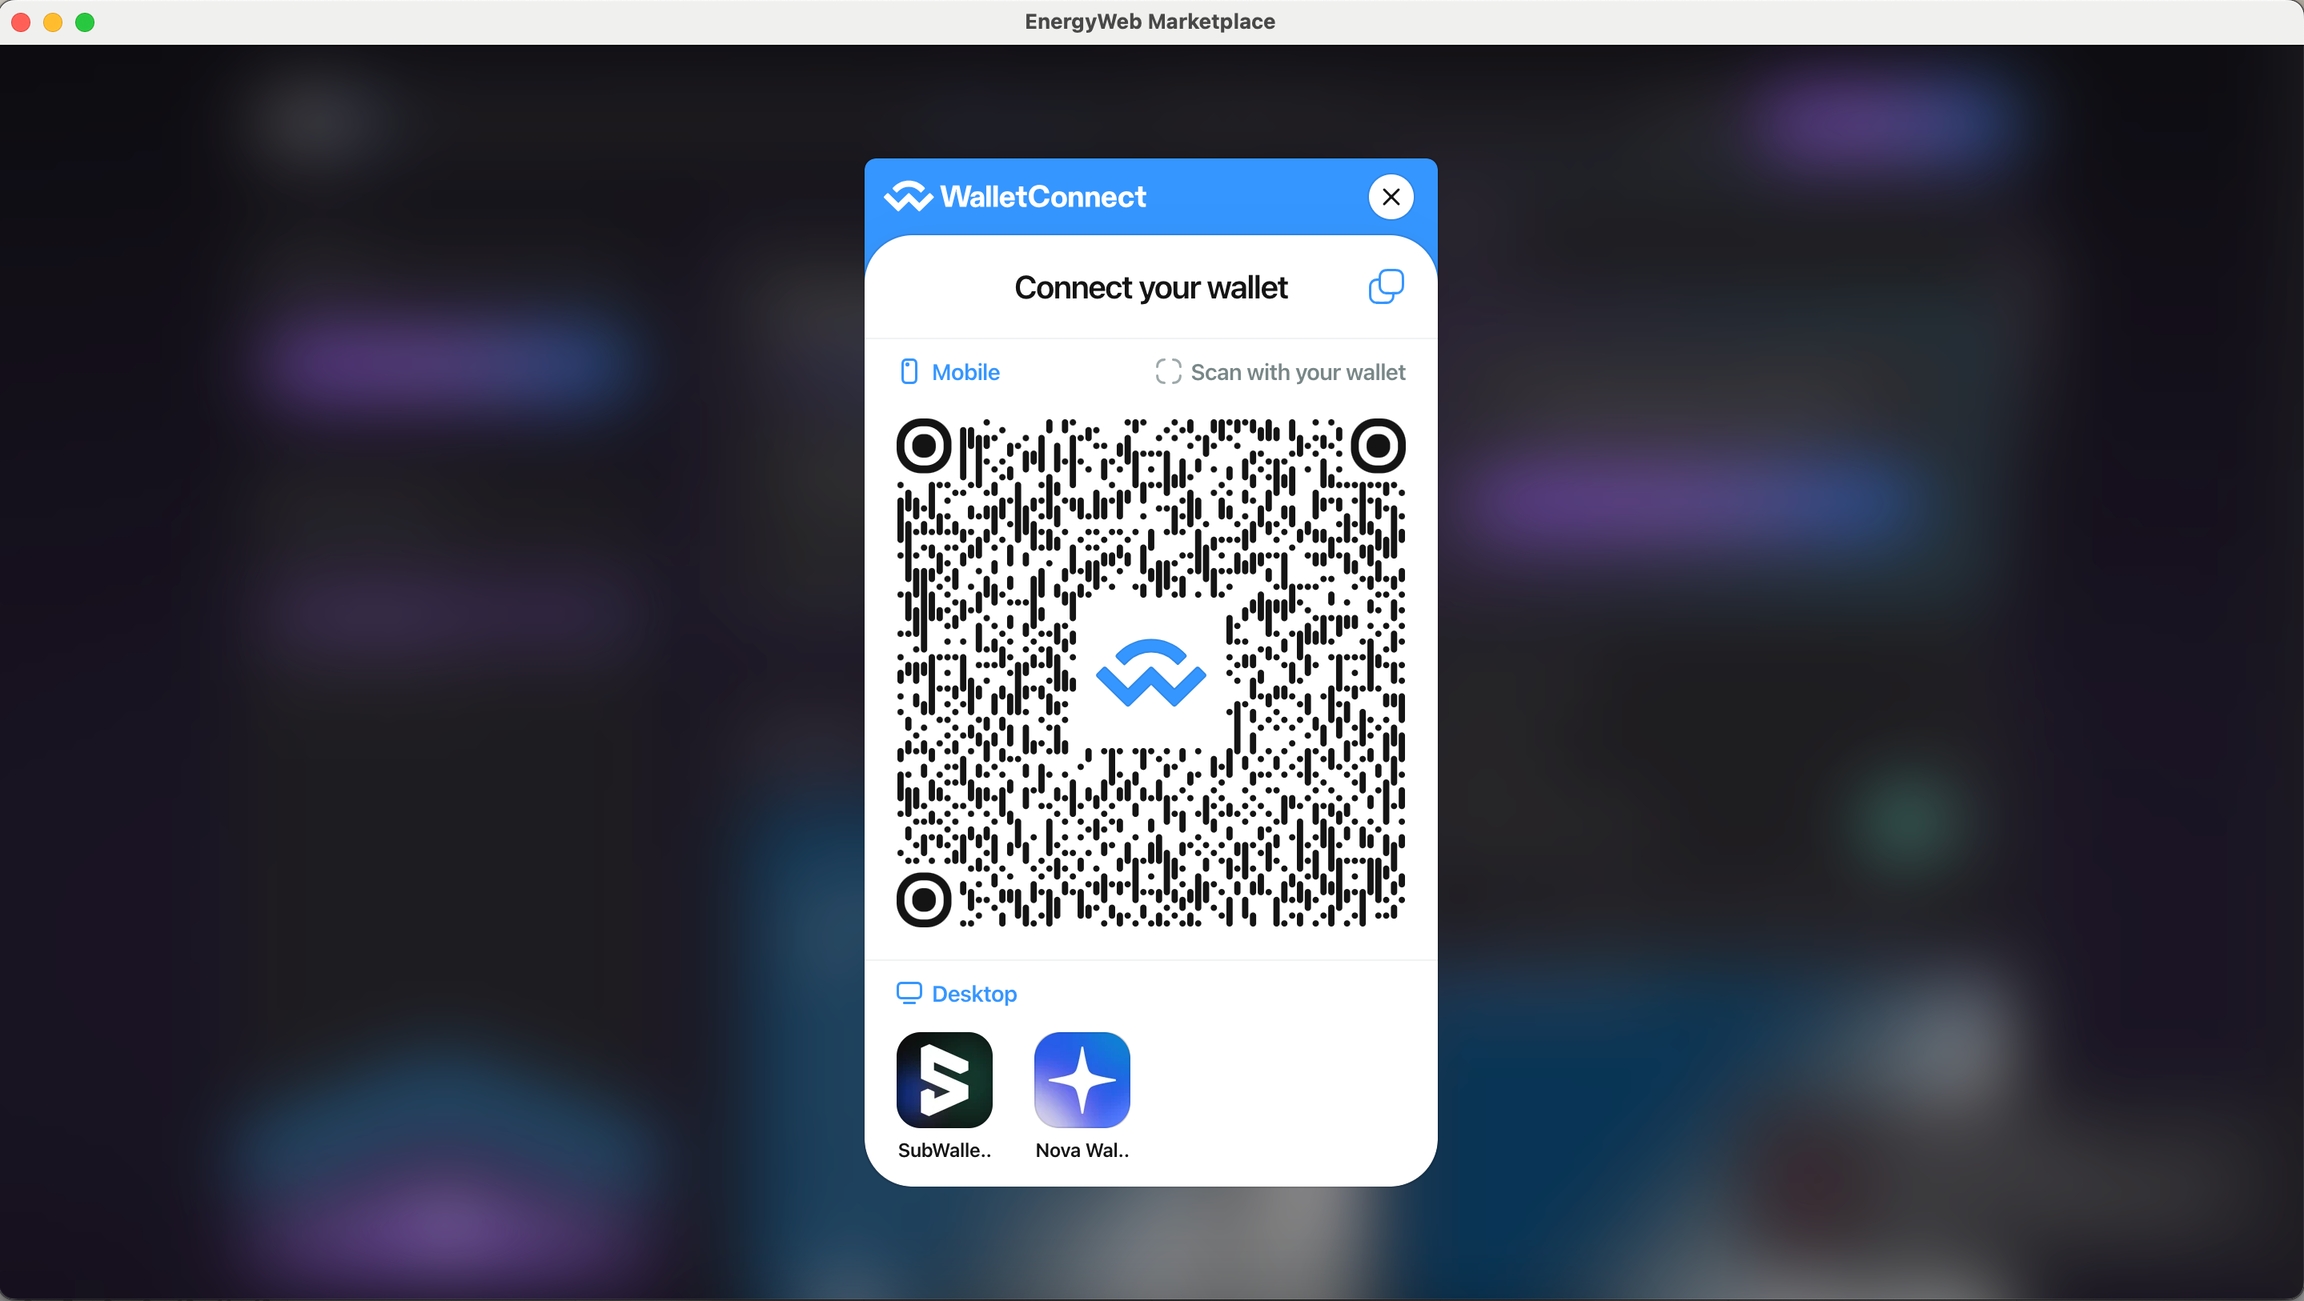
Connect your operator account
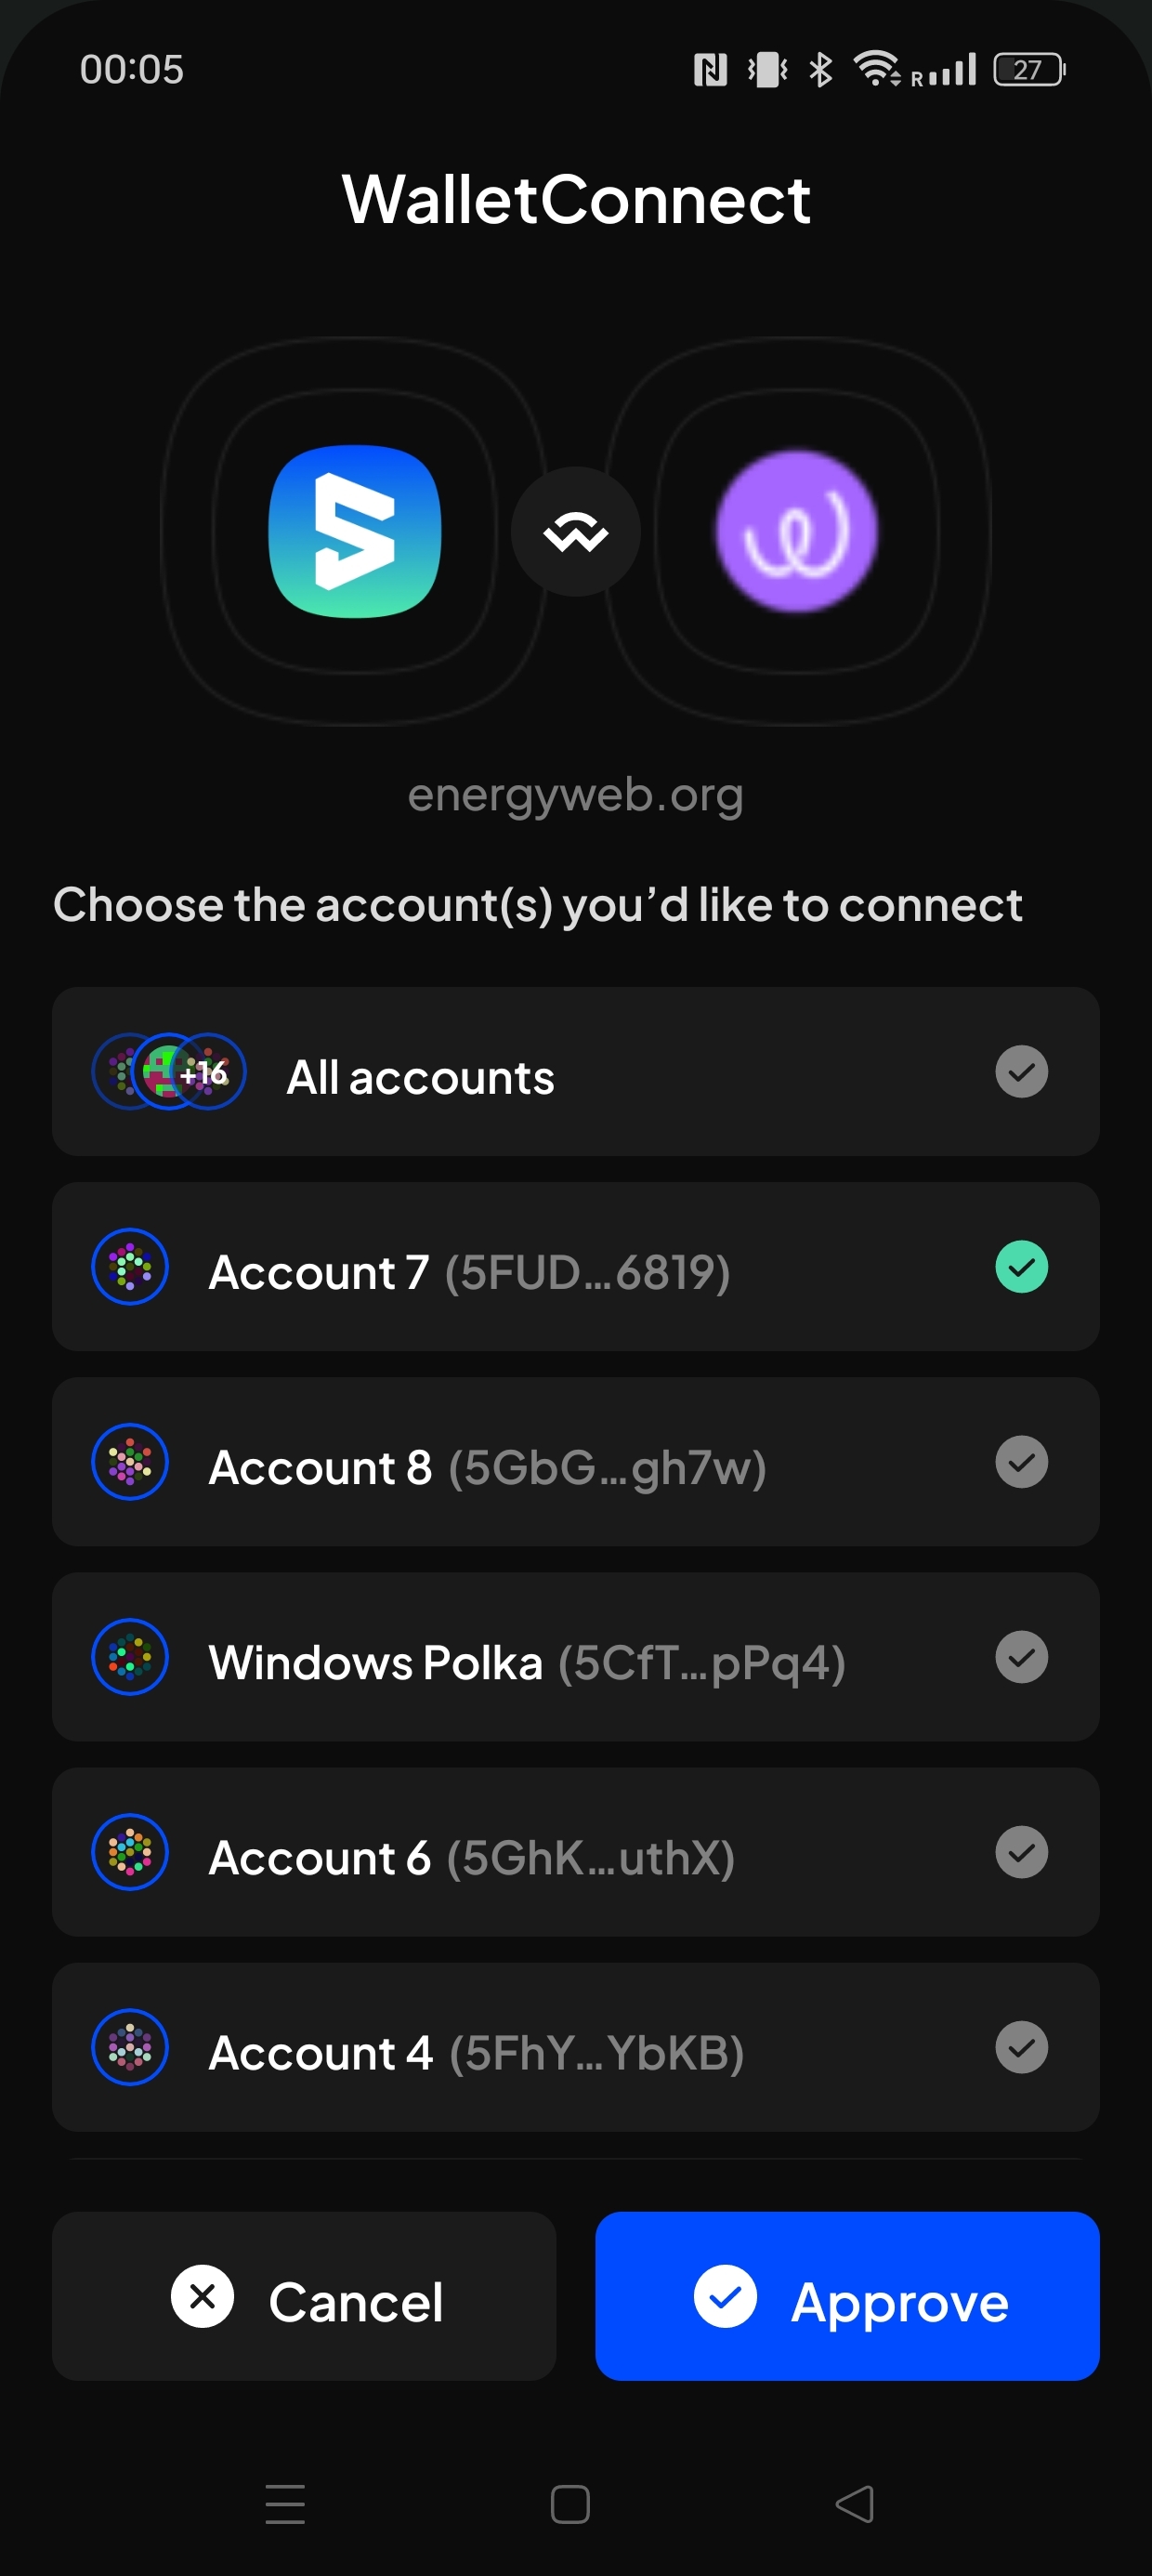
Approve the connection request in your wallet
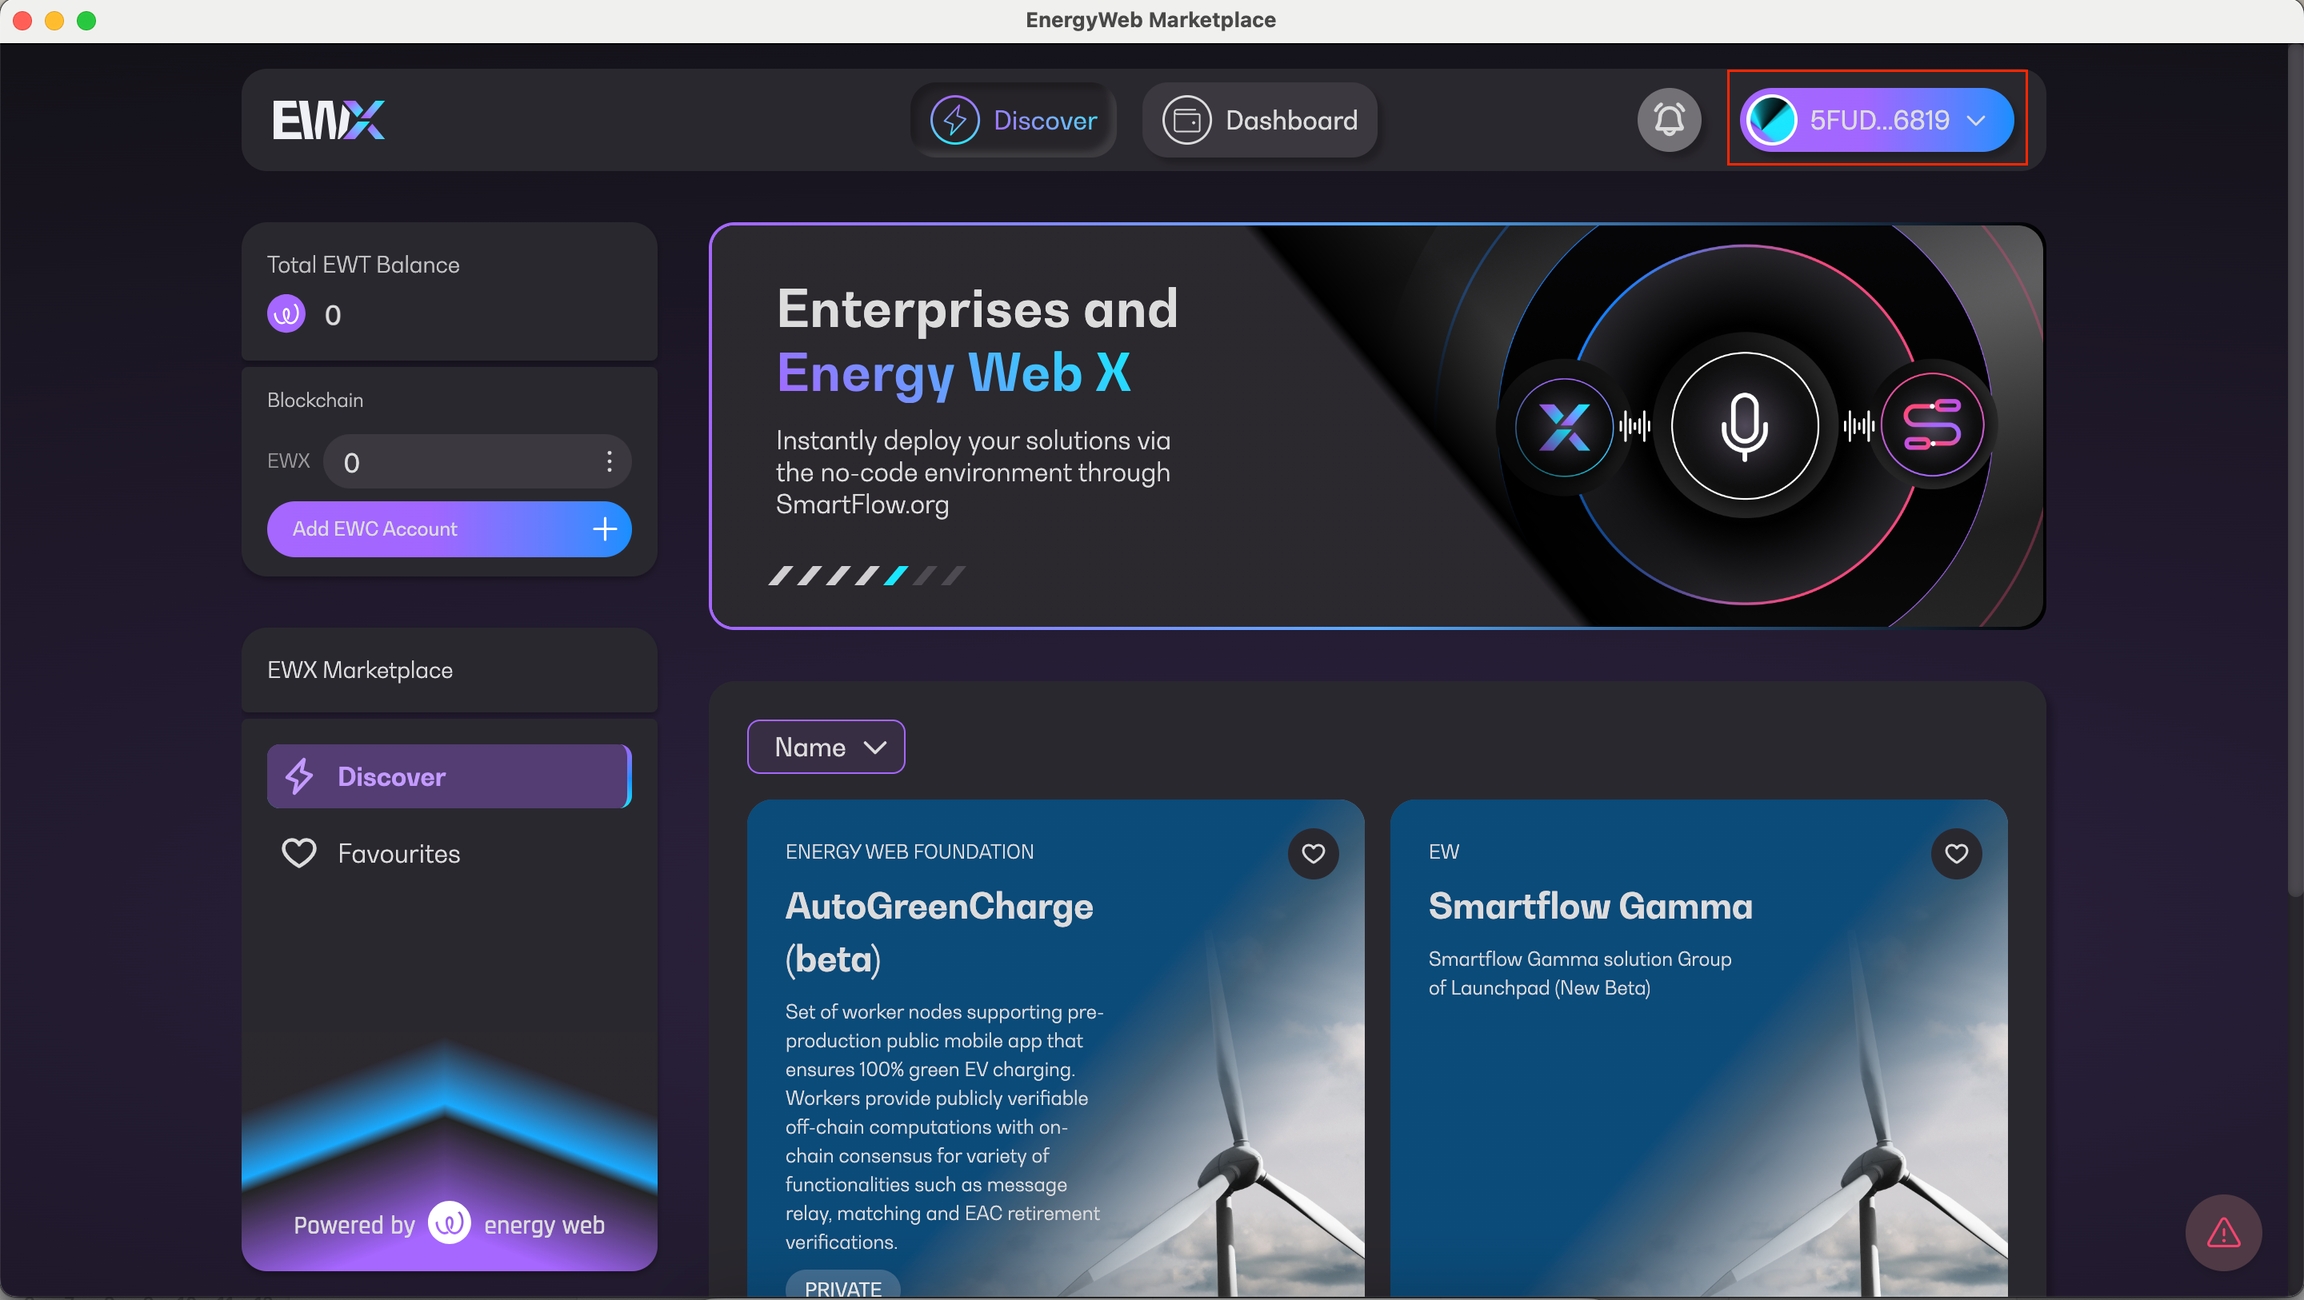
Once connected, you will be redirected to the Discover page and you will see your "operator" public address in the upper right corner of the screen as highlighted below
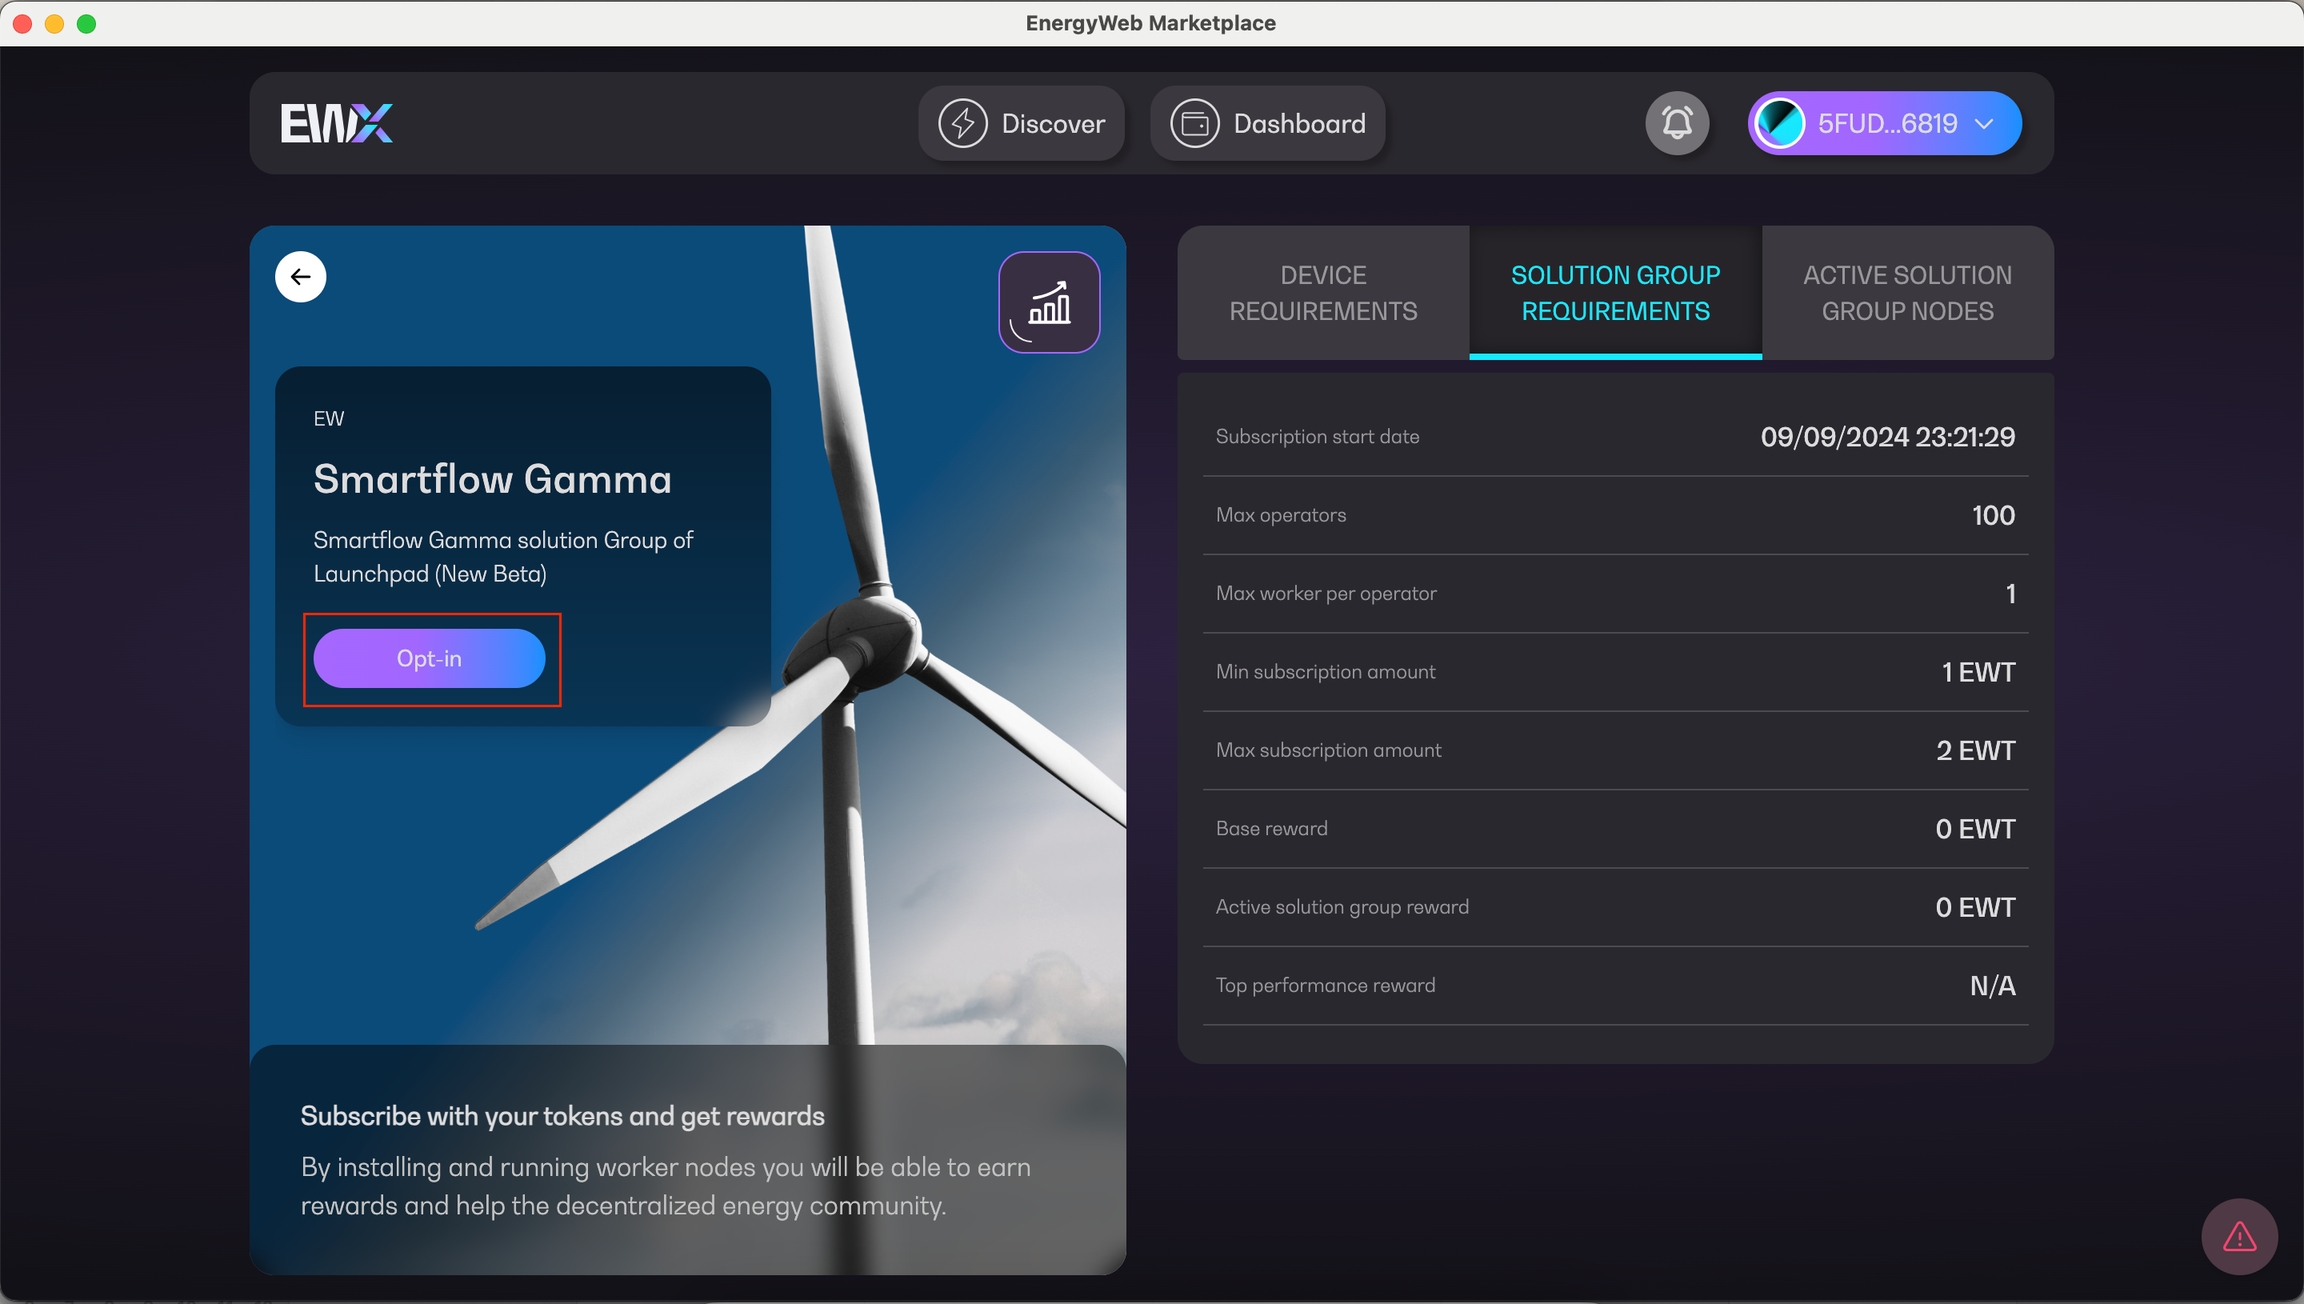
Browse through any solution group and click on it. You will be redirected to its details page. Then, click on the "Opt-in" button
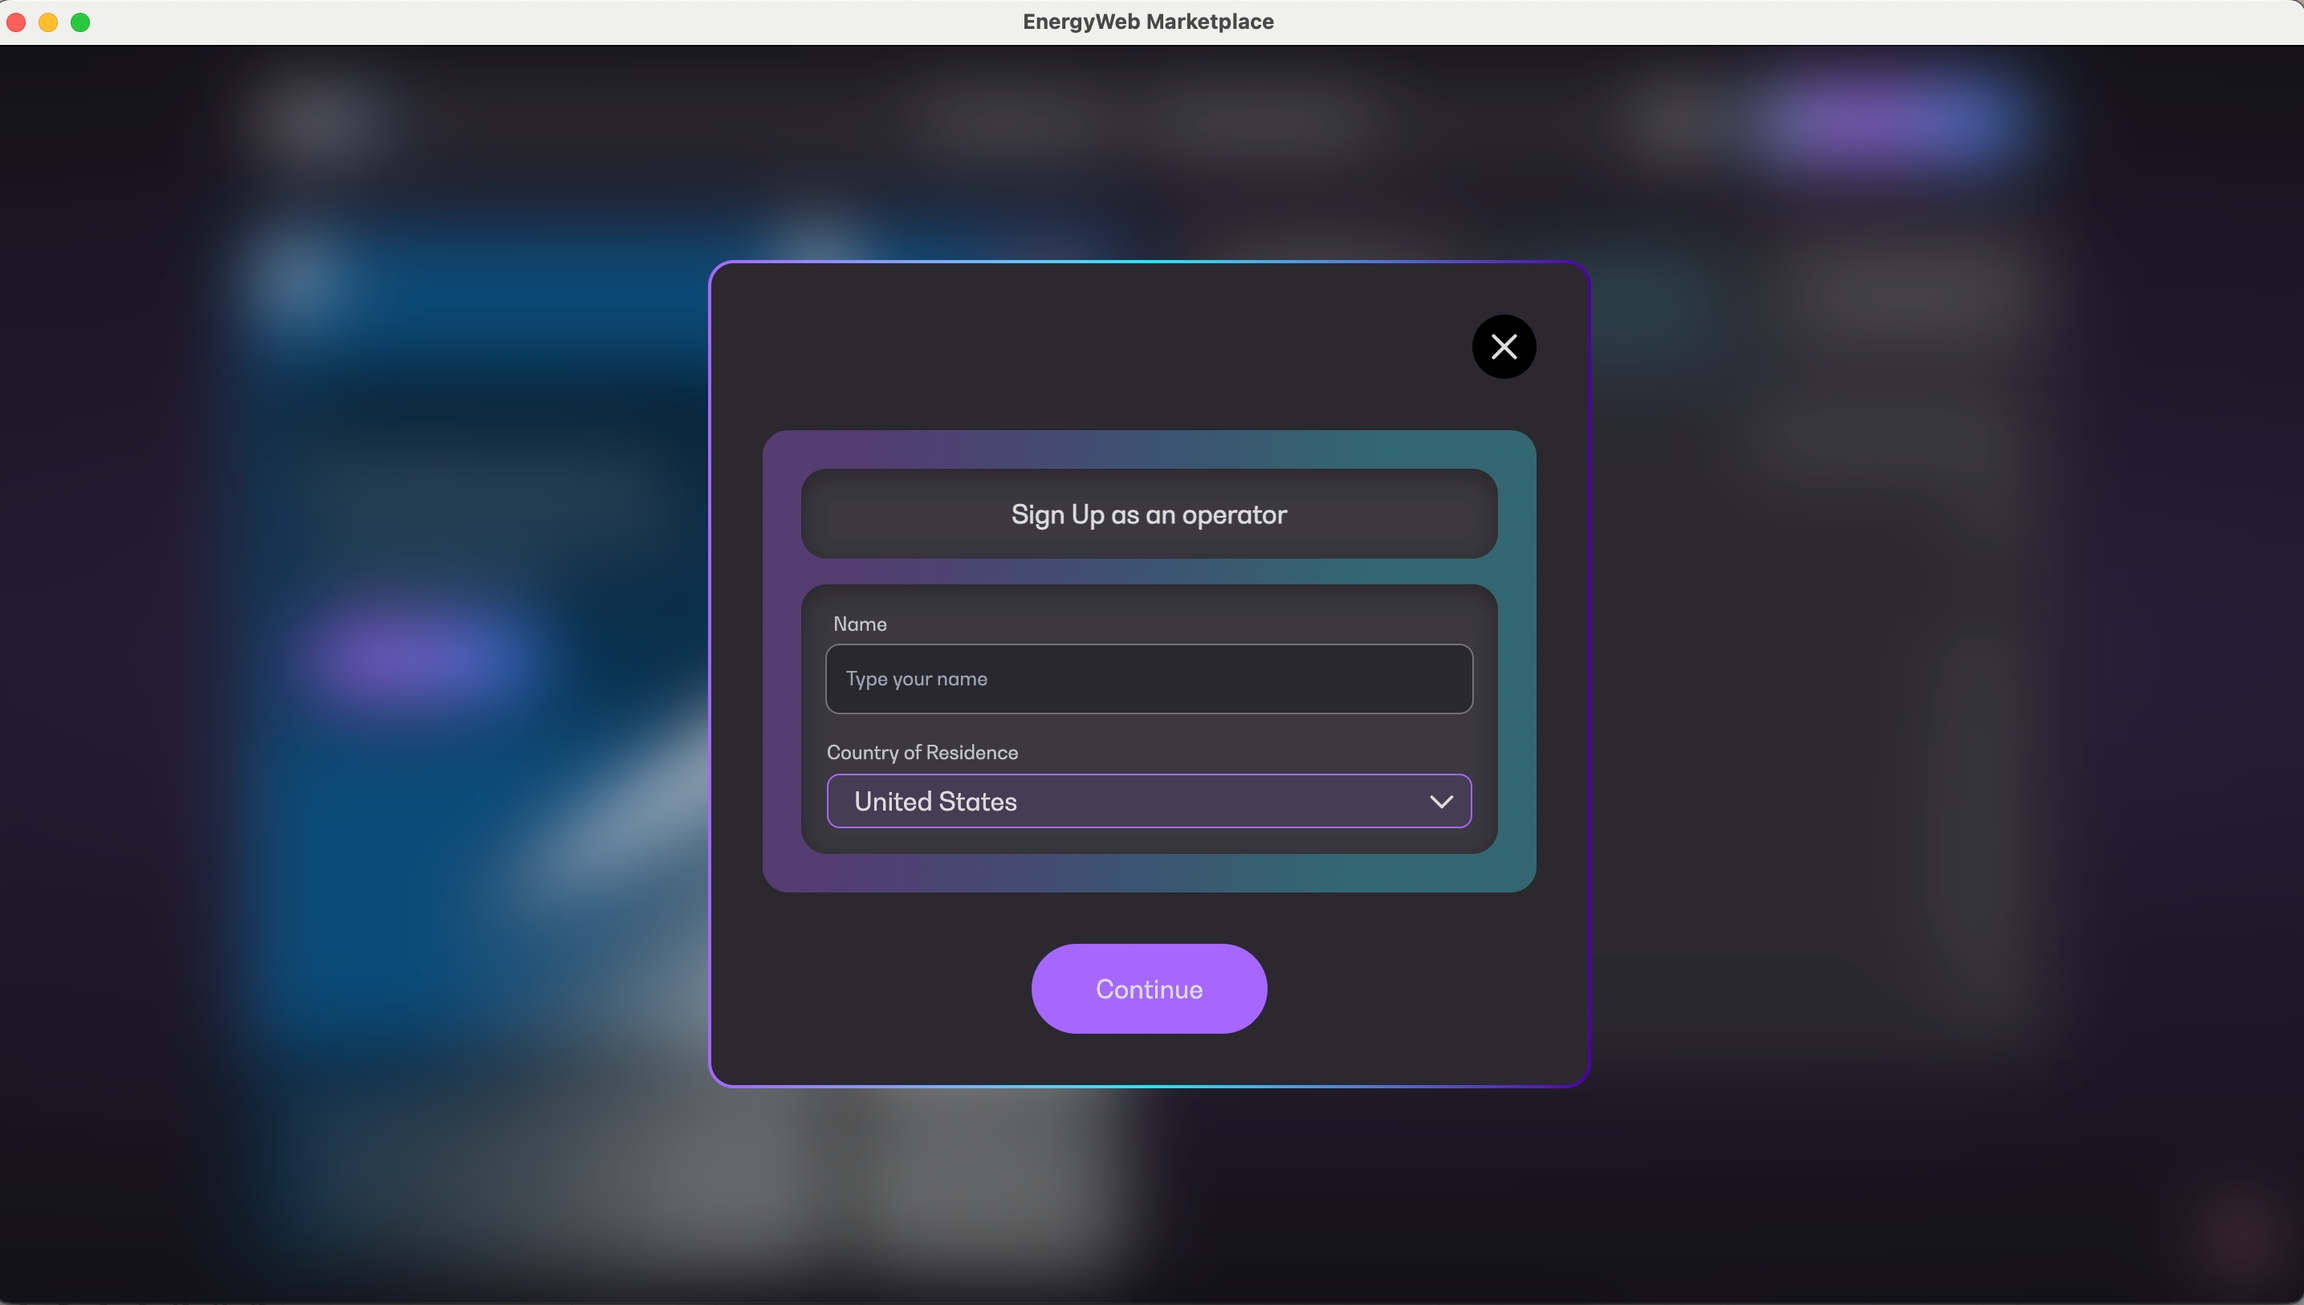
The sign-up operator dialog gets displayed. Input your details accordingly and approve the transaction in your wallet.
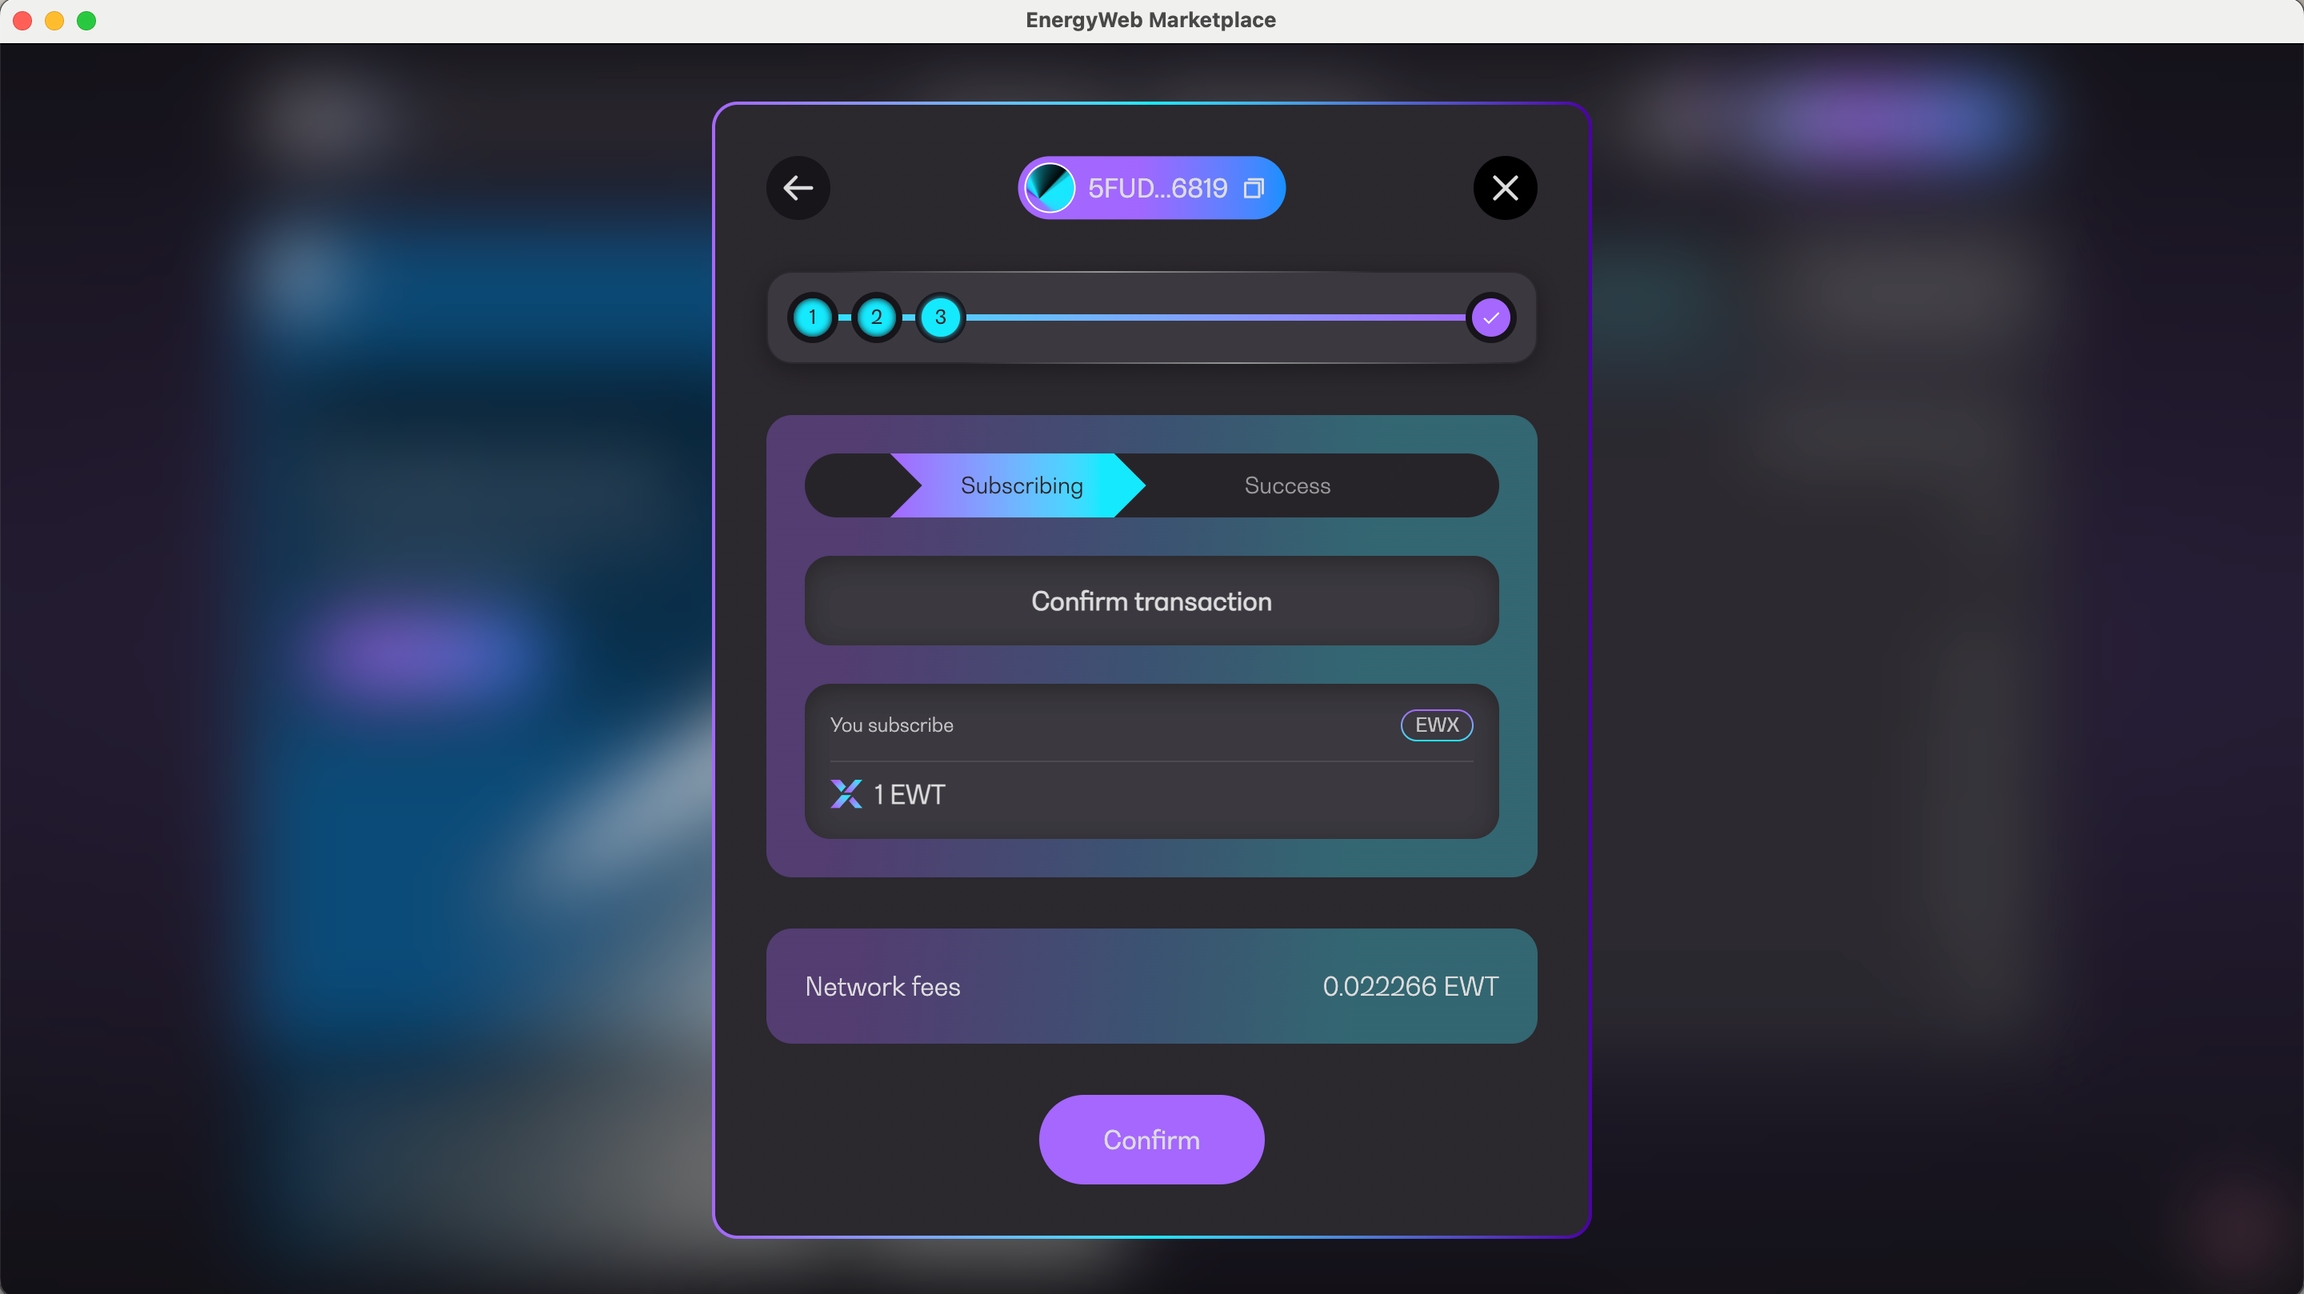
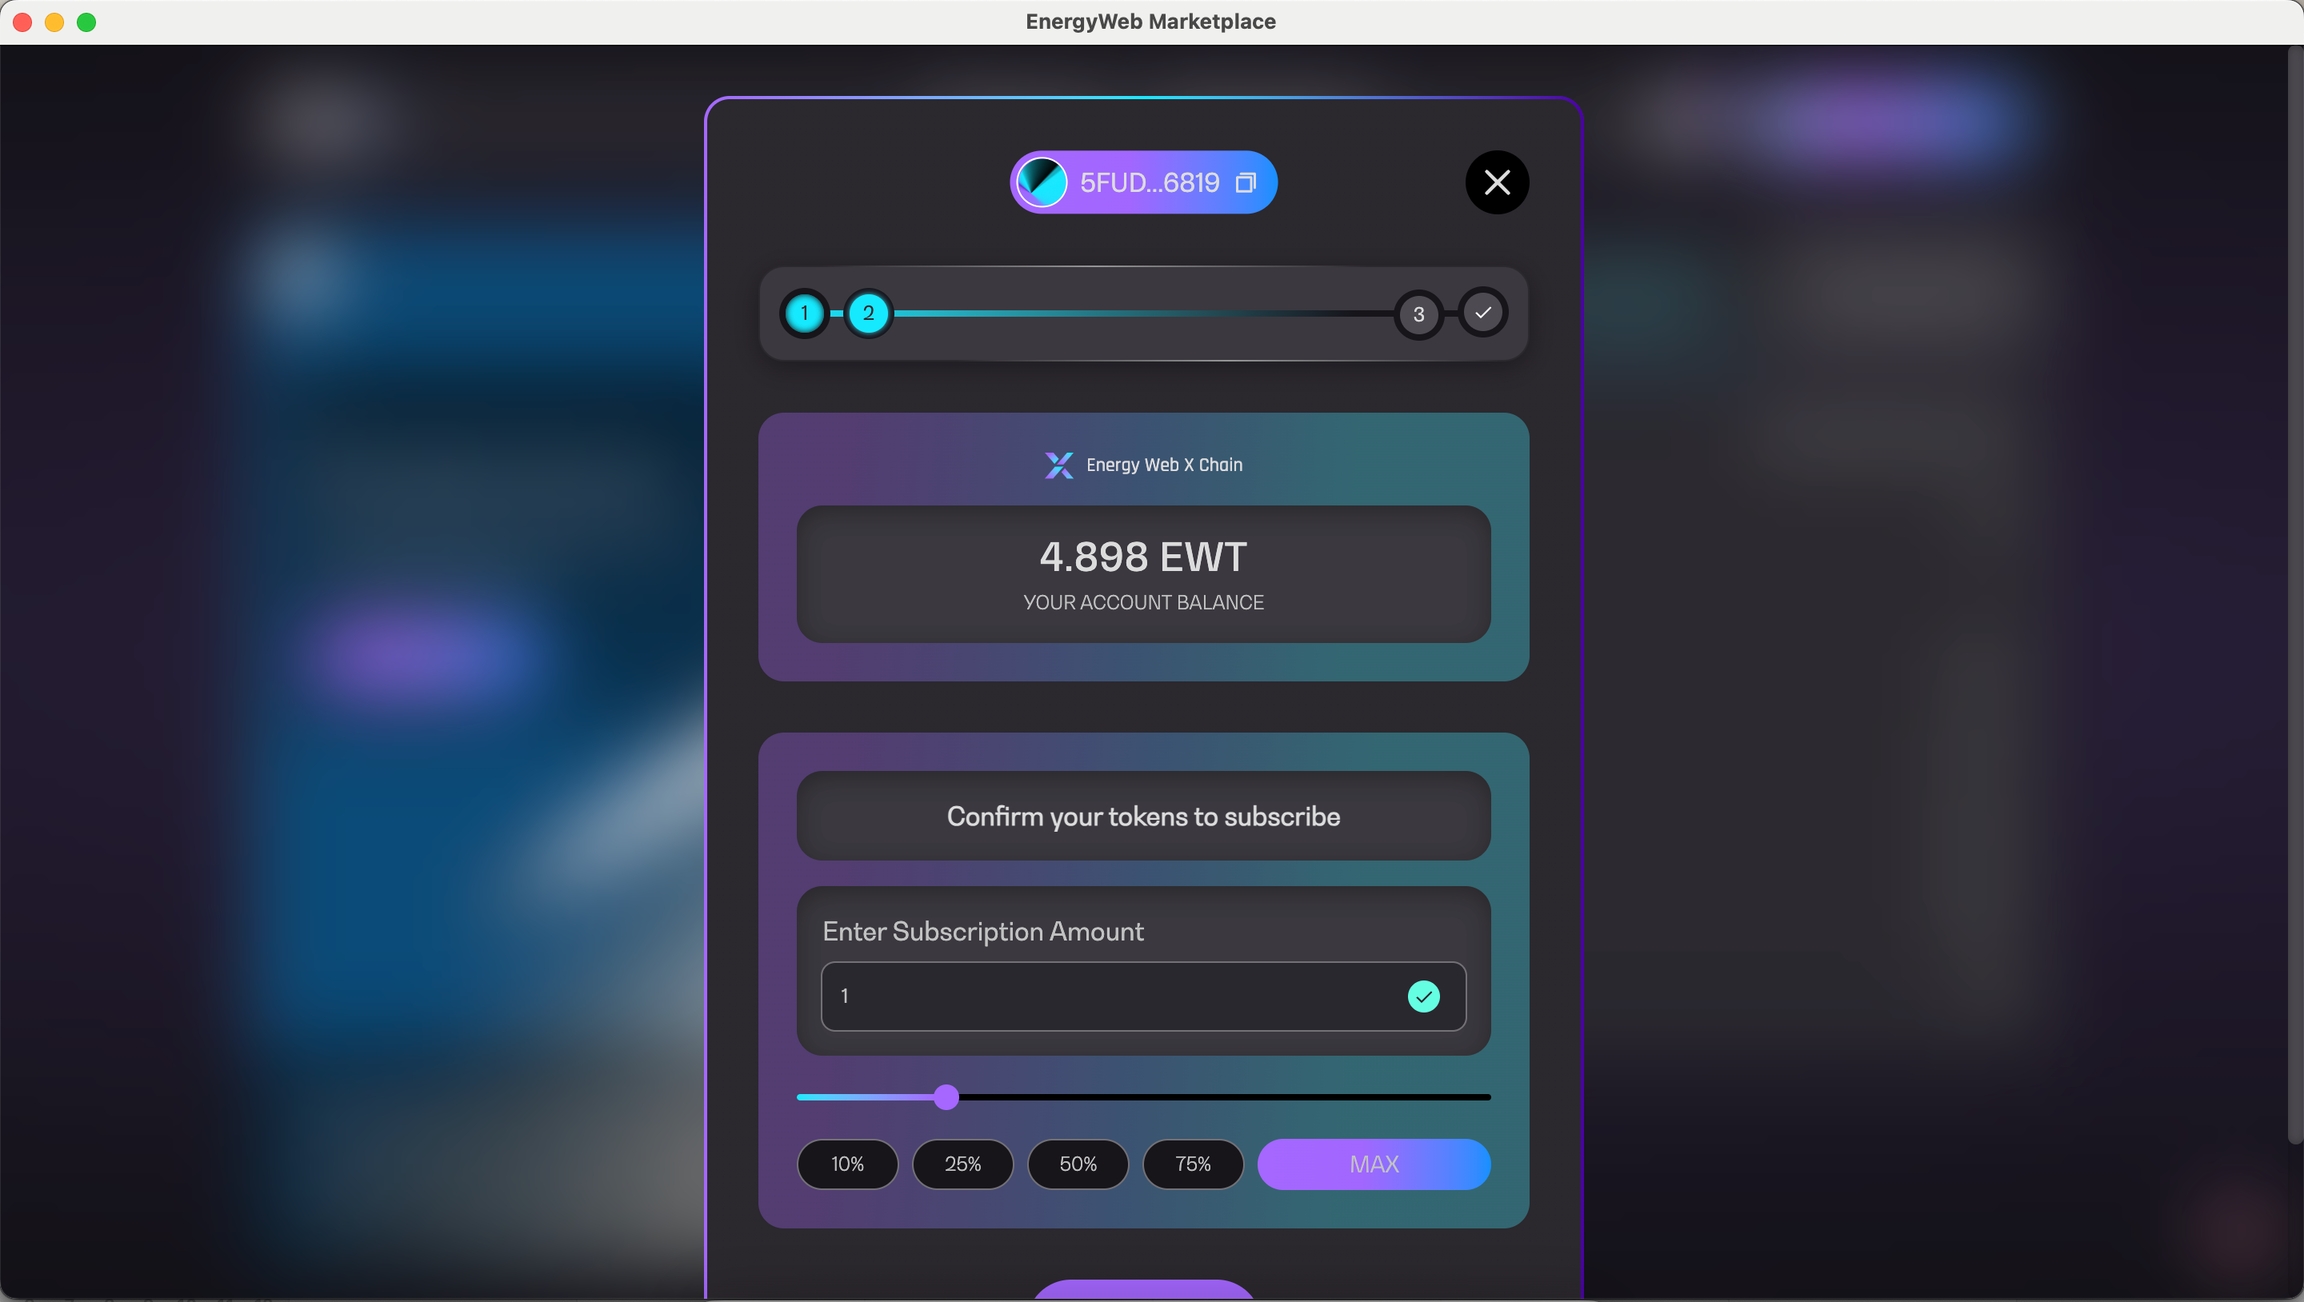
After the signing-up as an operator, you will be prompted to stake tokens to your selected solution group from the Discover page. Stake your desired amount and approve the transaction in your wallet.
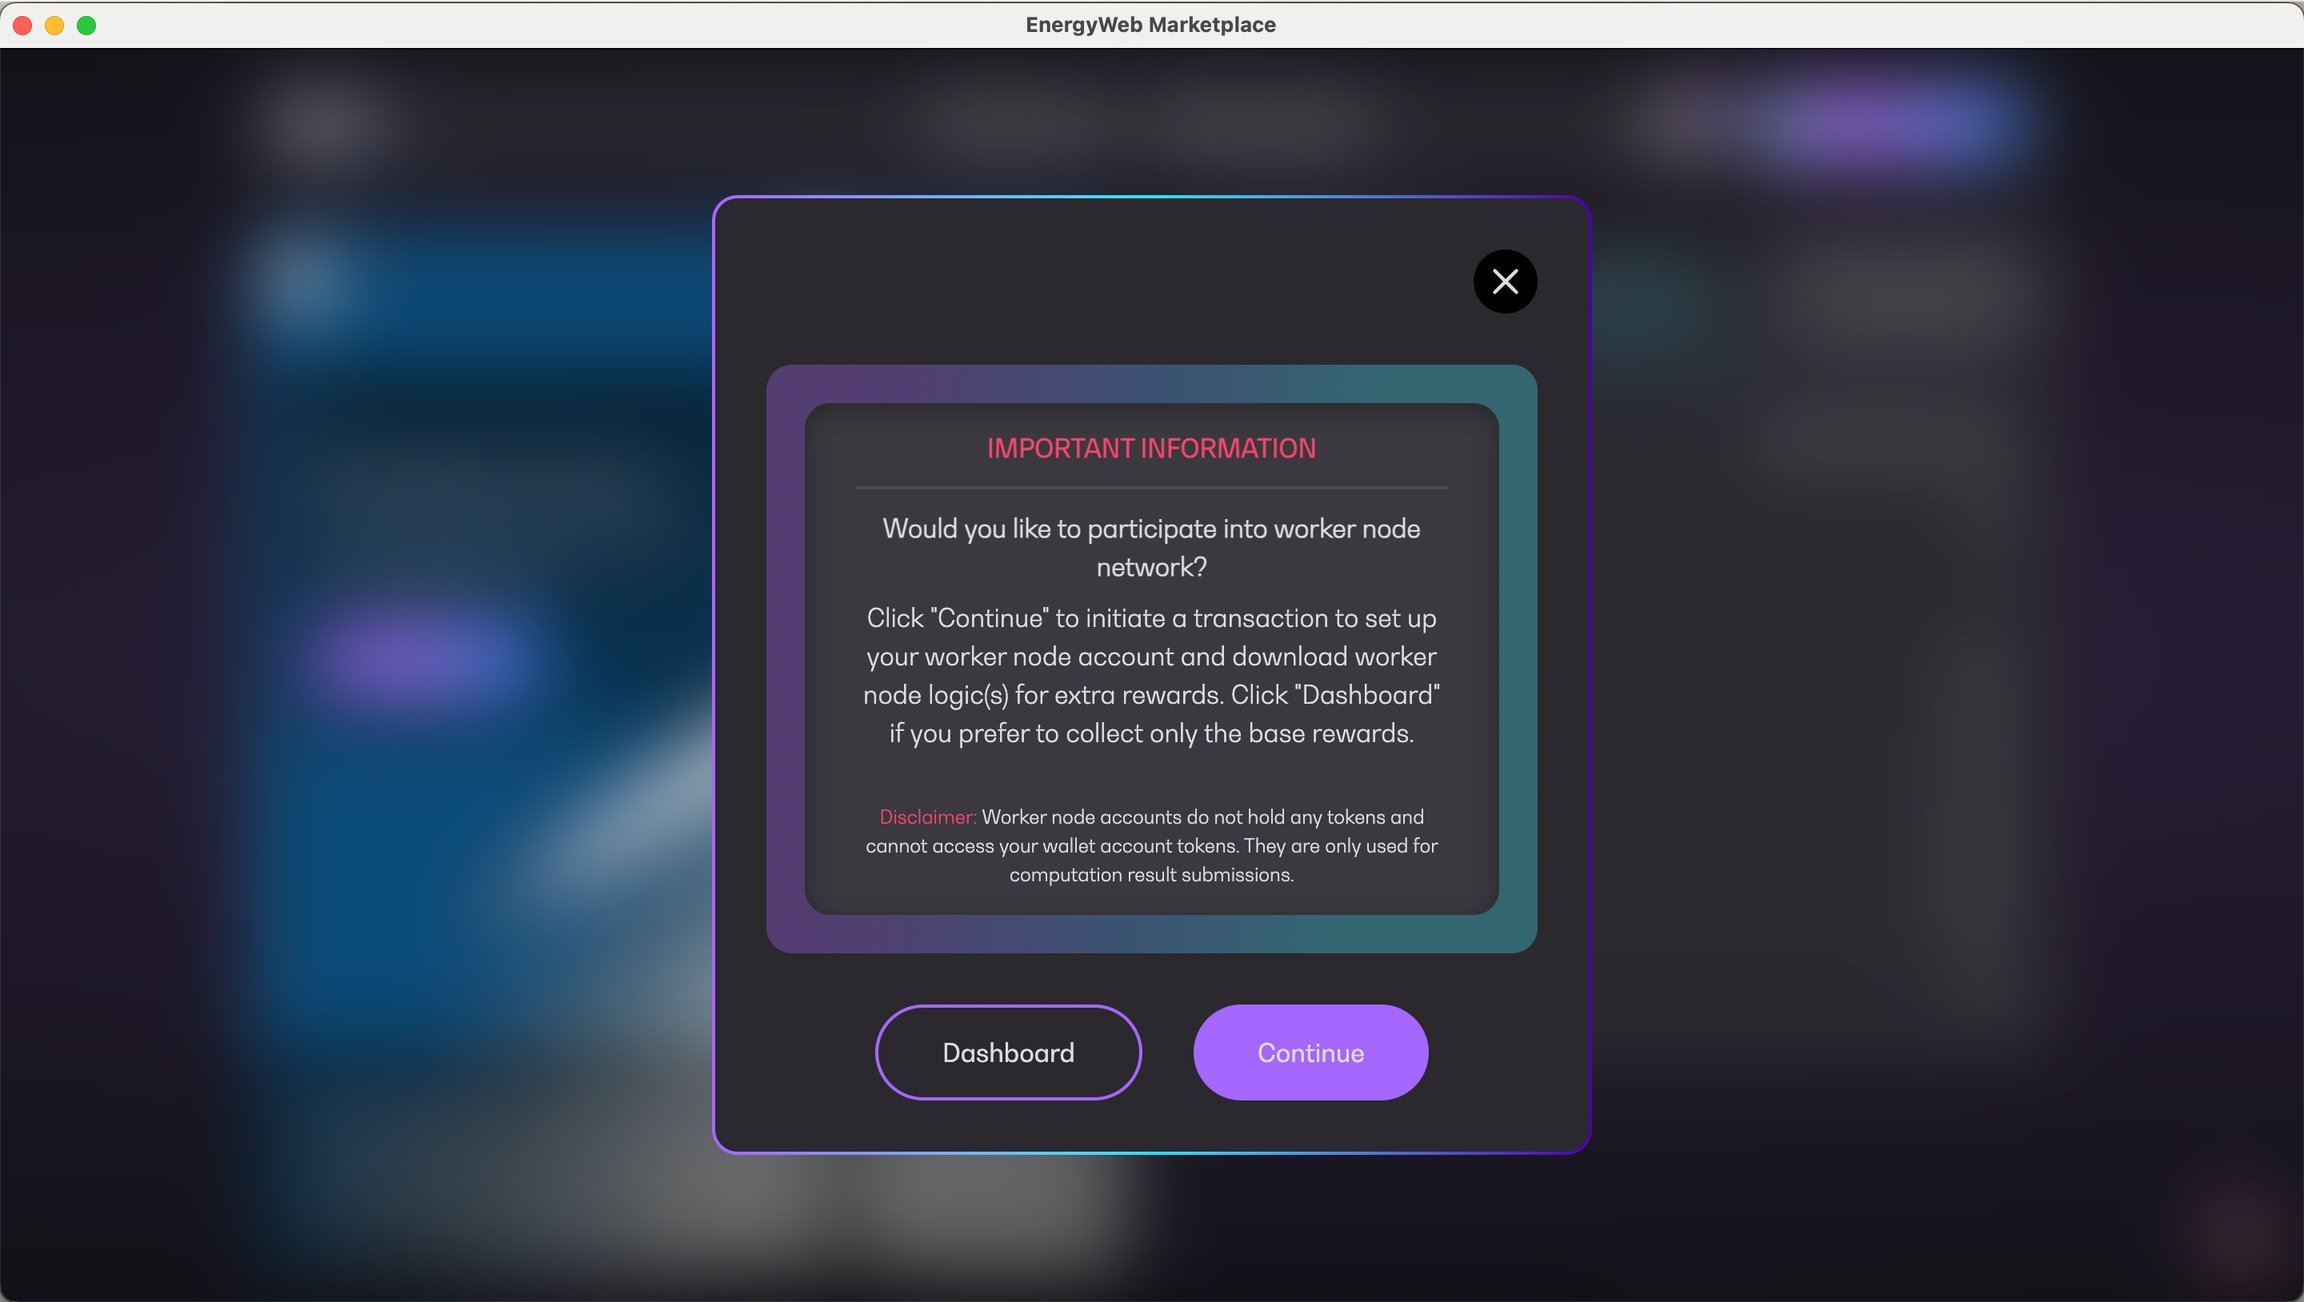
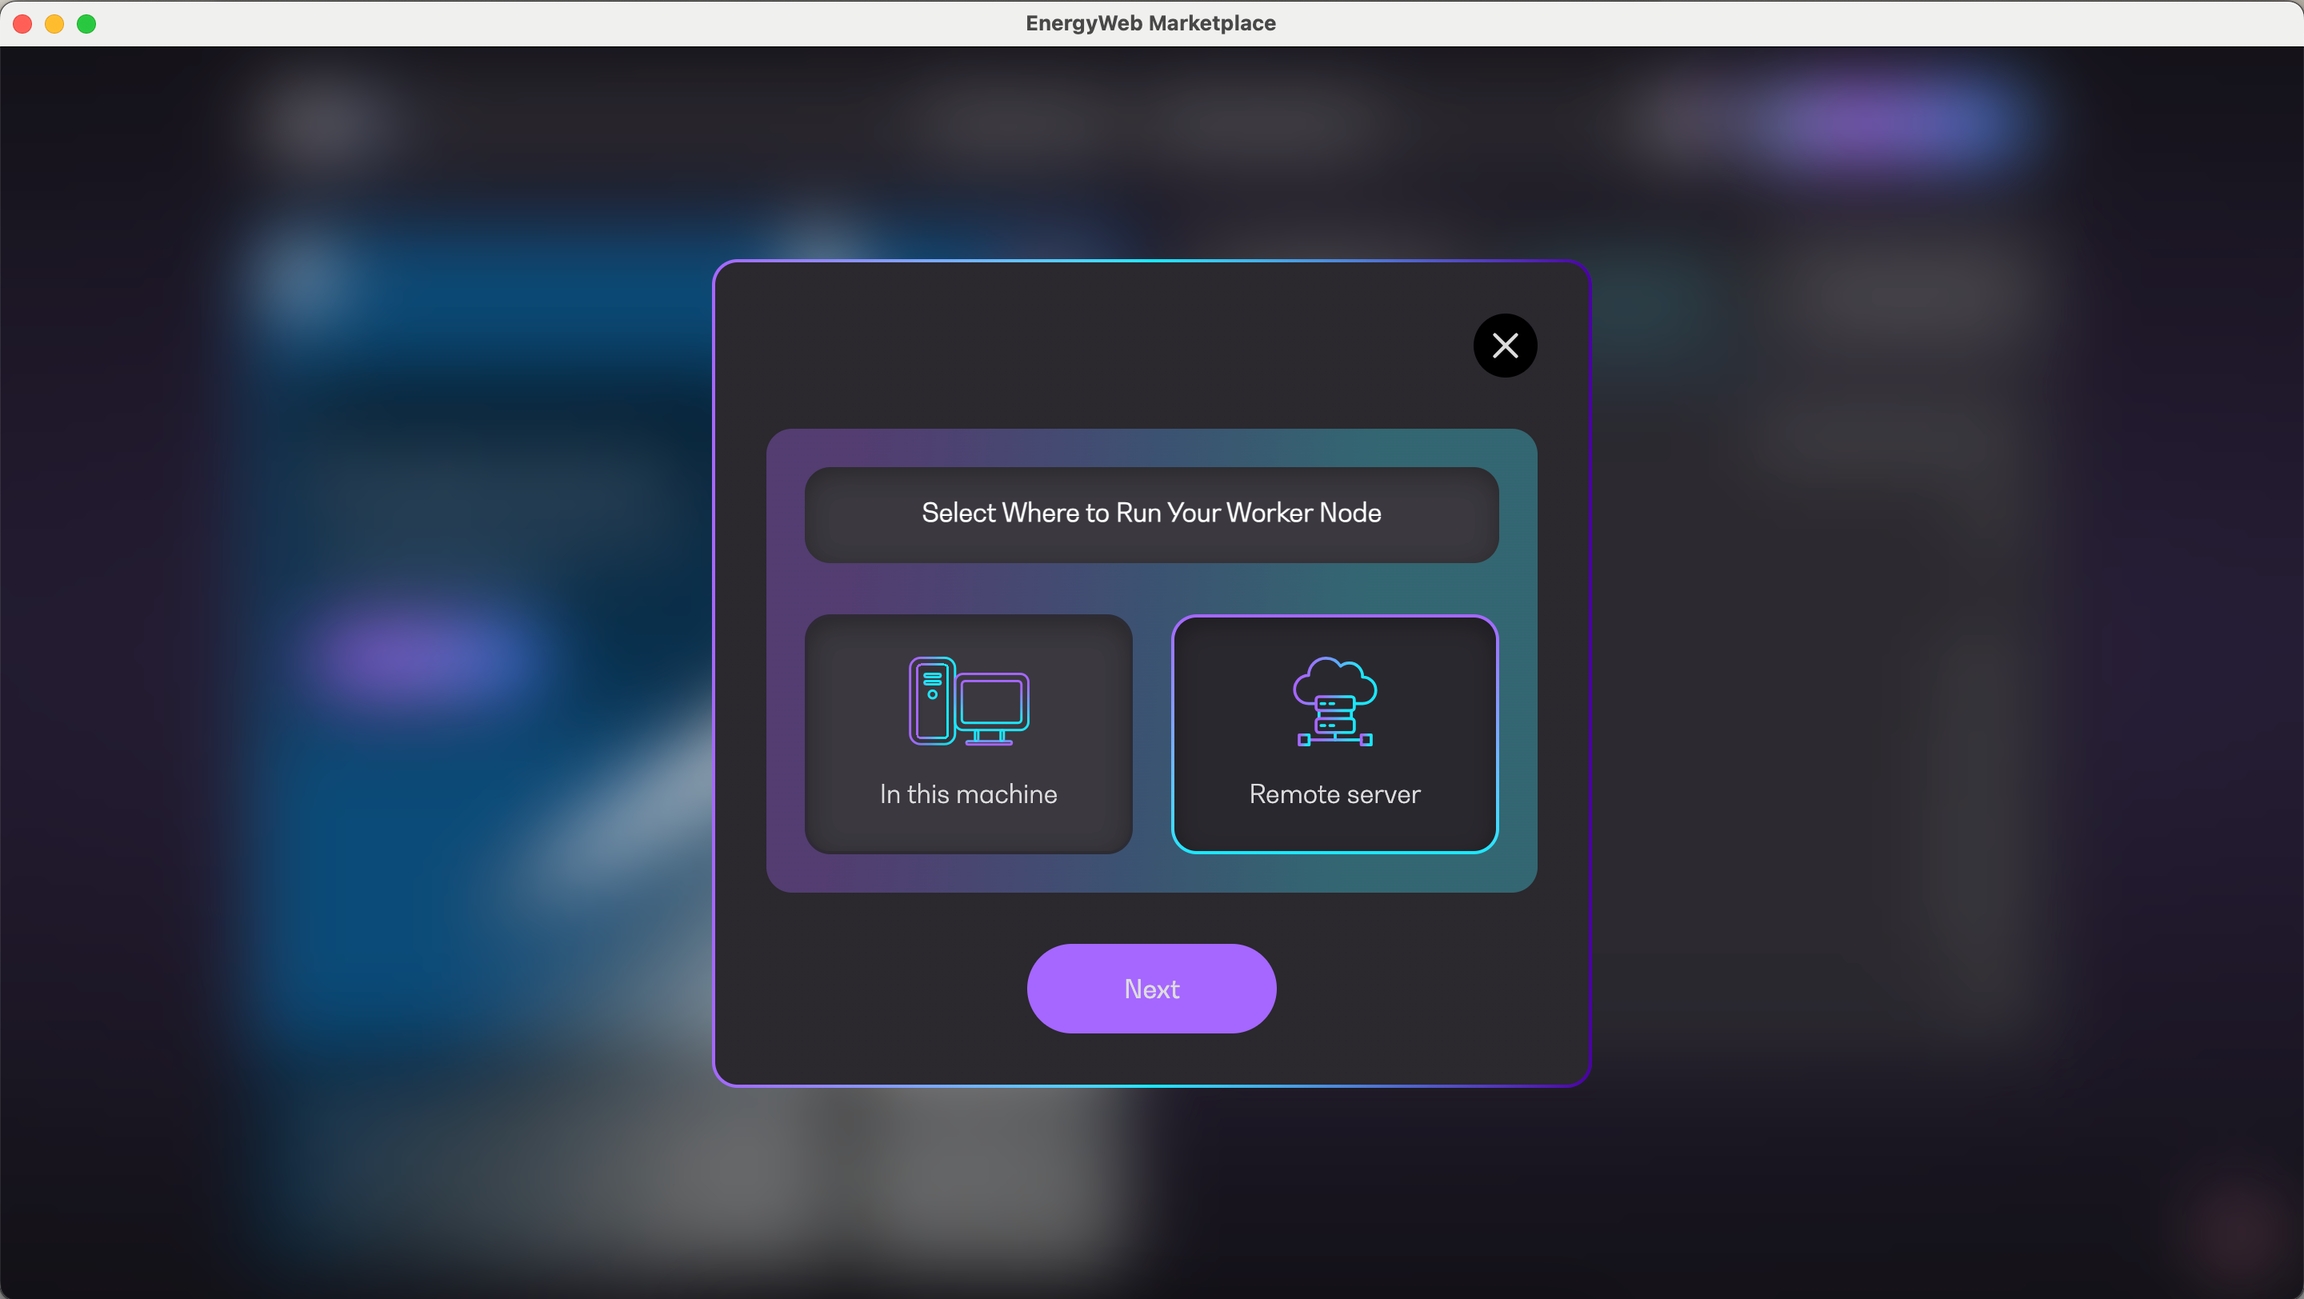
After subscribing to the solution group, you will be prompted whether to participate in a worker node network.
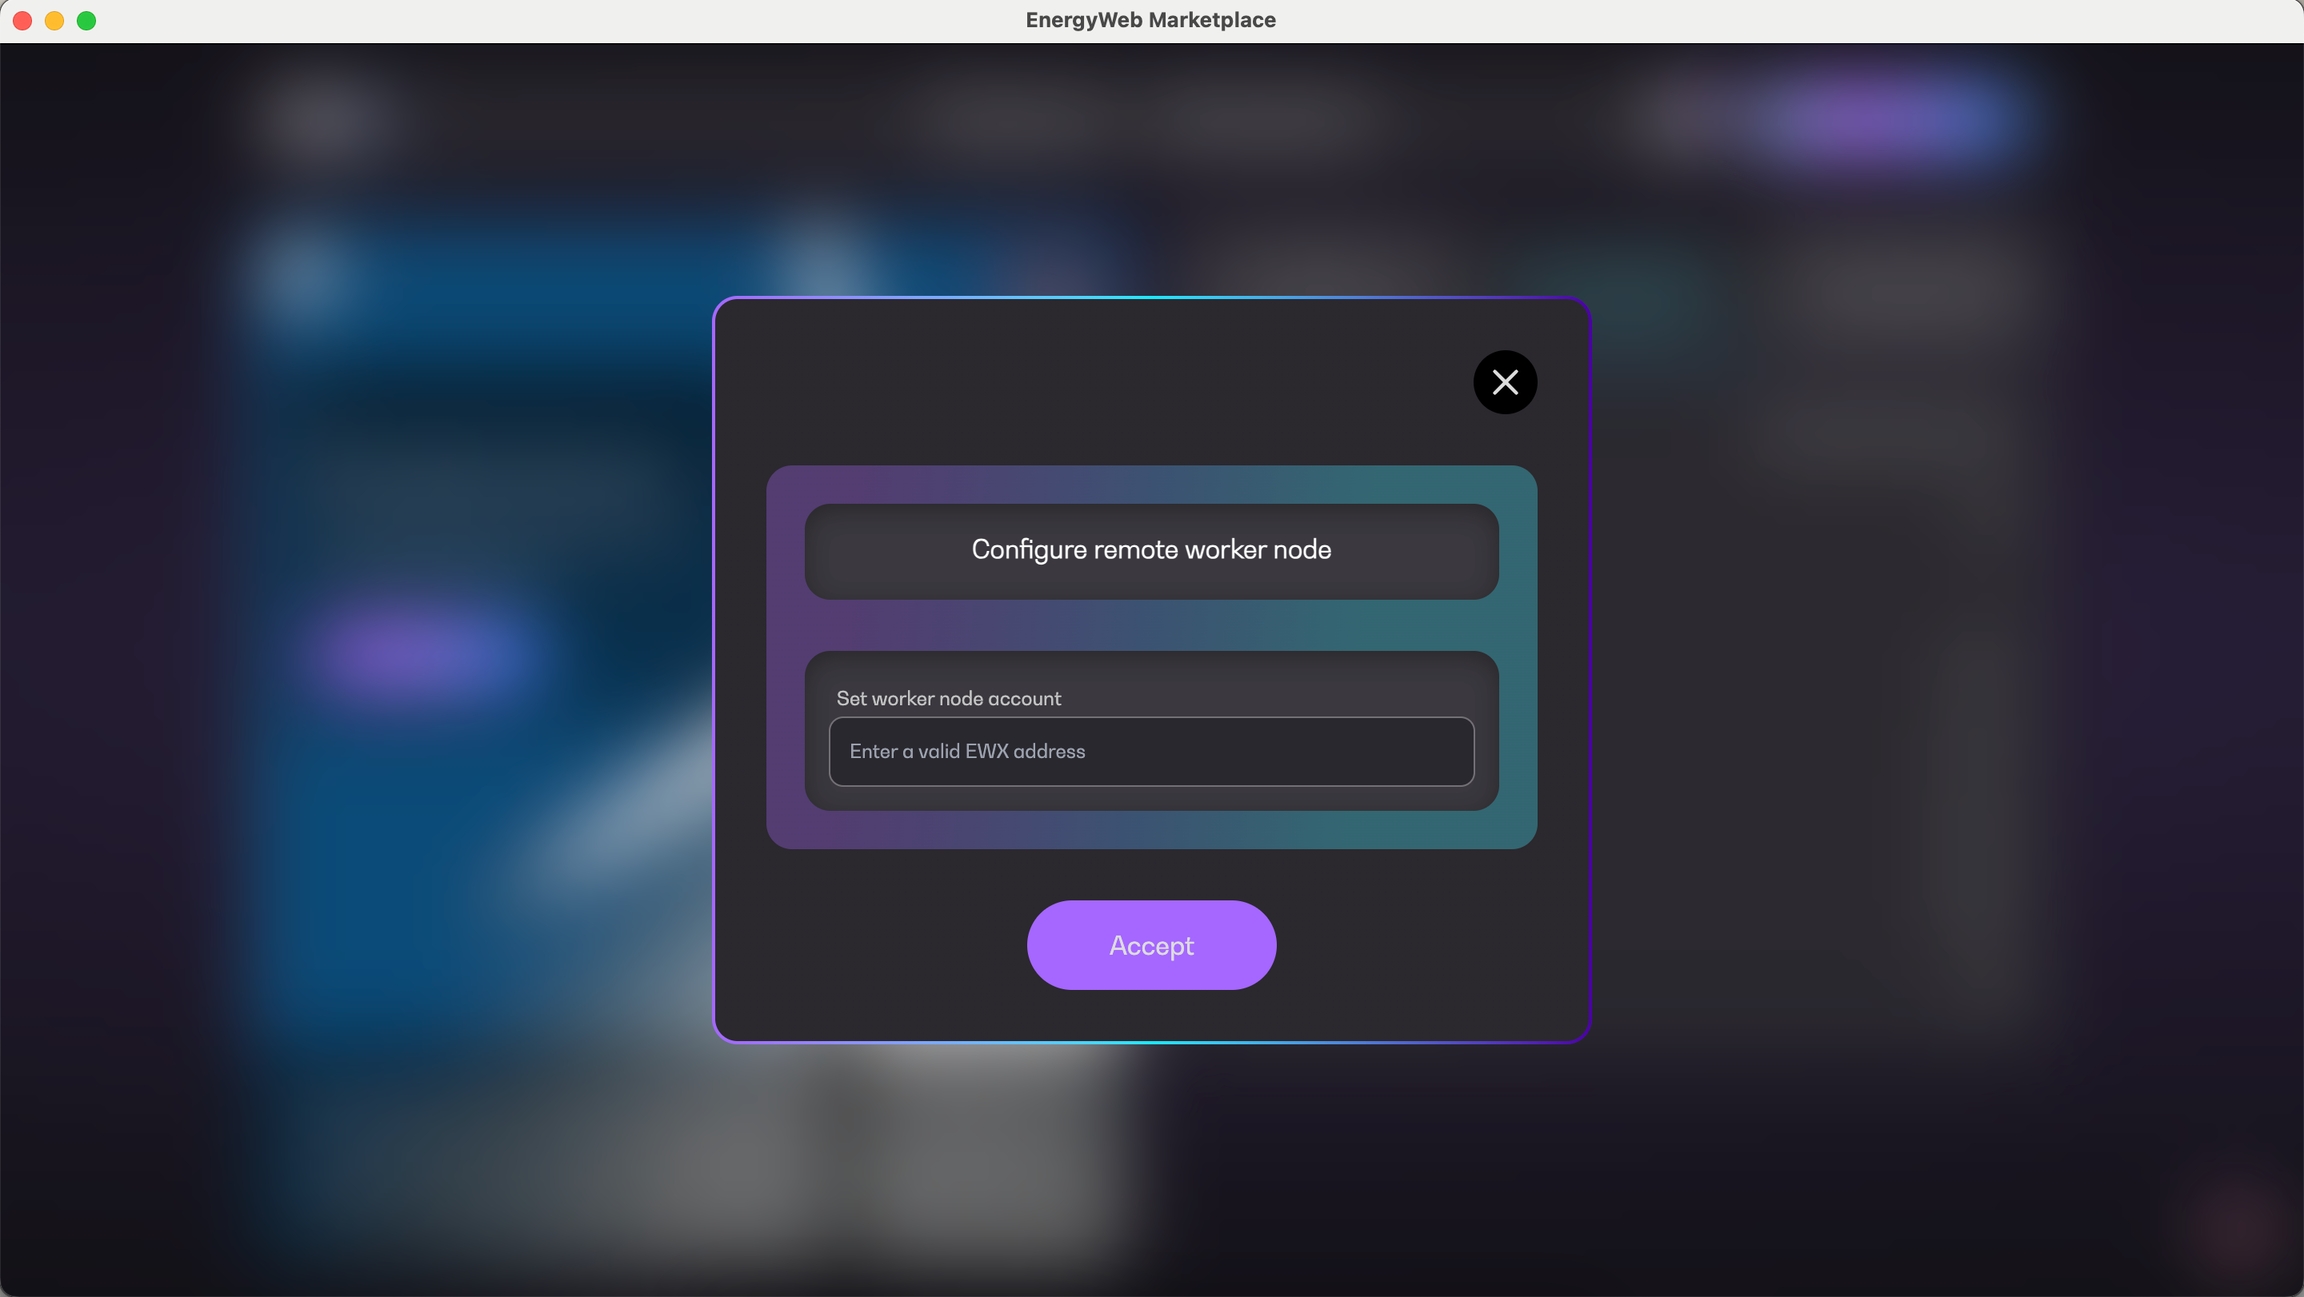
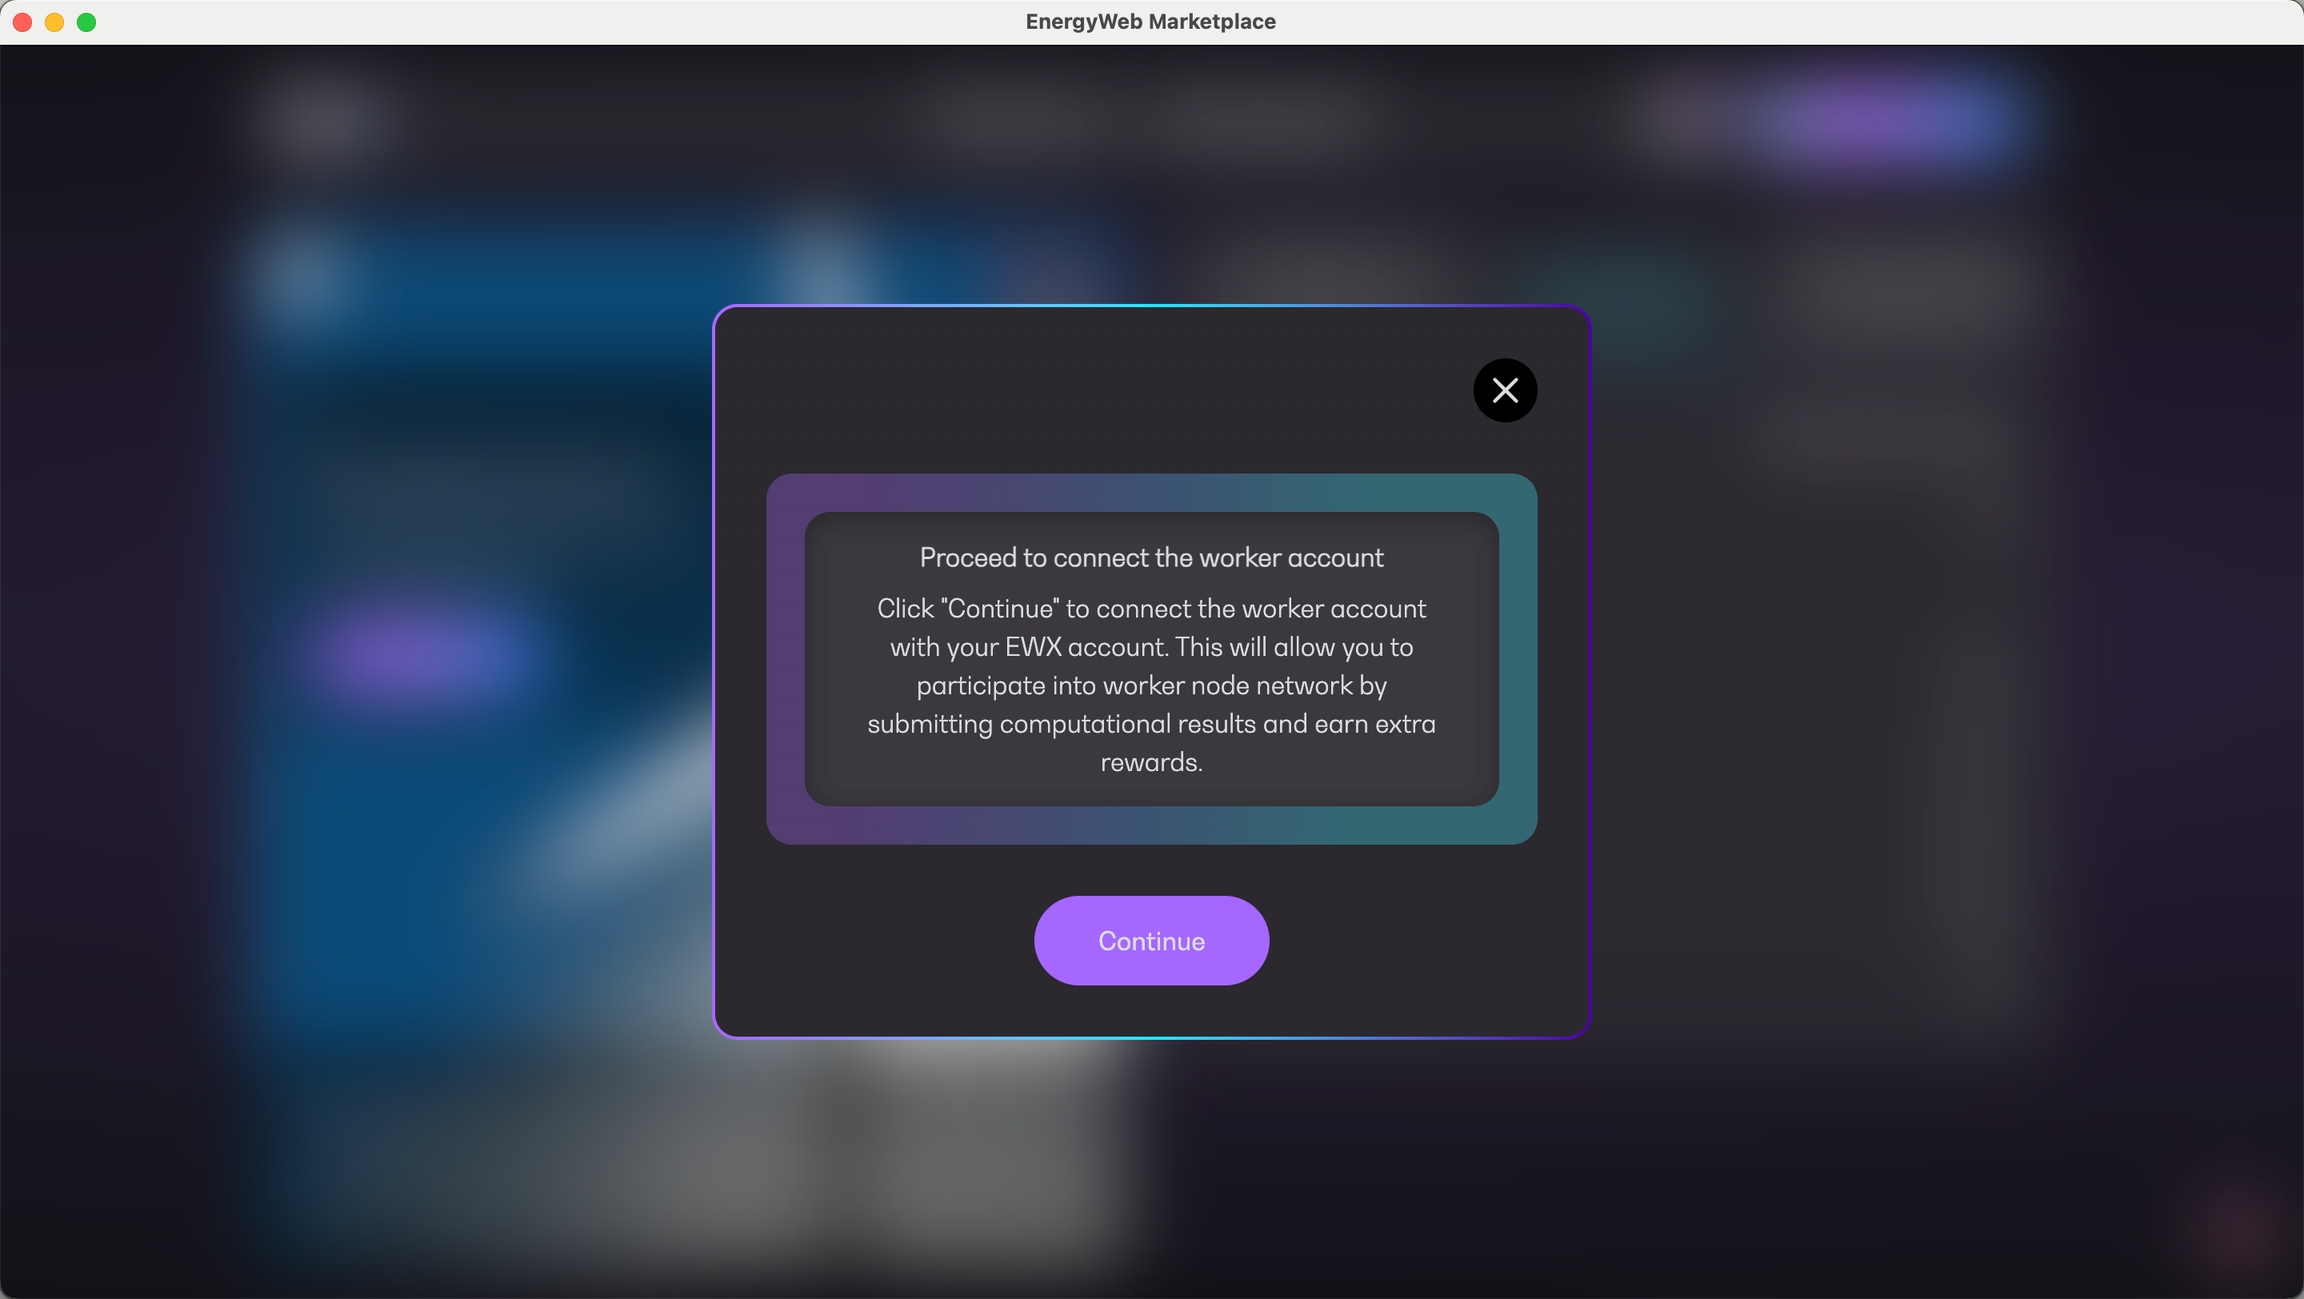
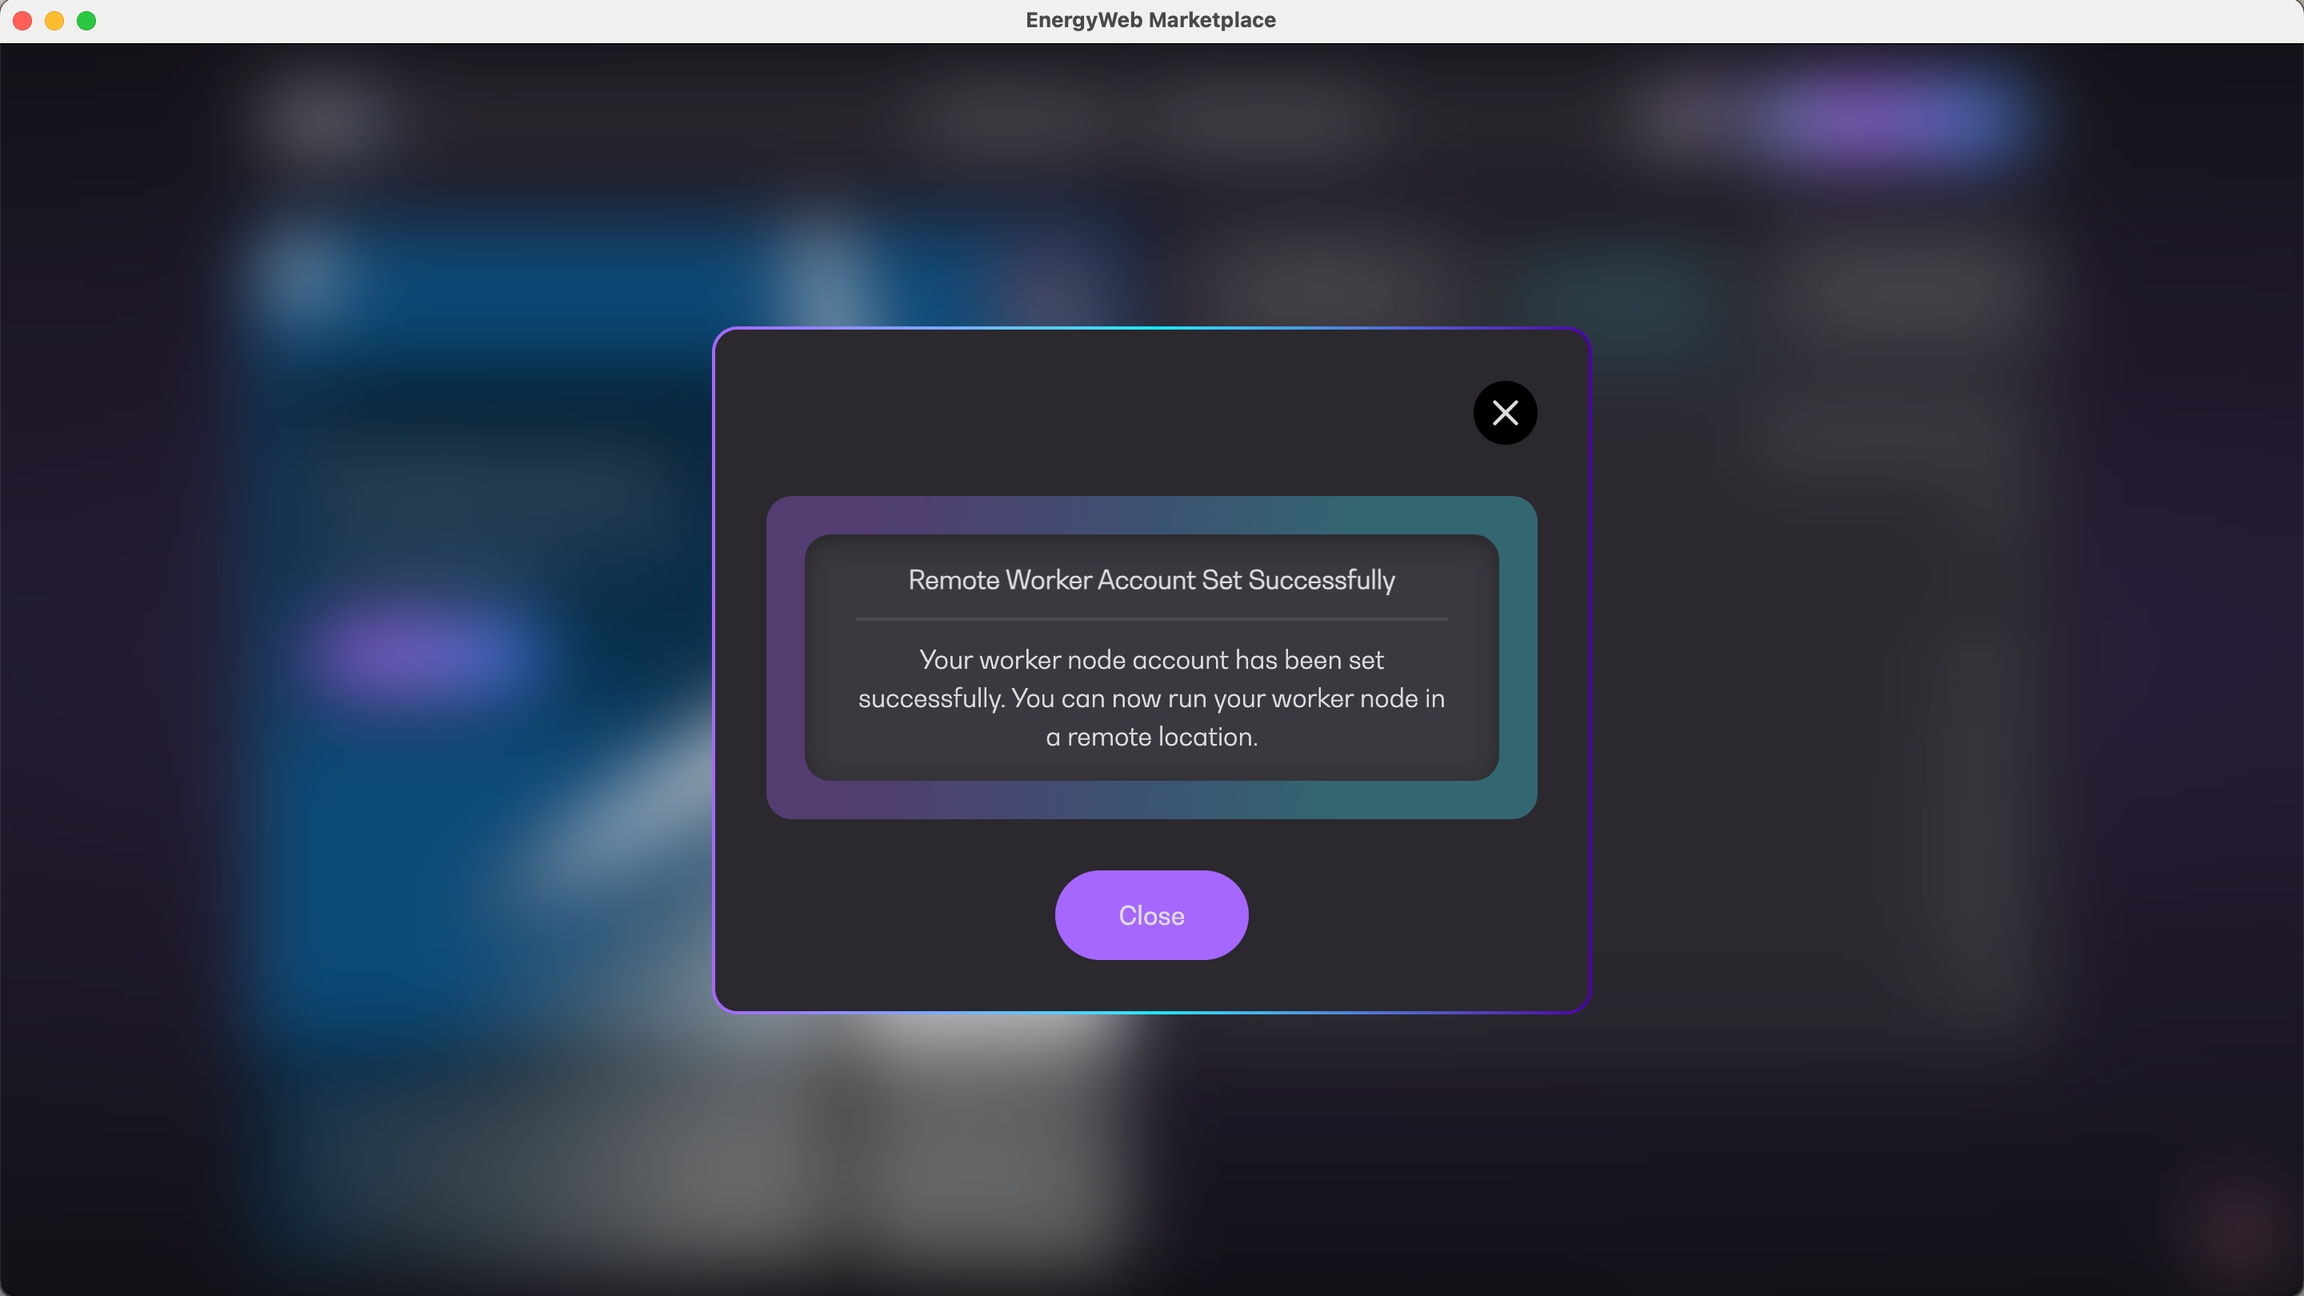
After setting your worker node public address above, you will be prompted to link your worker node account to your operator account.
Before using Ledger on the Marketplace App, the Polkadot app needs to be installed in the hardware wallet device. To do so, open the Ledger Live application in your computer and go to "My Ledger" section of the sidebar. Make sure your Ledger device is connected to the computer and unlocked when doing this.
In the "App Catalog" section, search for the Polkadot app and install it.
Confirm that the Polkadot app is correctly installed.
Now the device is ready to interact with the Polkadot chain, including the EWX chain.
Ledger Live app does not display EWX account and its balance as it is not yet supported. However, your EWX account and its balance may be confirmed on Polkadot Explorer or in the Marketplace App itself.
The Marketplace App directly communicates with your Ledger device without the need to use Ledger Live as long as Polkadot is installed.
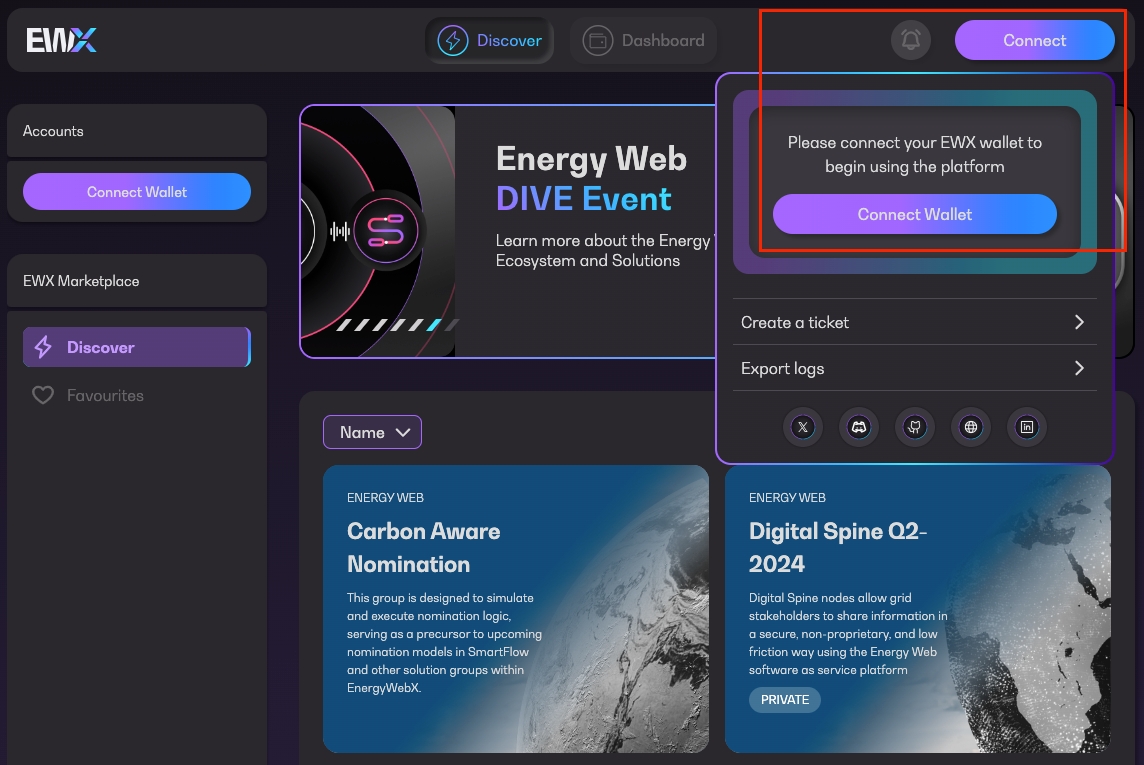
The first step to use Ledger with the EWX Marketplace application is to connect your hardware wallet. In this case, the process is very similar to connecting any other browser or mobile-based wallet. The user needs to click on the “Connect” button that appears both in the top-right corner of the screen.
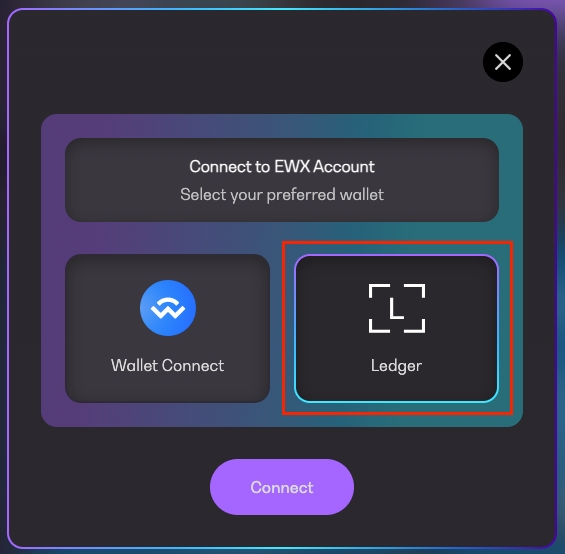
A dialog will pop up, and the user can choose its preferred method to connect the wallet - in this case, choose Ledger.
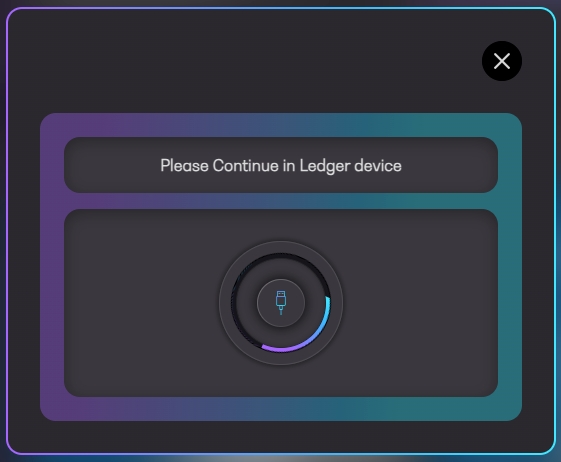
The user will be prompted to continue the connection process in the hardware device.
By default, the Ledger device will look like this when unlocked:
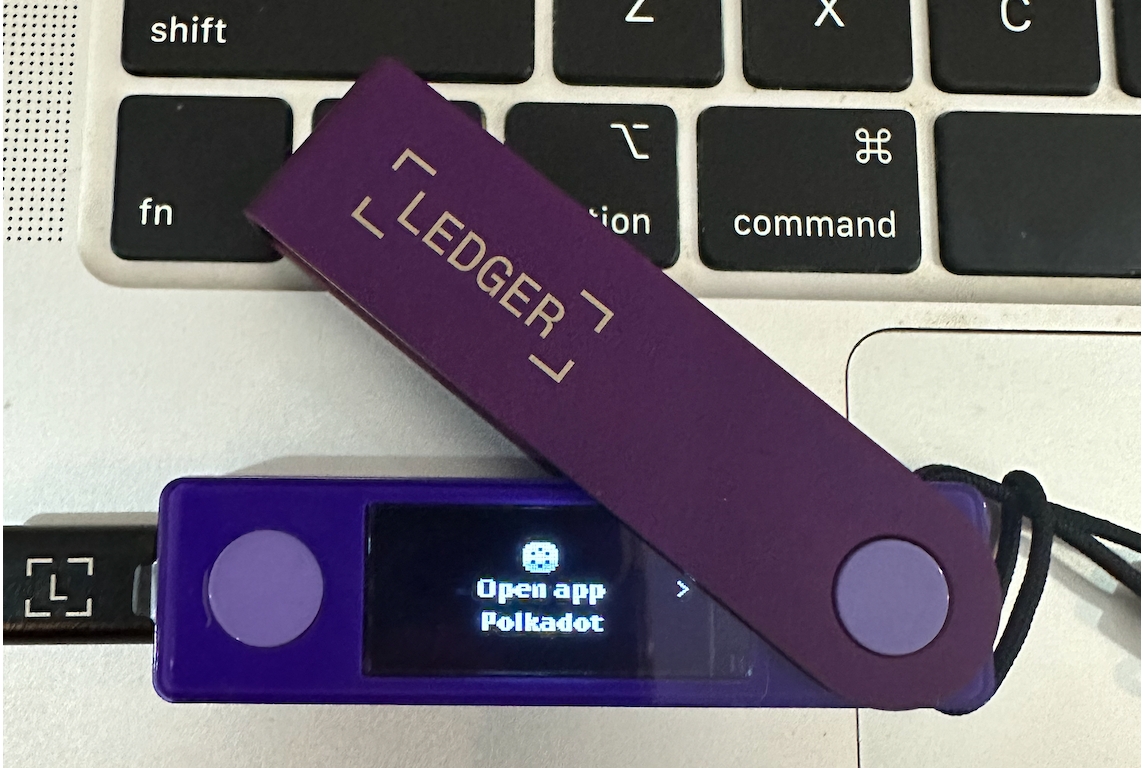
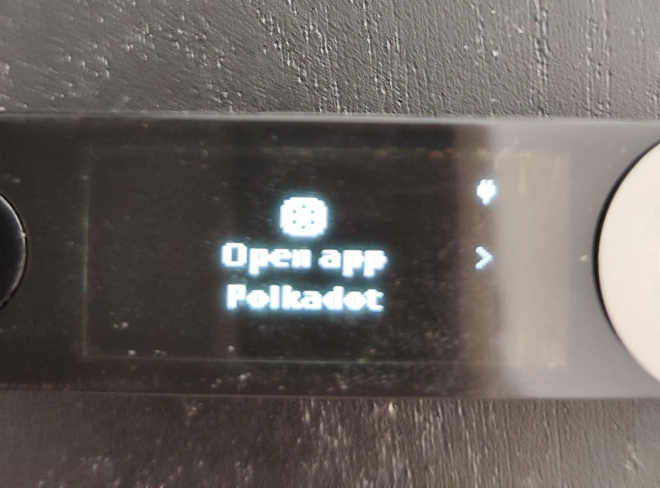
After starting the connection process, the user needs to open the Polkadot application on the Ledger device.
After opening the Polkadot app (pressing both buttons at the same time), this will appear on the device:
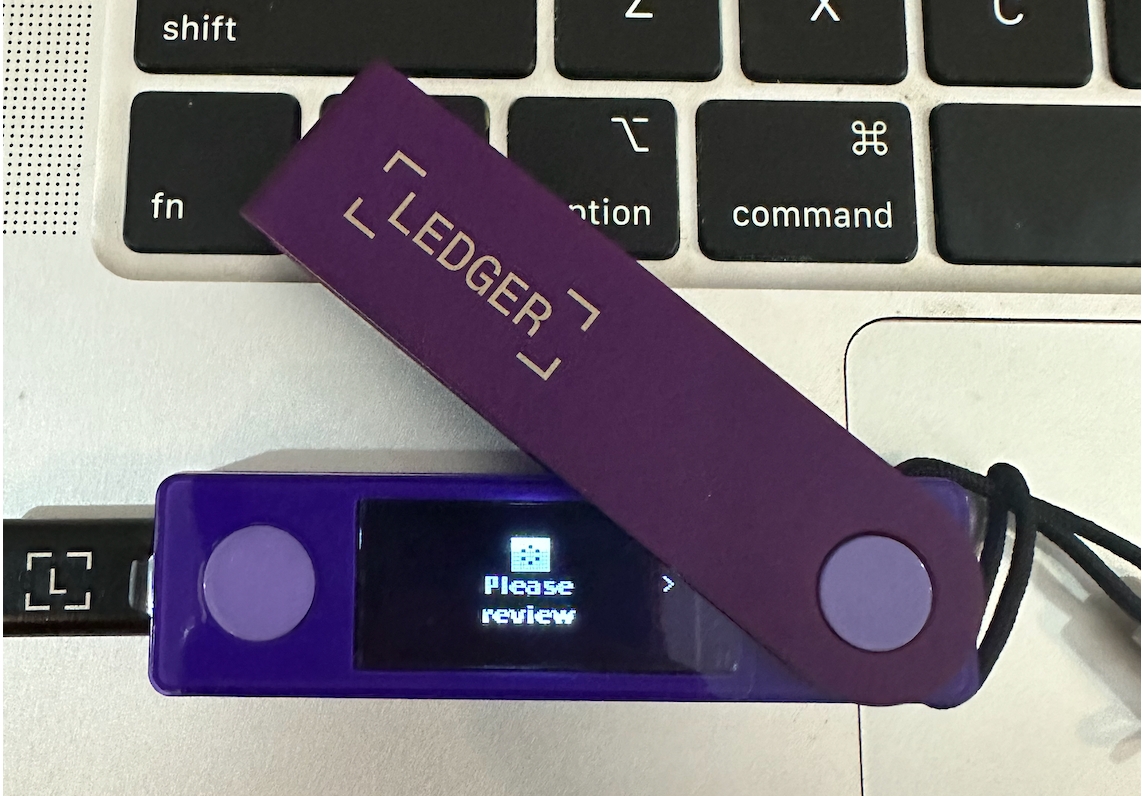
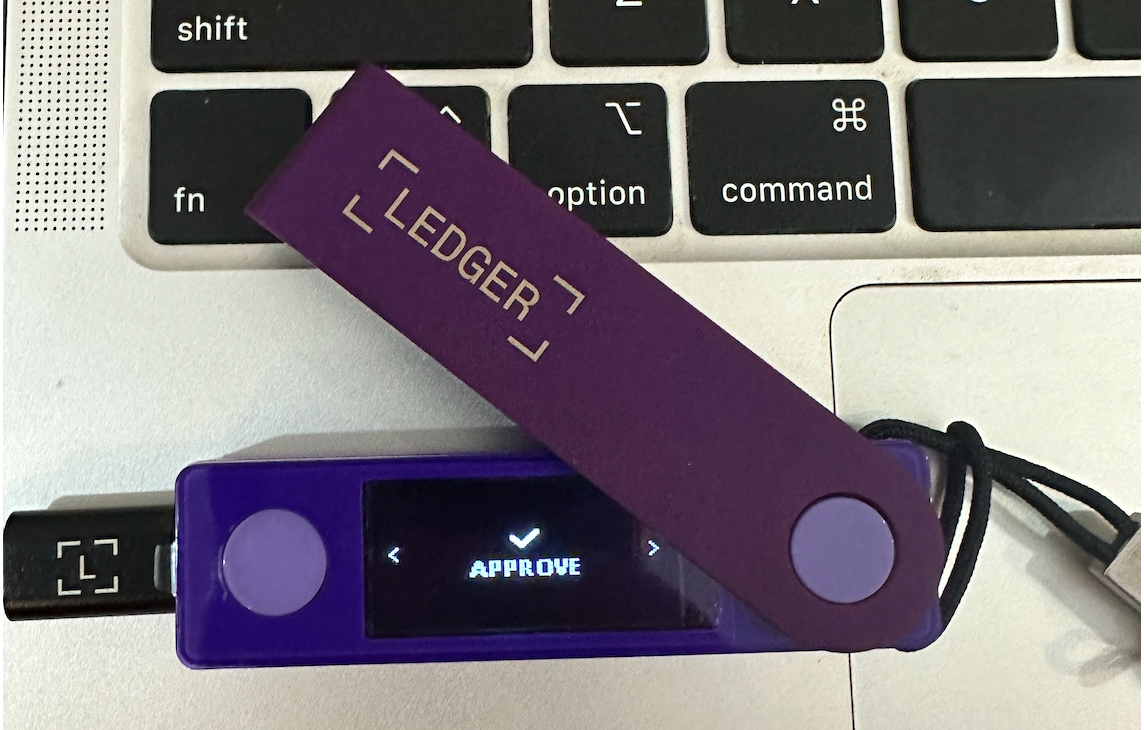
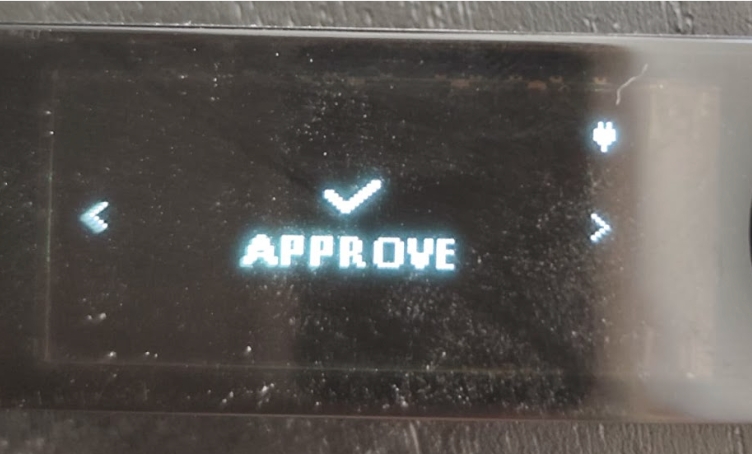
That means there is an ongoing operation that needs to approve. To do that, press the right button until the “Approve” screen is displayed.
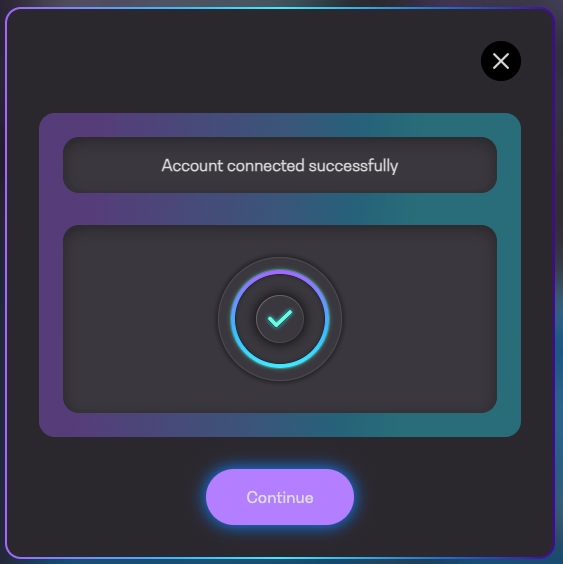
After approval, below shows the confirmation that the user is connected to the Ledger account successfully.
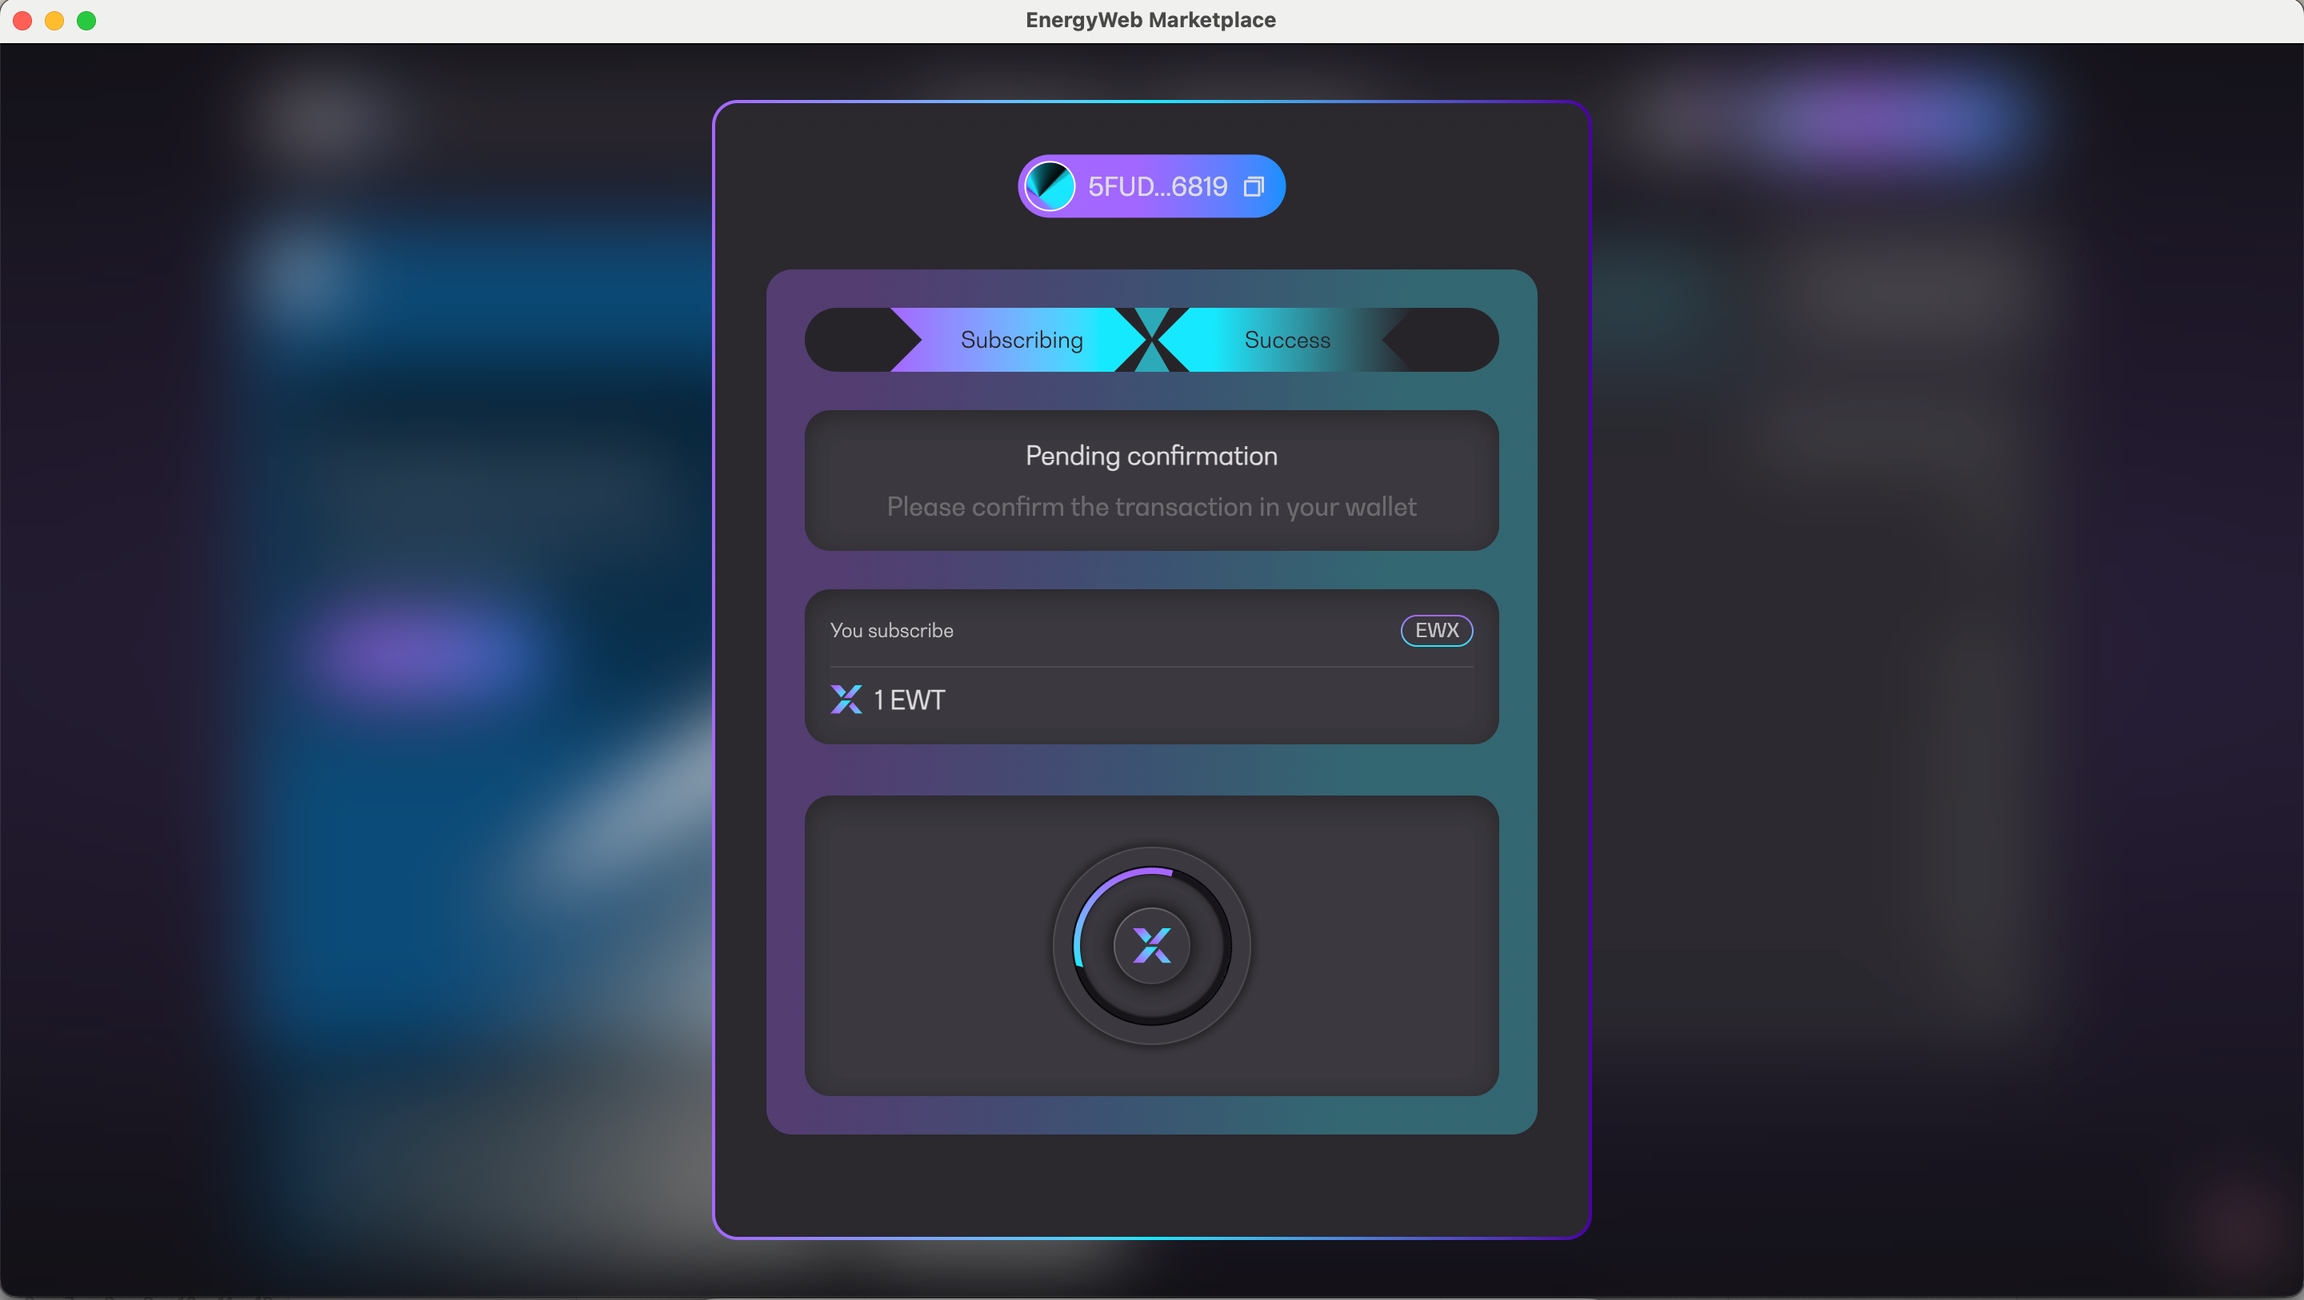
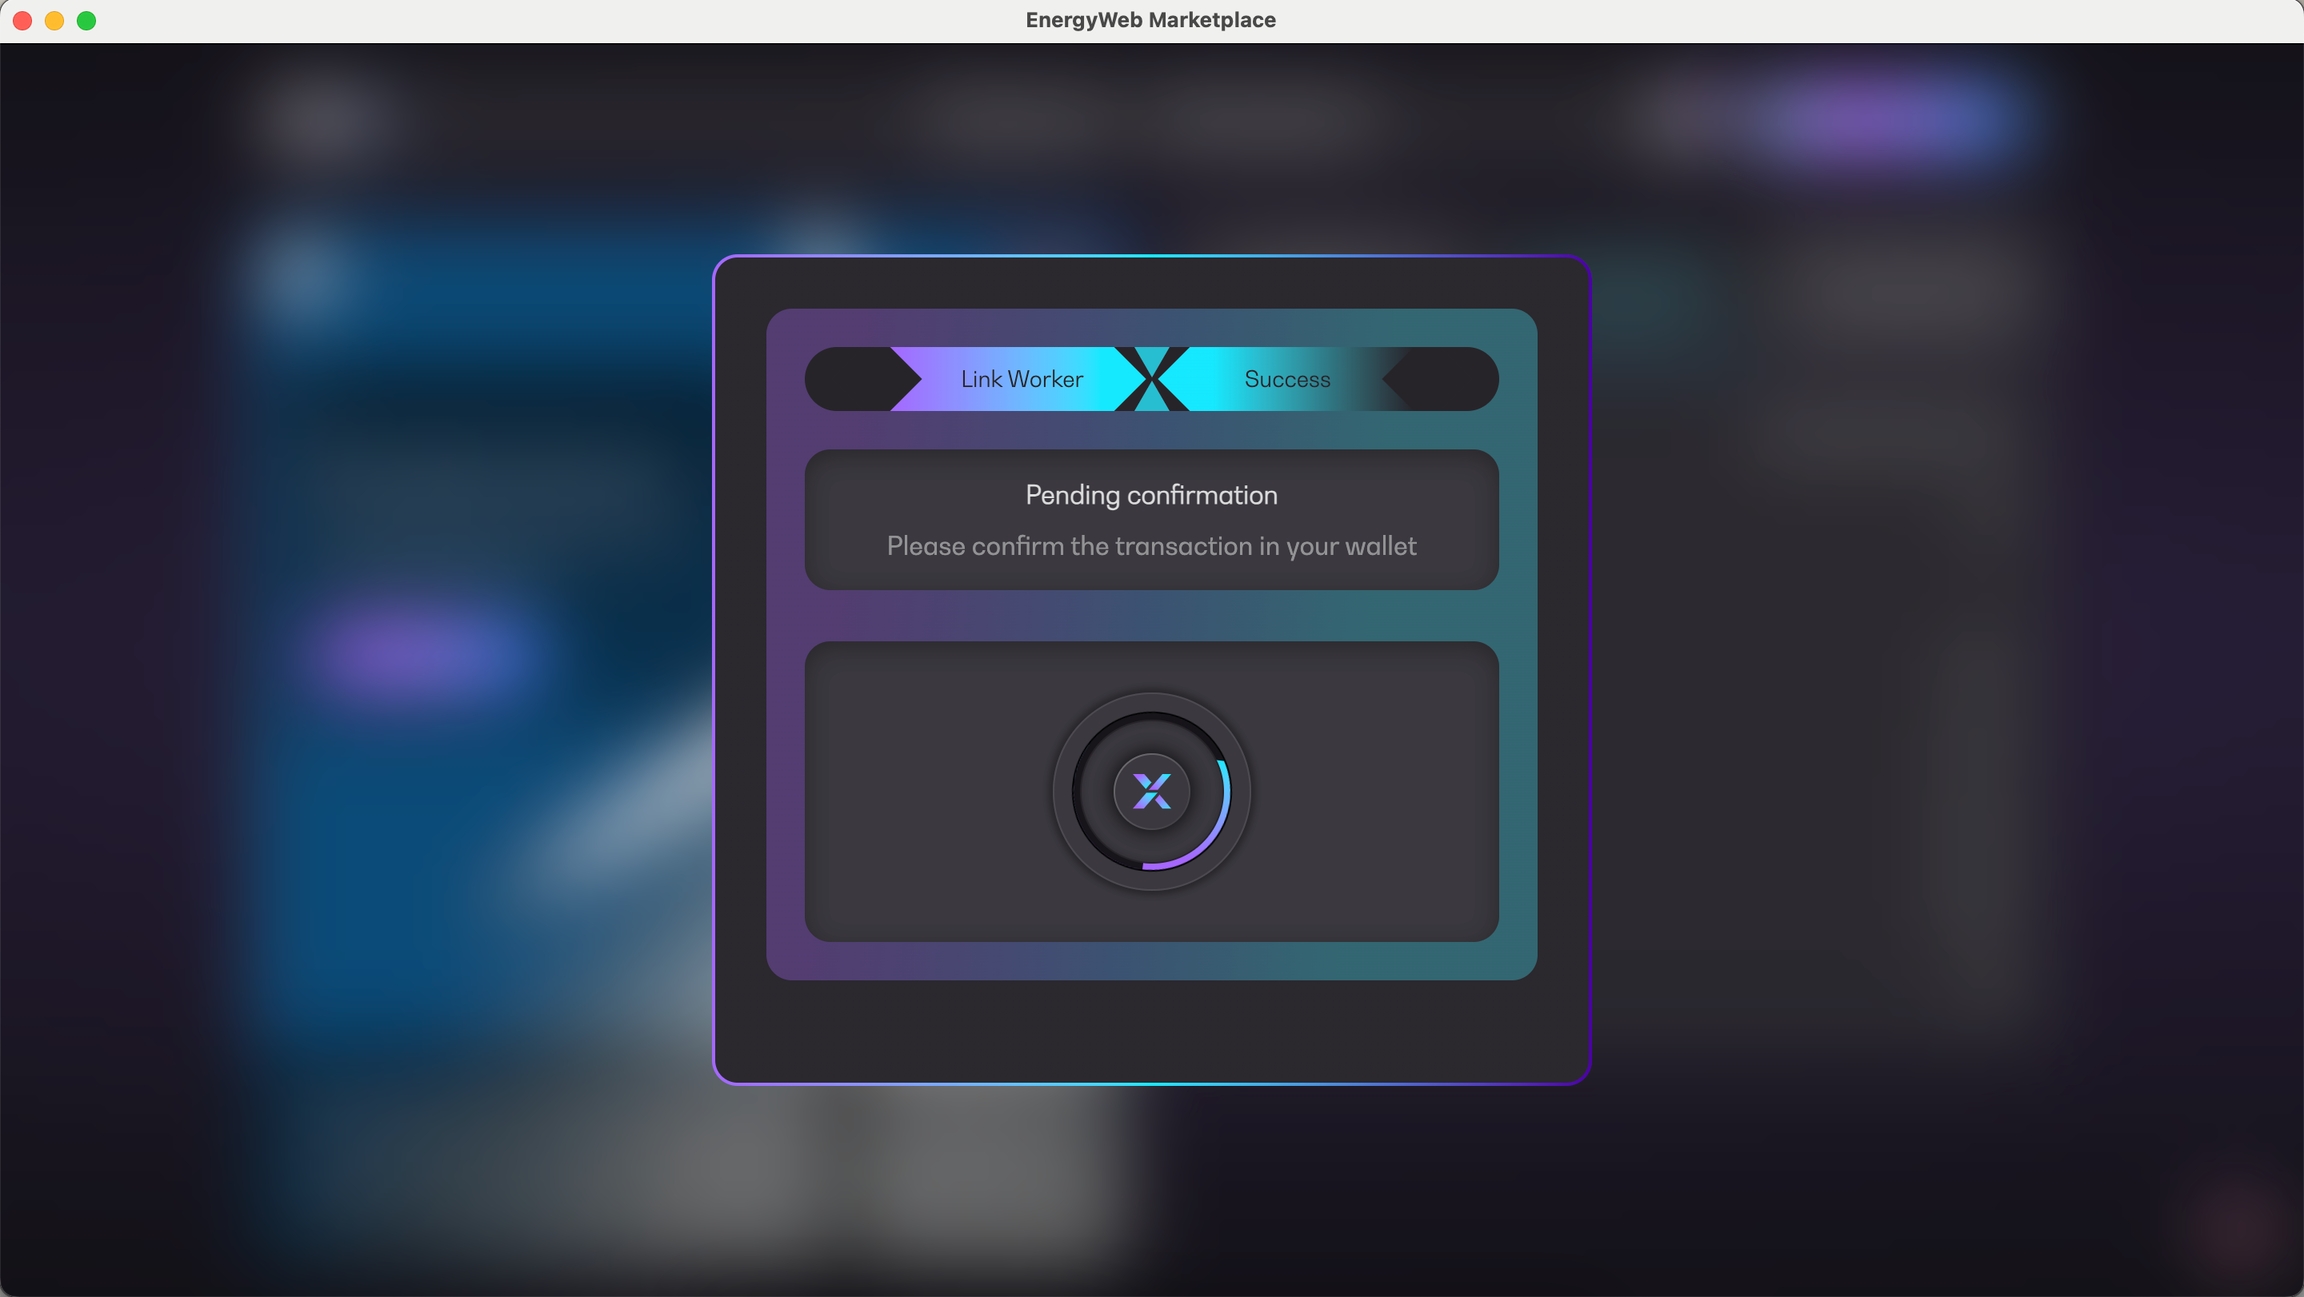
The process is very similar to the browser-based wallet, and applies to all the different transactions available on the app: lowering, sign up as operator, subscribe, link worker account, unsubscribe, top-up stake and claim rewards. After initiating a transaction, for example - lowering, the user will see a ‘Pending confirmation’ screen. The user needs to confirm the operation using the same method used to connect to the wallet.
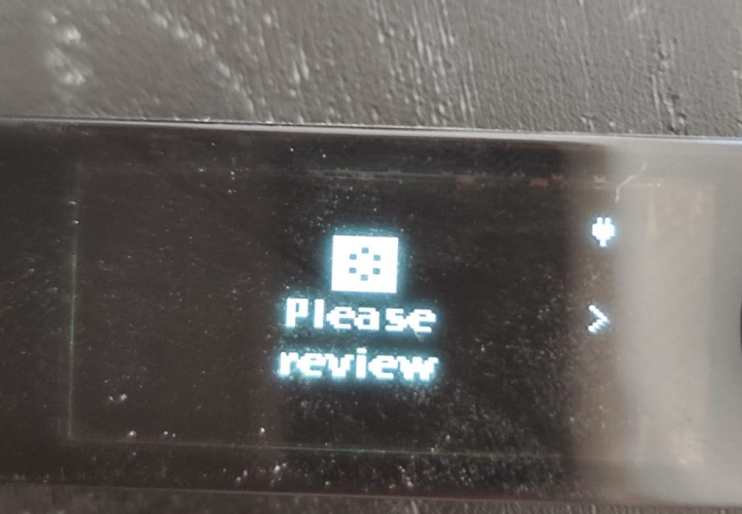
When this screen appears, open the Polkadot account on the Ledger device, just like before.
After opening the app, review and approve the operation.
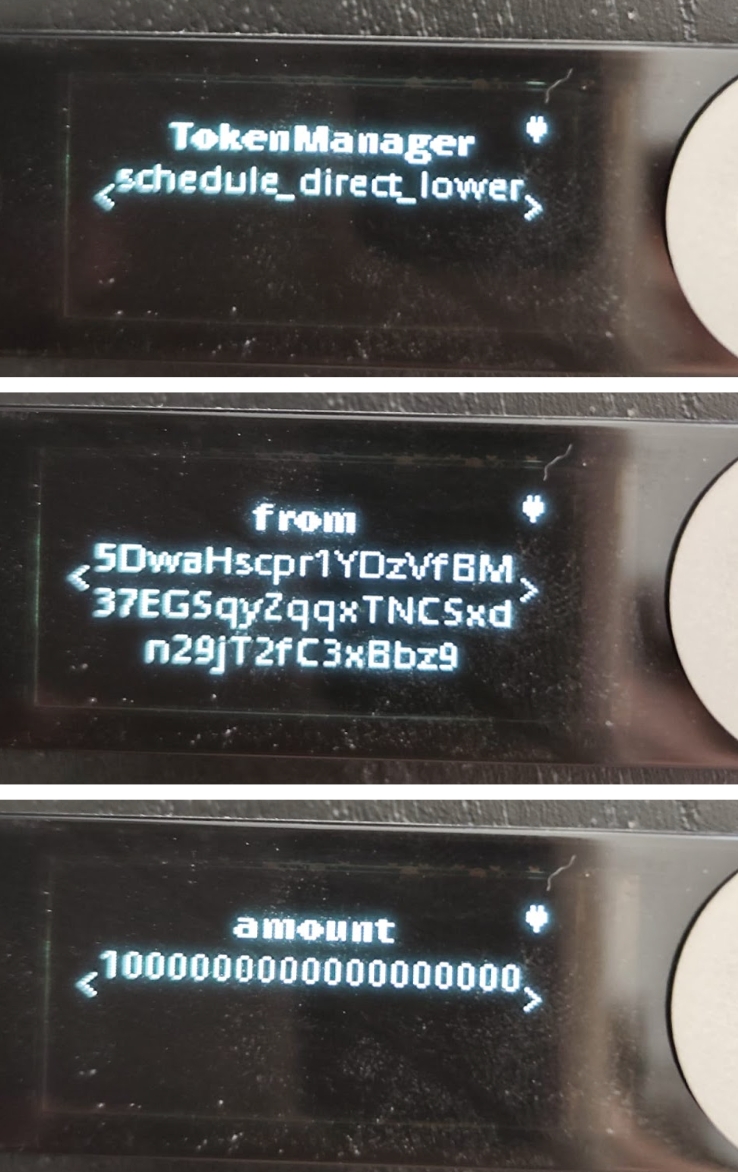
The details of the transaction are displayed on the device just like on the next sample screens.
Proceed to approve the operation.
The progress screen on the app immediately changes, displaying the “Executing transaction” title. At this point, the transaction has been sent and is being processed on the blockchain.
If the transaction finished successfully, the success screen and the corresponding tx hash are displayed. This concludes the entire transaction process.
