Loading...
Loading...
Loading...
Loading...
Loading...
Loading...
Loading...
Loading...
Loading...
Loading...
Loading...
Loading...
This section provides step by step instruction on how to use the Marketplace app.
Download and install the app now to get started.
The Marketplace App is a decentralized desktop application which provides an intuitive interface for the general community having limited technical background to easily participate in running worker nodes on their local machines.
It supports Windows, MacOS, and Ubuntu systems.
Download and install the Marketplace app on your machine from the download links provided in the official EWX Website.
Below are some examples of how a worker node can actually work.
Lifting is the process of migrating EWTs from Energy Web Chain (EWC) to Energy Web X (EWX).
Lifted tokens take approximately 30 minutes to reflect in your EWX account after successful transaction from the Marketplace app.
Lowering is the process of migrating EWTs from Energy Web X (EWX) to Energy Web Chain (EWC).
Lowered tokens take approximately 24 hours to reflect in your EWC account after successful transaction from the Marketplace app.
Before using Ledger on the Marketplace App, the Polkadot app needs to be installed in the hardware wallet device. To do so, open the Ledger Live application in your computer and go to "My Ledger" section of the sidebar. Make sure your Ledger device is connected to the computer and unlocked when doing this.
In the "App Catalog" section, search for the Polkadot app and install it.
Confirm that the Polkadot app is correctly installed.
Now the device is ready to interact with the Polkadot chain, including the EWX chain.
Ledger Live app does not display EWX account and its balance as it is not yet supported. However, your EWX account and its balance may be confirmed on Polkadot Explorer or in the Marketplace App itself.
The Marketplace App directly communicates with your Ledger device without the need to use Ledger Live as long as Polkadot is installed.
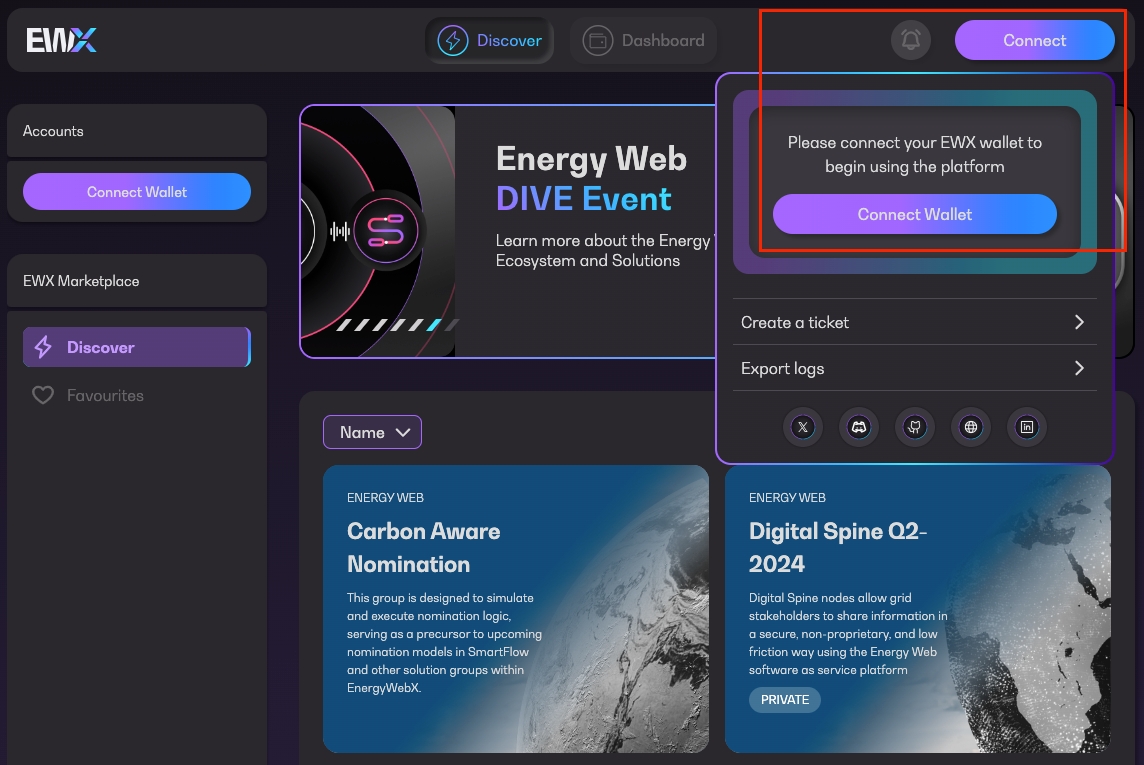
The first step to use Ledger with the EWX Marketplace application is to connect your hardware wallet. In this case, the process is very similar to connecting any other browser or mobile-based wallet. The user needs to click on the “Connect” button that appears both in the top-right corner of the screen.
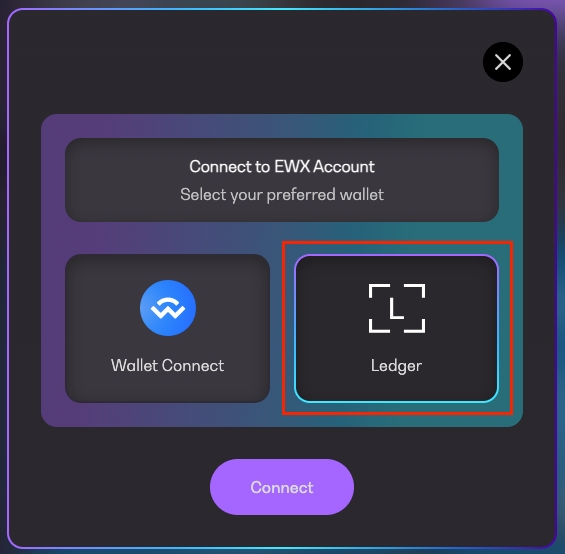
A dialog will pop up, and the user can choose its preferred method to connect the wallet - in this case, choose Ledger.
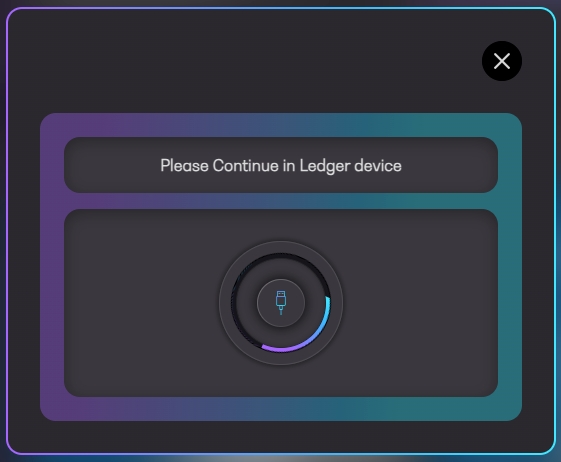
The user will be prompted to continue the connection process in the hardware device.
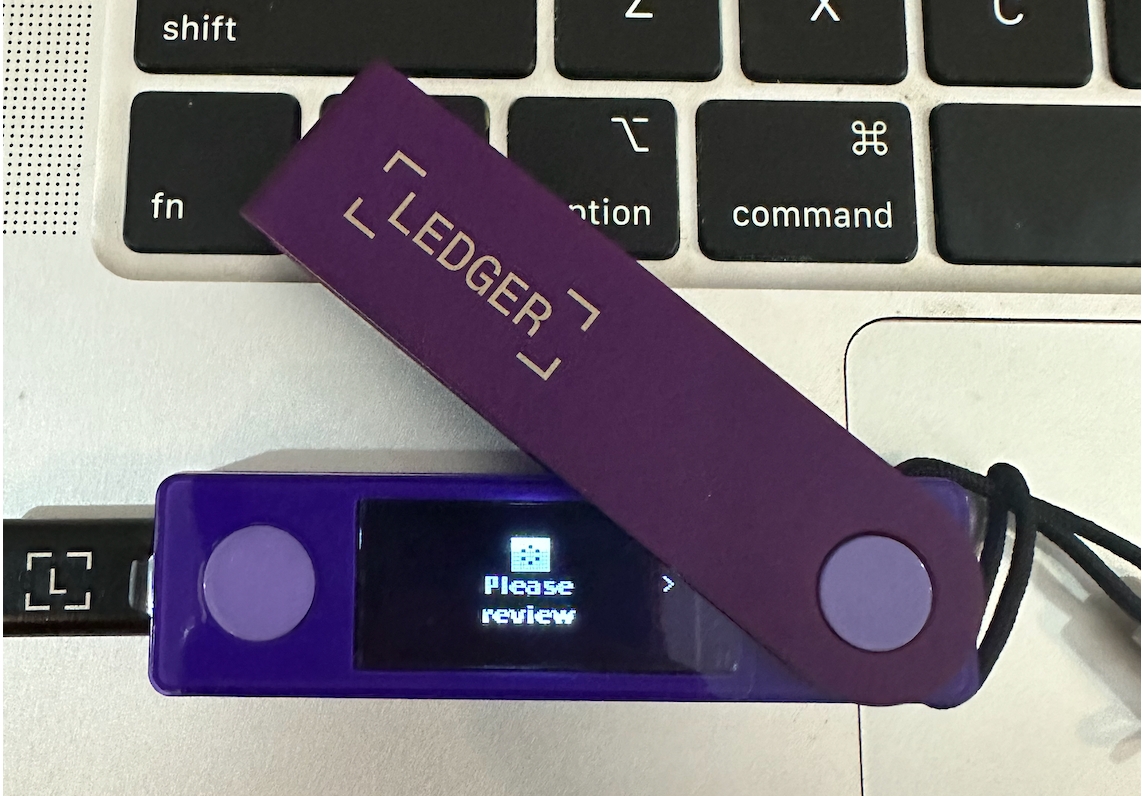
By default, the Ledger device will look like this when unlocked:
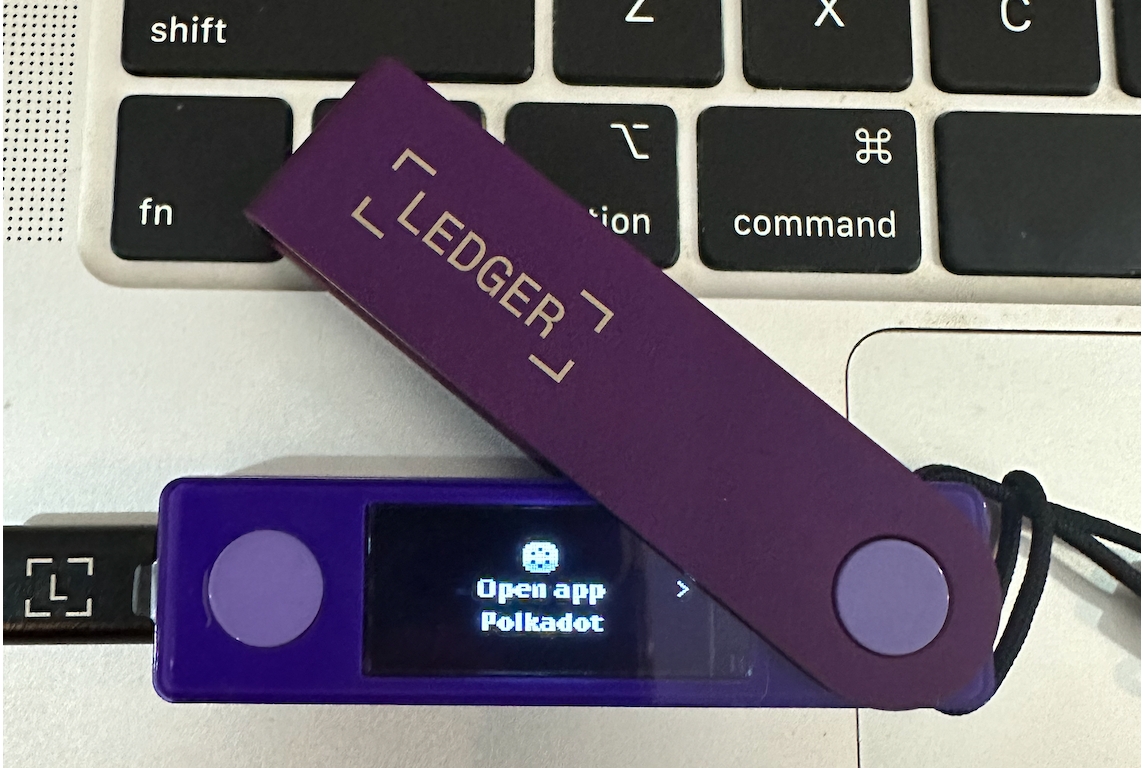
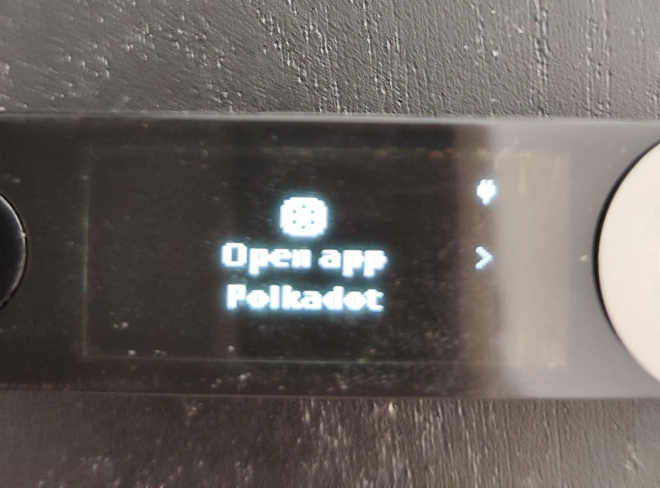
After starting the connection process, the user needs to open the Polkadot application on the Ledger device.
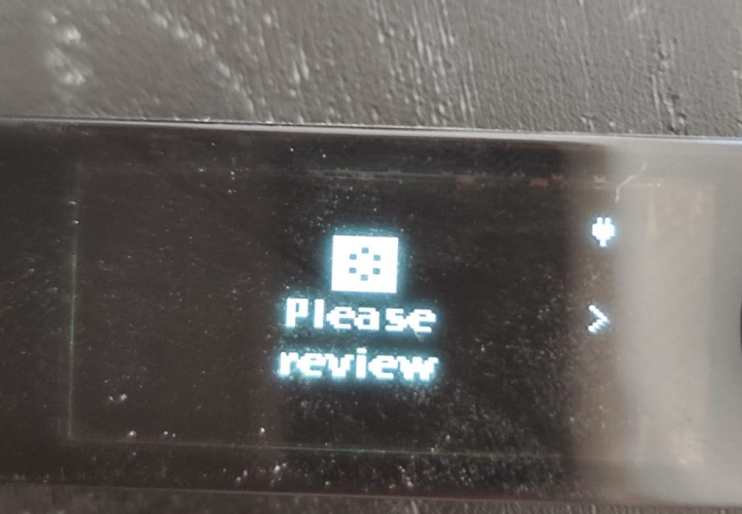
After opening the Polkadot app (pressing both buttons at the same time), this will appear on the device:
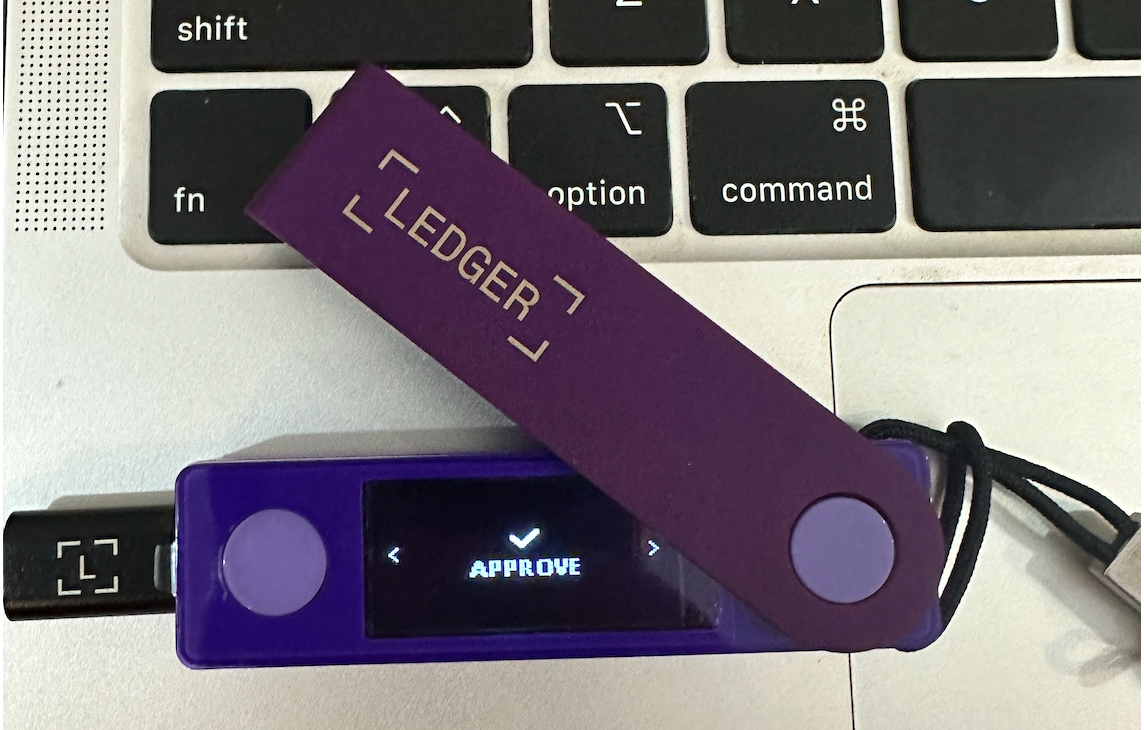
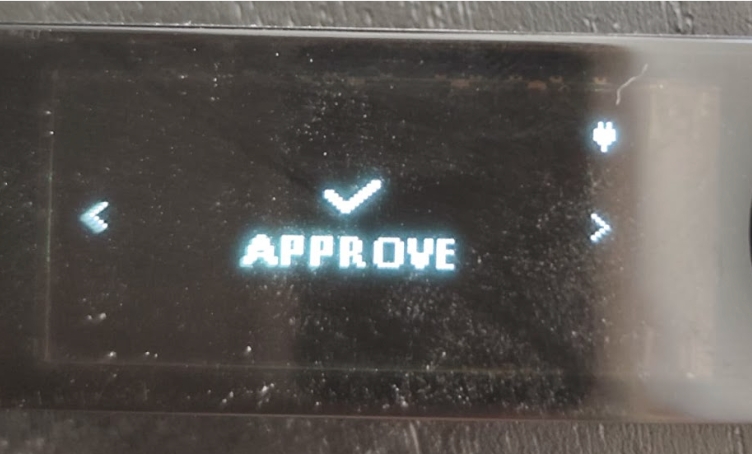
That means there is an ongoing operation that needs to approve. To do that, press the right button until the “Approve” screen is displayed.
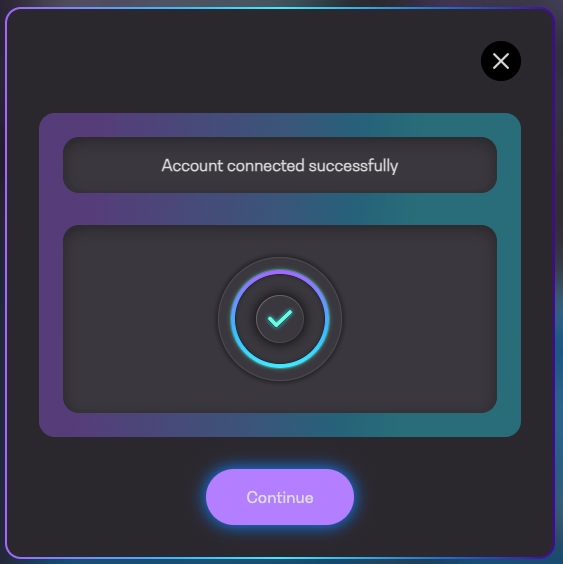
After approval, below shows the confirmation that the user is connected to the Ledger account successfully.
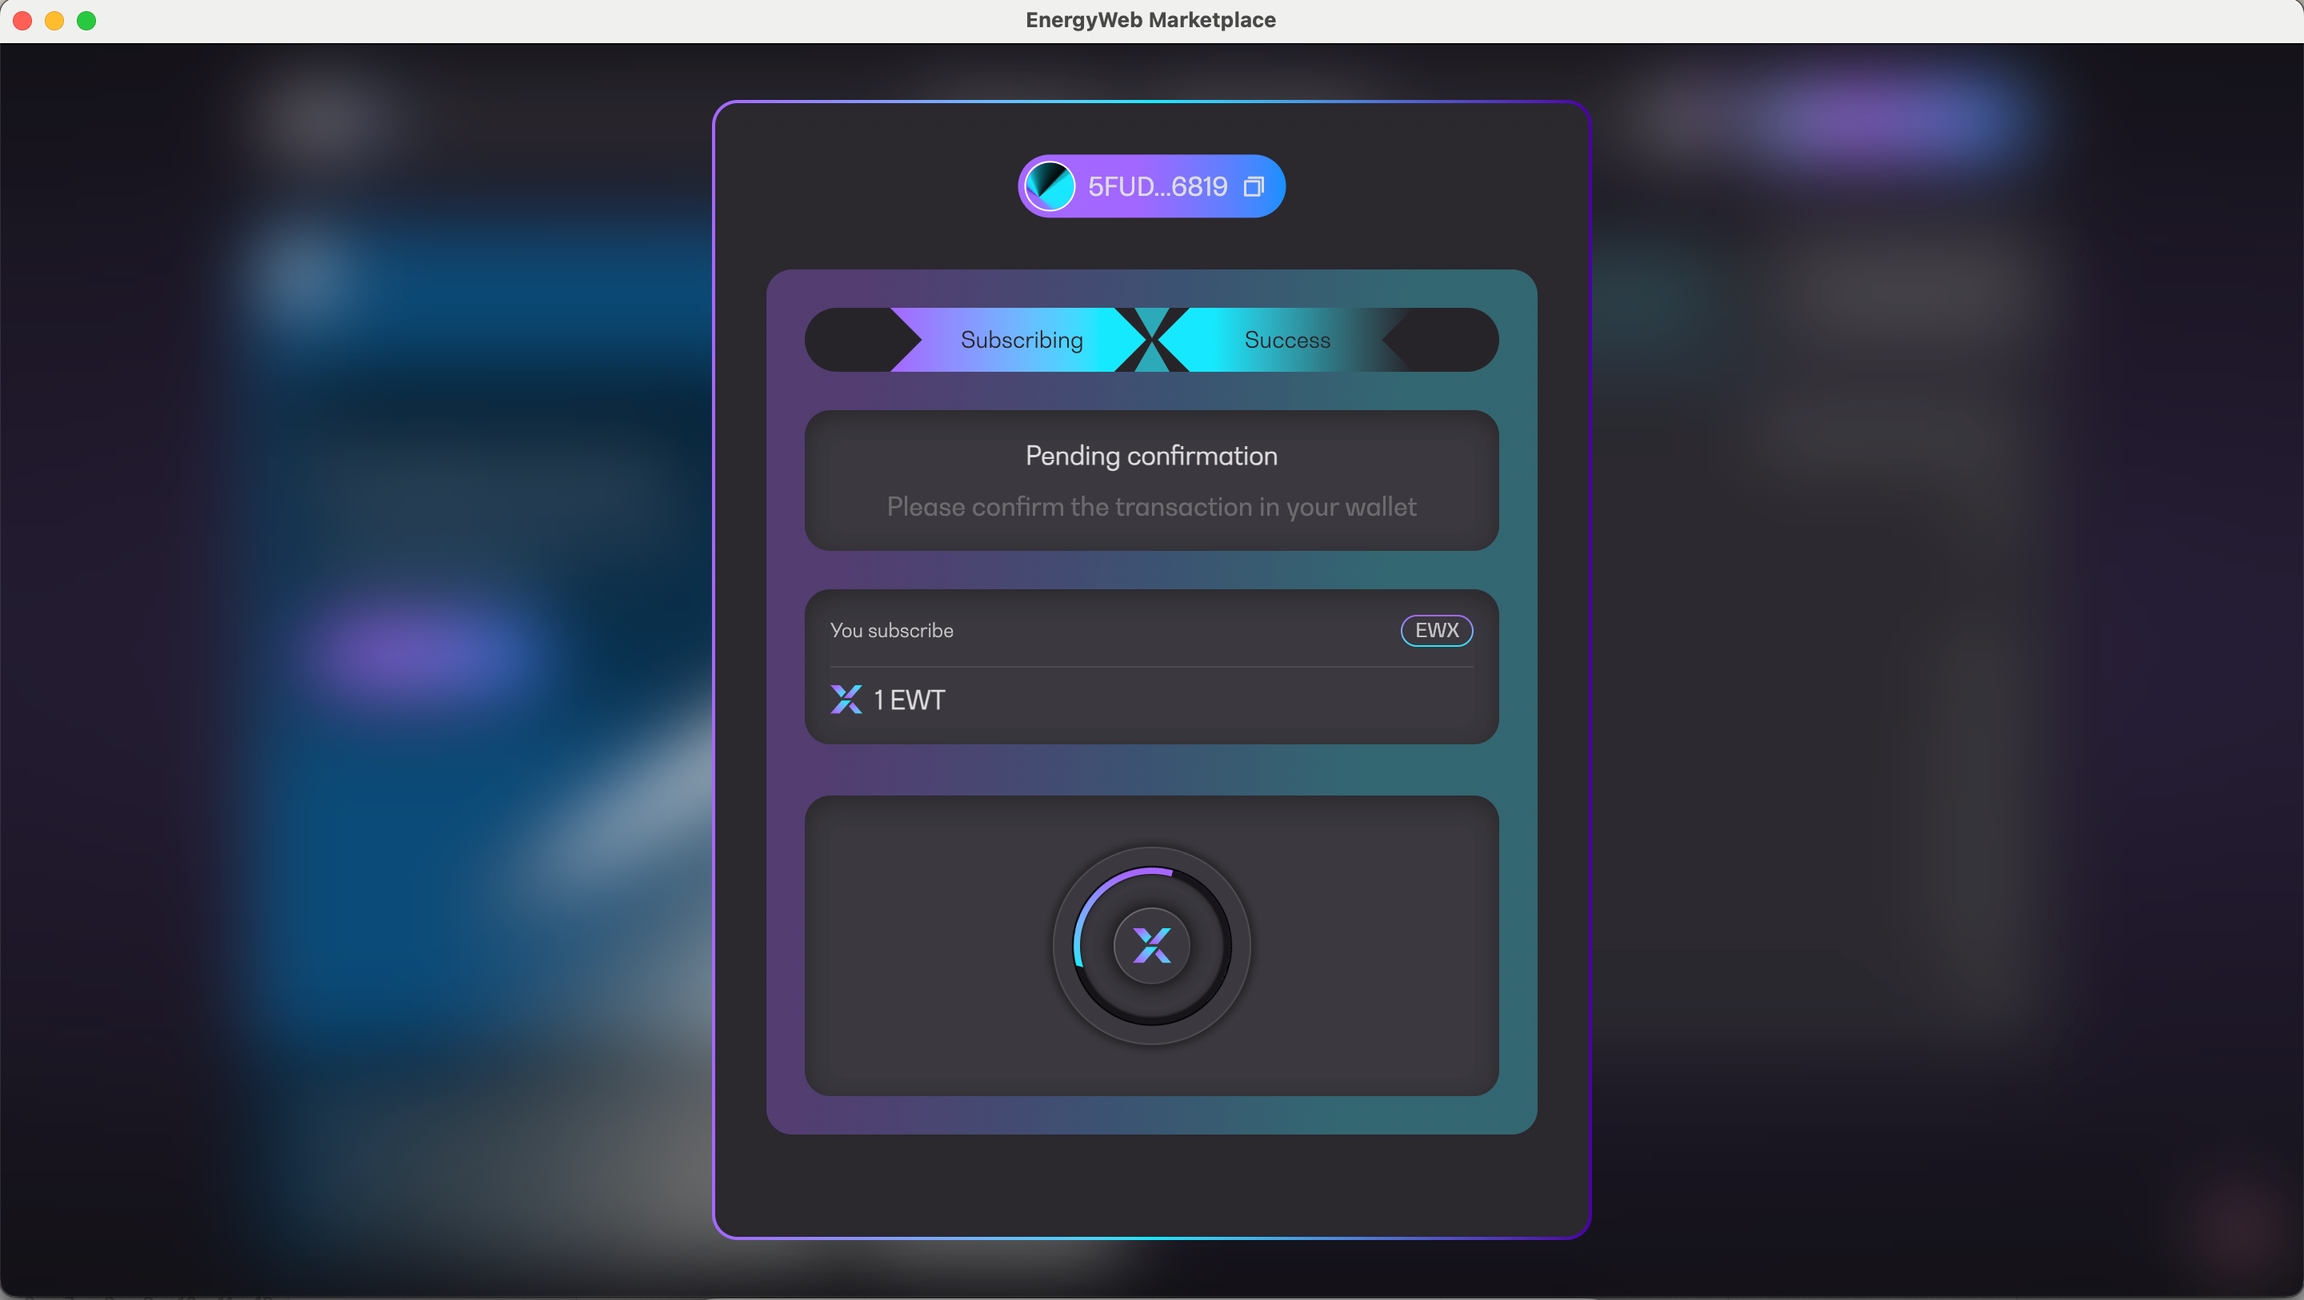
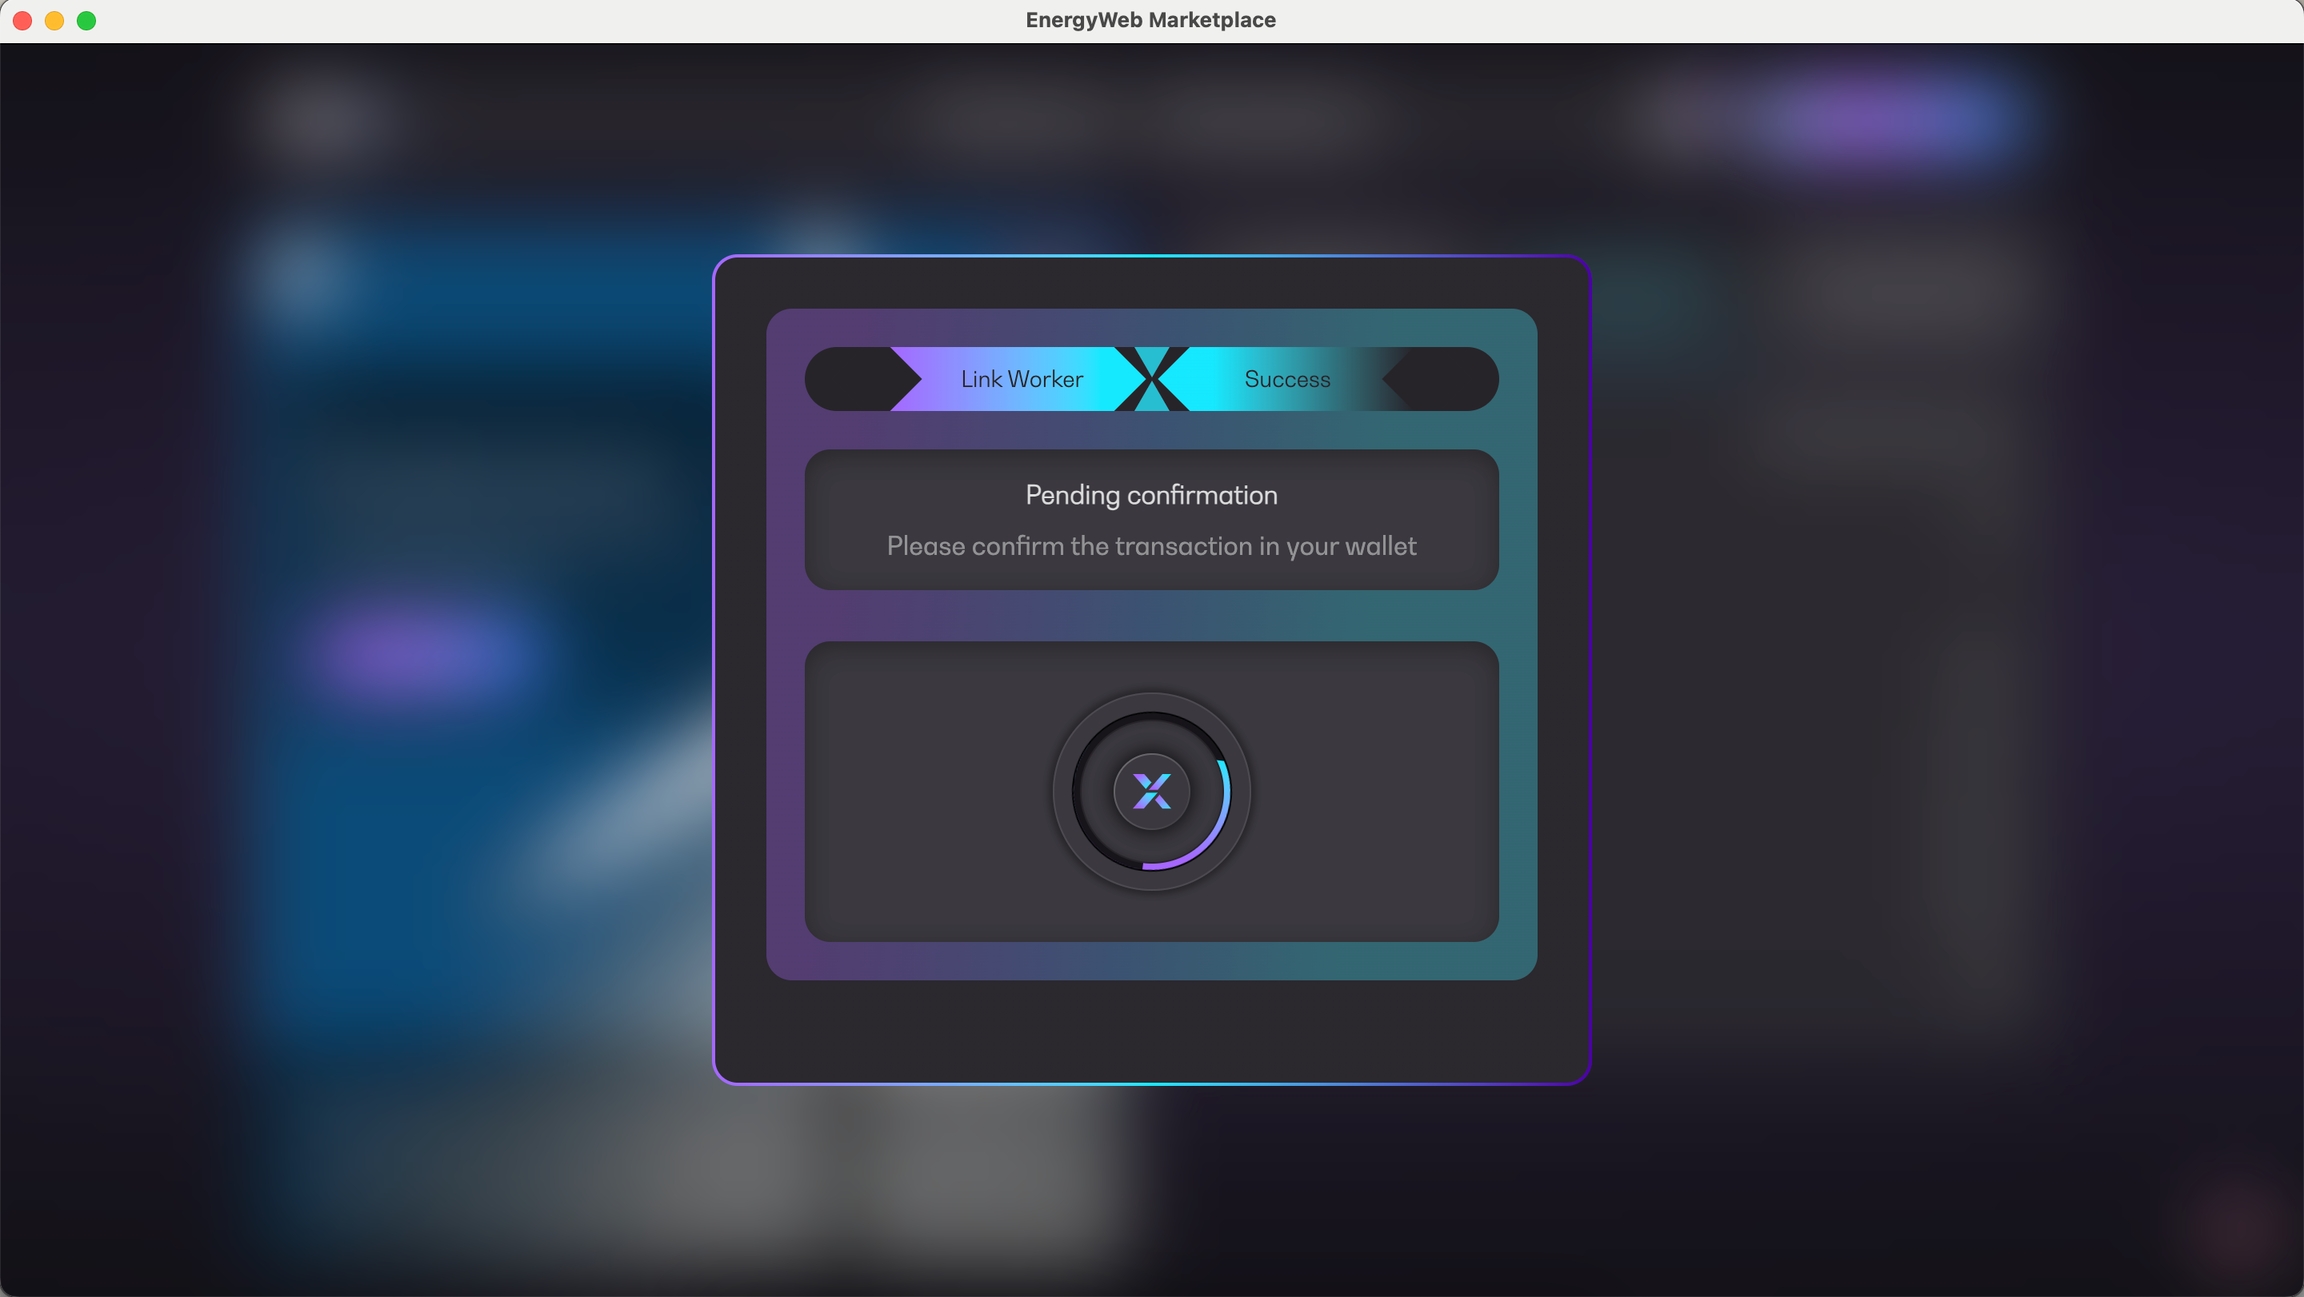
The process is very similar to the browser-based wallet, and applies to all the different transactions available on the app: lowering, sign up as operator, subscribe, link worker account, unsubscribe, top-up stake and claim rewards. After initiating a transaction, for example - lowering, the user will see a ‘Pending confirmation’ screen. The user needs to confirm the operation using the same method used to connect to the wallet.
When this screen appears, open the Polkadot account on the Ledger device, just like before.
After opening the app, review and approve the operation.
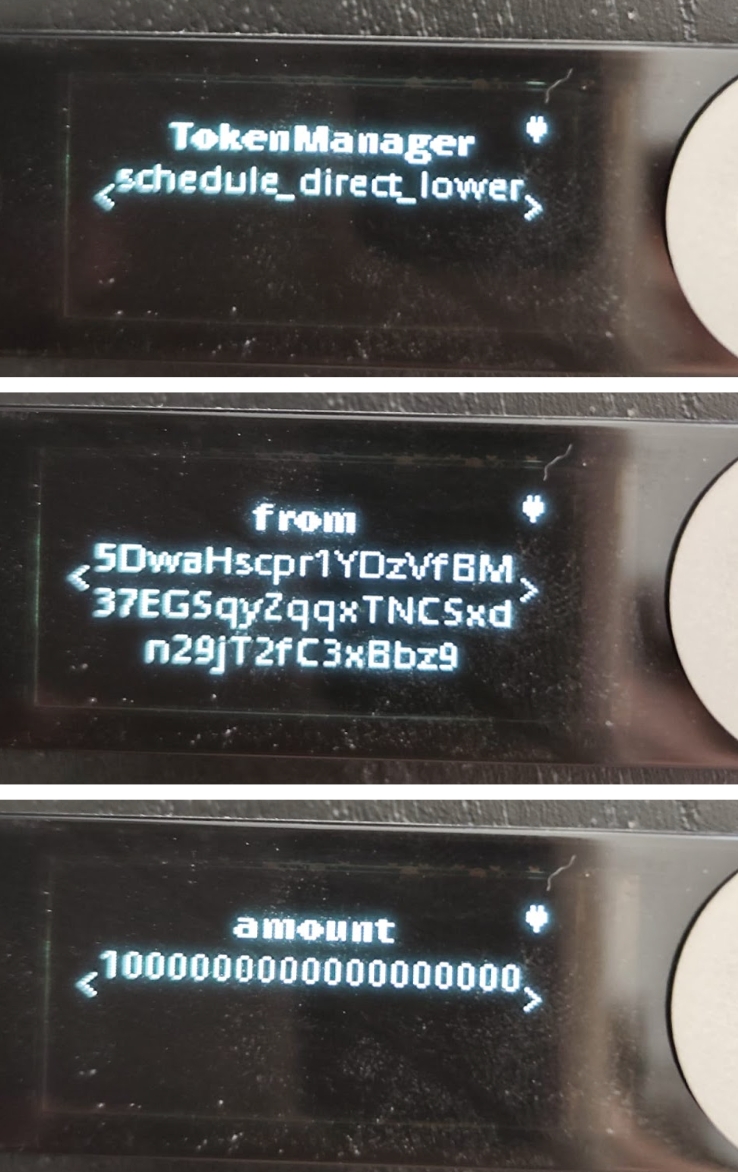
The details of the transaction are displayed on the device just like on the next sample screens.
Proceed to approve the operation.
The progress screen on the app immediately changes, displaying the “Executing transaction” title. At this point, the transaction has been sent and is being processed on the blockchain.
If the transaction finished successfully, the success screen and the corresponding tx hash are displayed. This concludes the entire transaction process.
Server-based worker node accounts can be created manually or generated from Launchpad. In any case, below are the steps to guide you on how to setup your account.
Operator Account - an EWX account which serves as the main account of the operator to be used in EWT management (lifting/lowering), subscriptions, rewards, etc
Worker Node Account - an EWX account with the sole purpose of casting votes on behalf of the operator
Marketplace Desktop App - download the latest version from https://www.energywebx.com/
Public Address of the Worker Node Account - the worker node account must already be created from Launchpad or from any wallet which supports EWX
Operator Account with enough EWT balance - create an account from any wallet which supports EWX and make sure to lift enough EWT for signing-up as operator, linking worker account to operator, opting-in to solution groups, etc
To sign-up as an operator, you must prepare your "operator" EWX account. This account is just a normal account created on EWX network via any supported Polkadot wallet. For now, we suggest to use Sub Wallet or Nova Wallet. Make sure to always keep your seedphrase copied and secured elsewhere. In addition, please ensure that your operator account has sufficient EWT balance to proceed with any on-chain transaction.
Please follow below steps to sign-up as an operator.
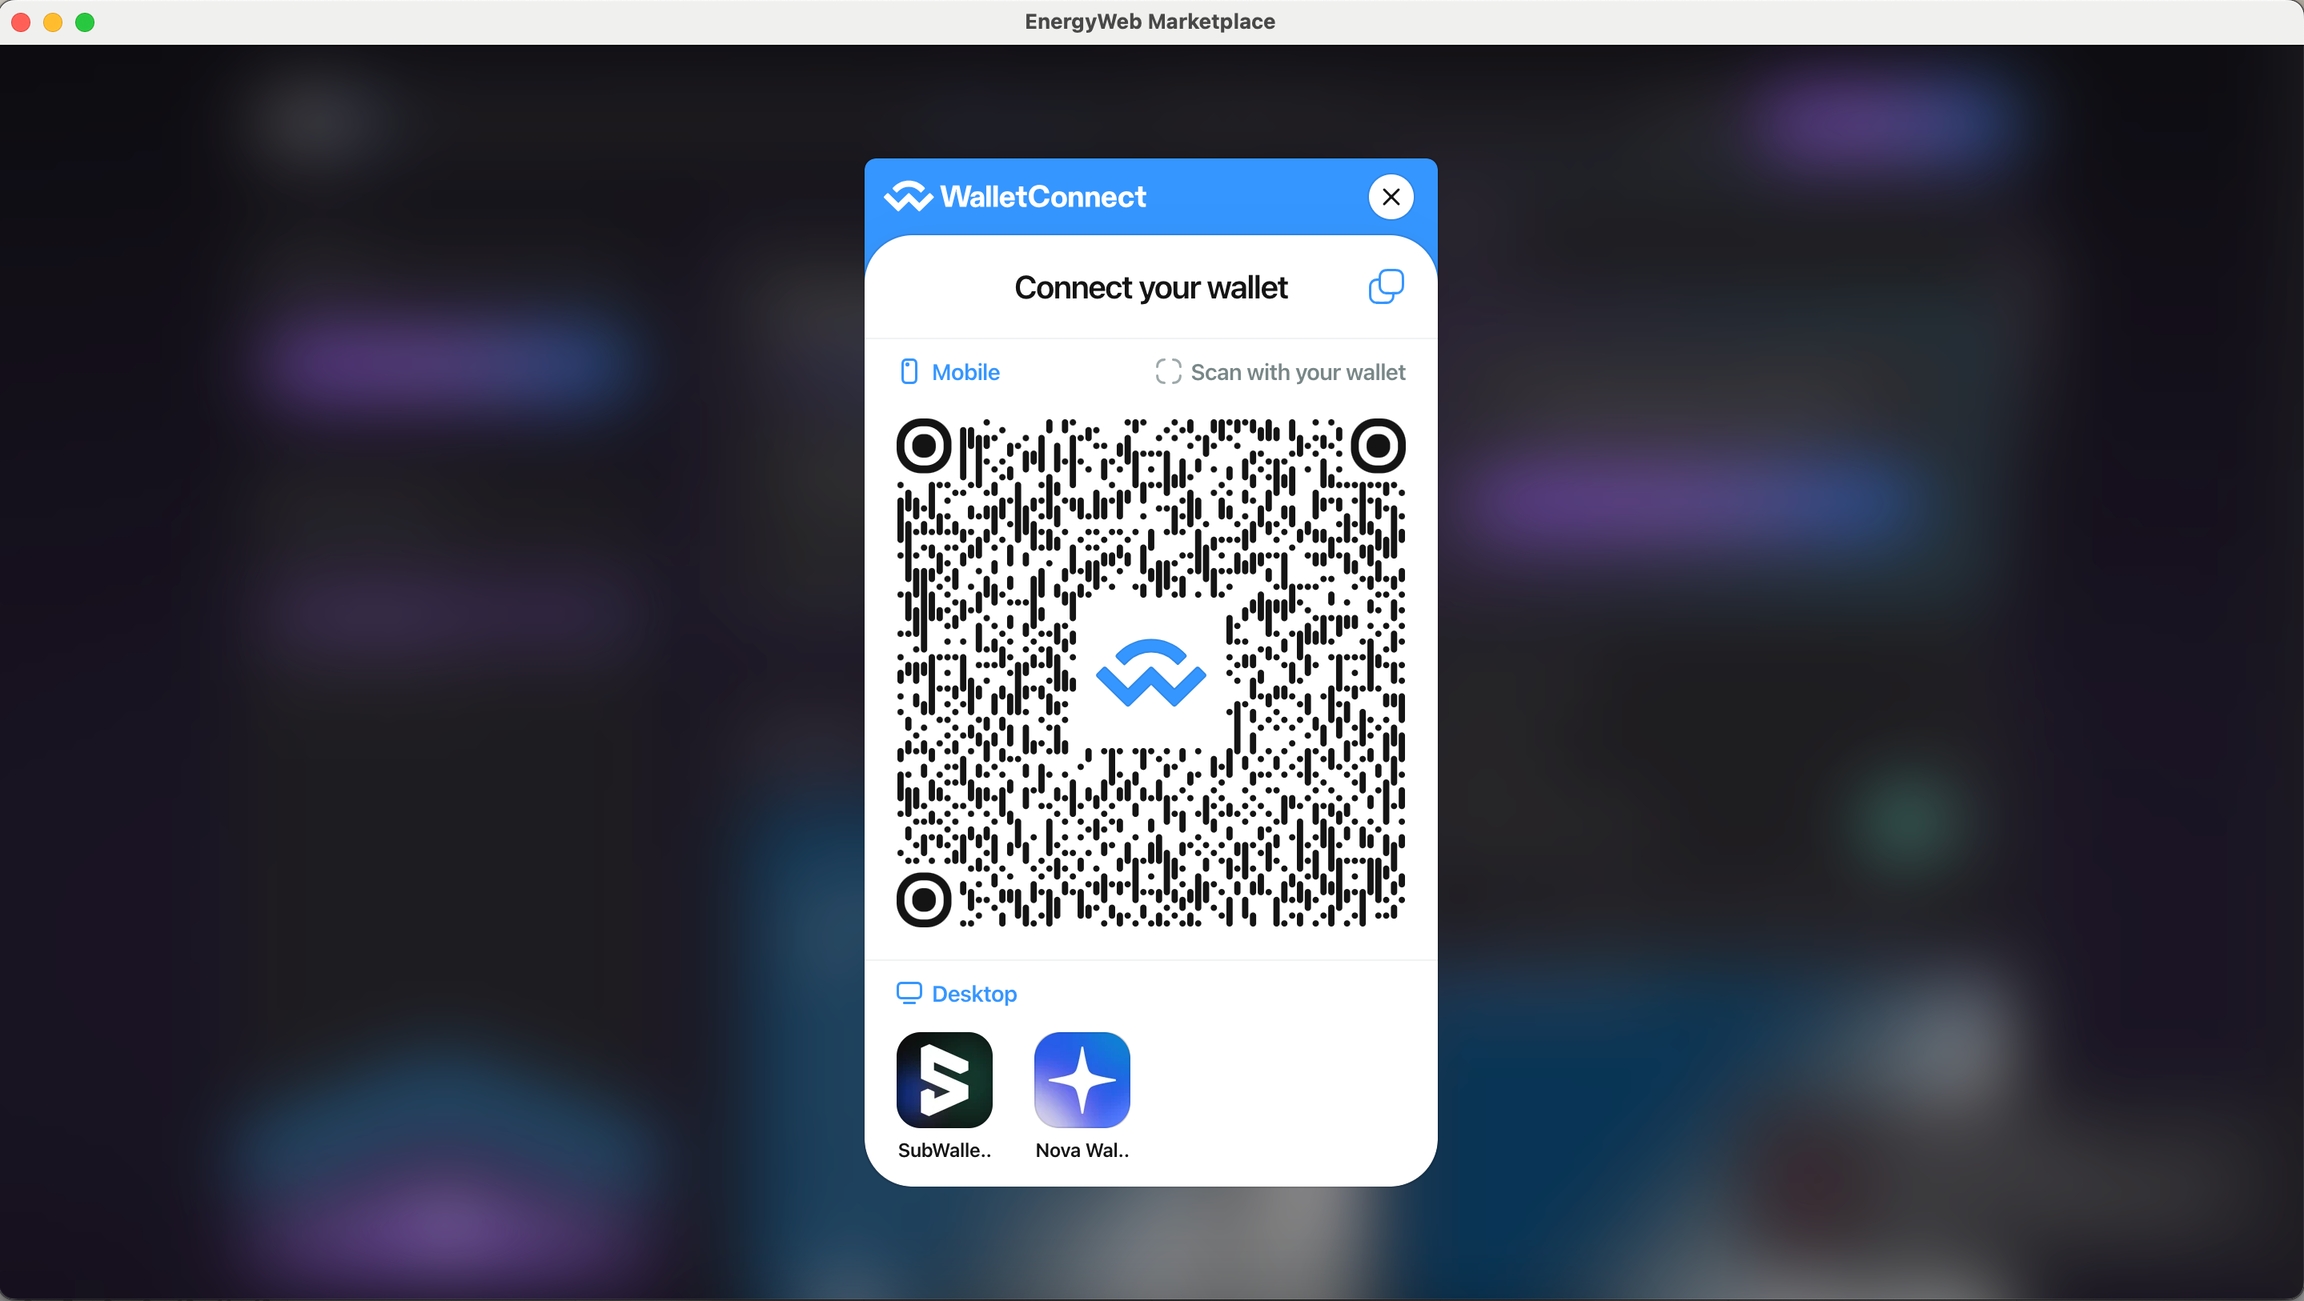
Connect your operator account
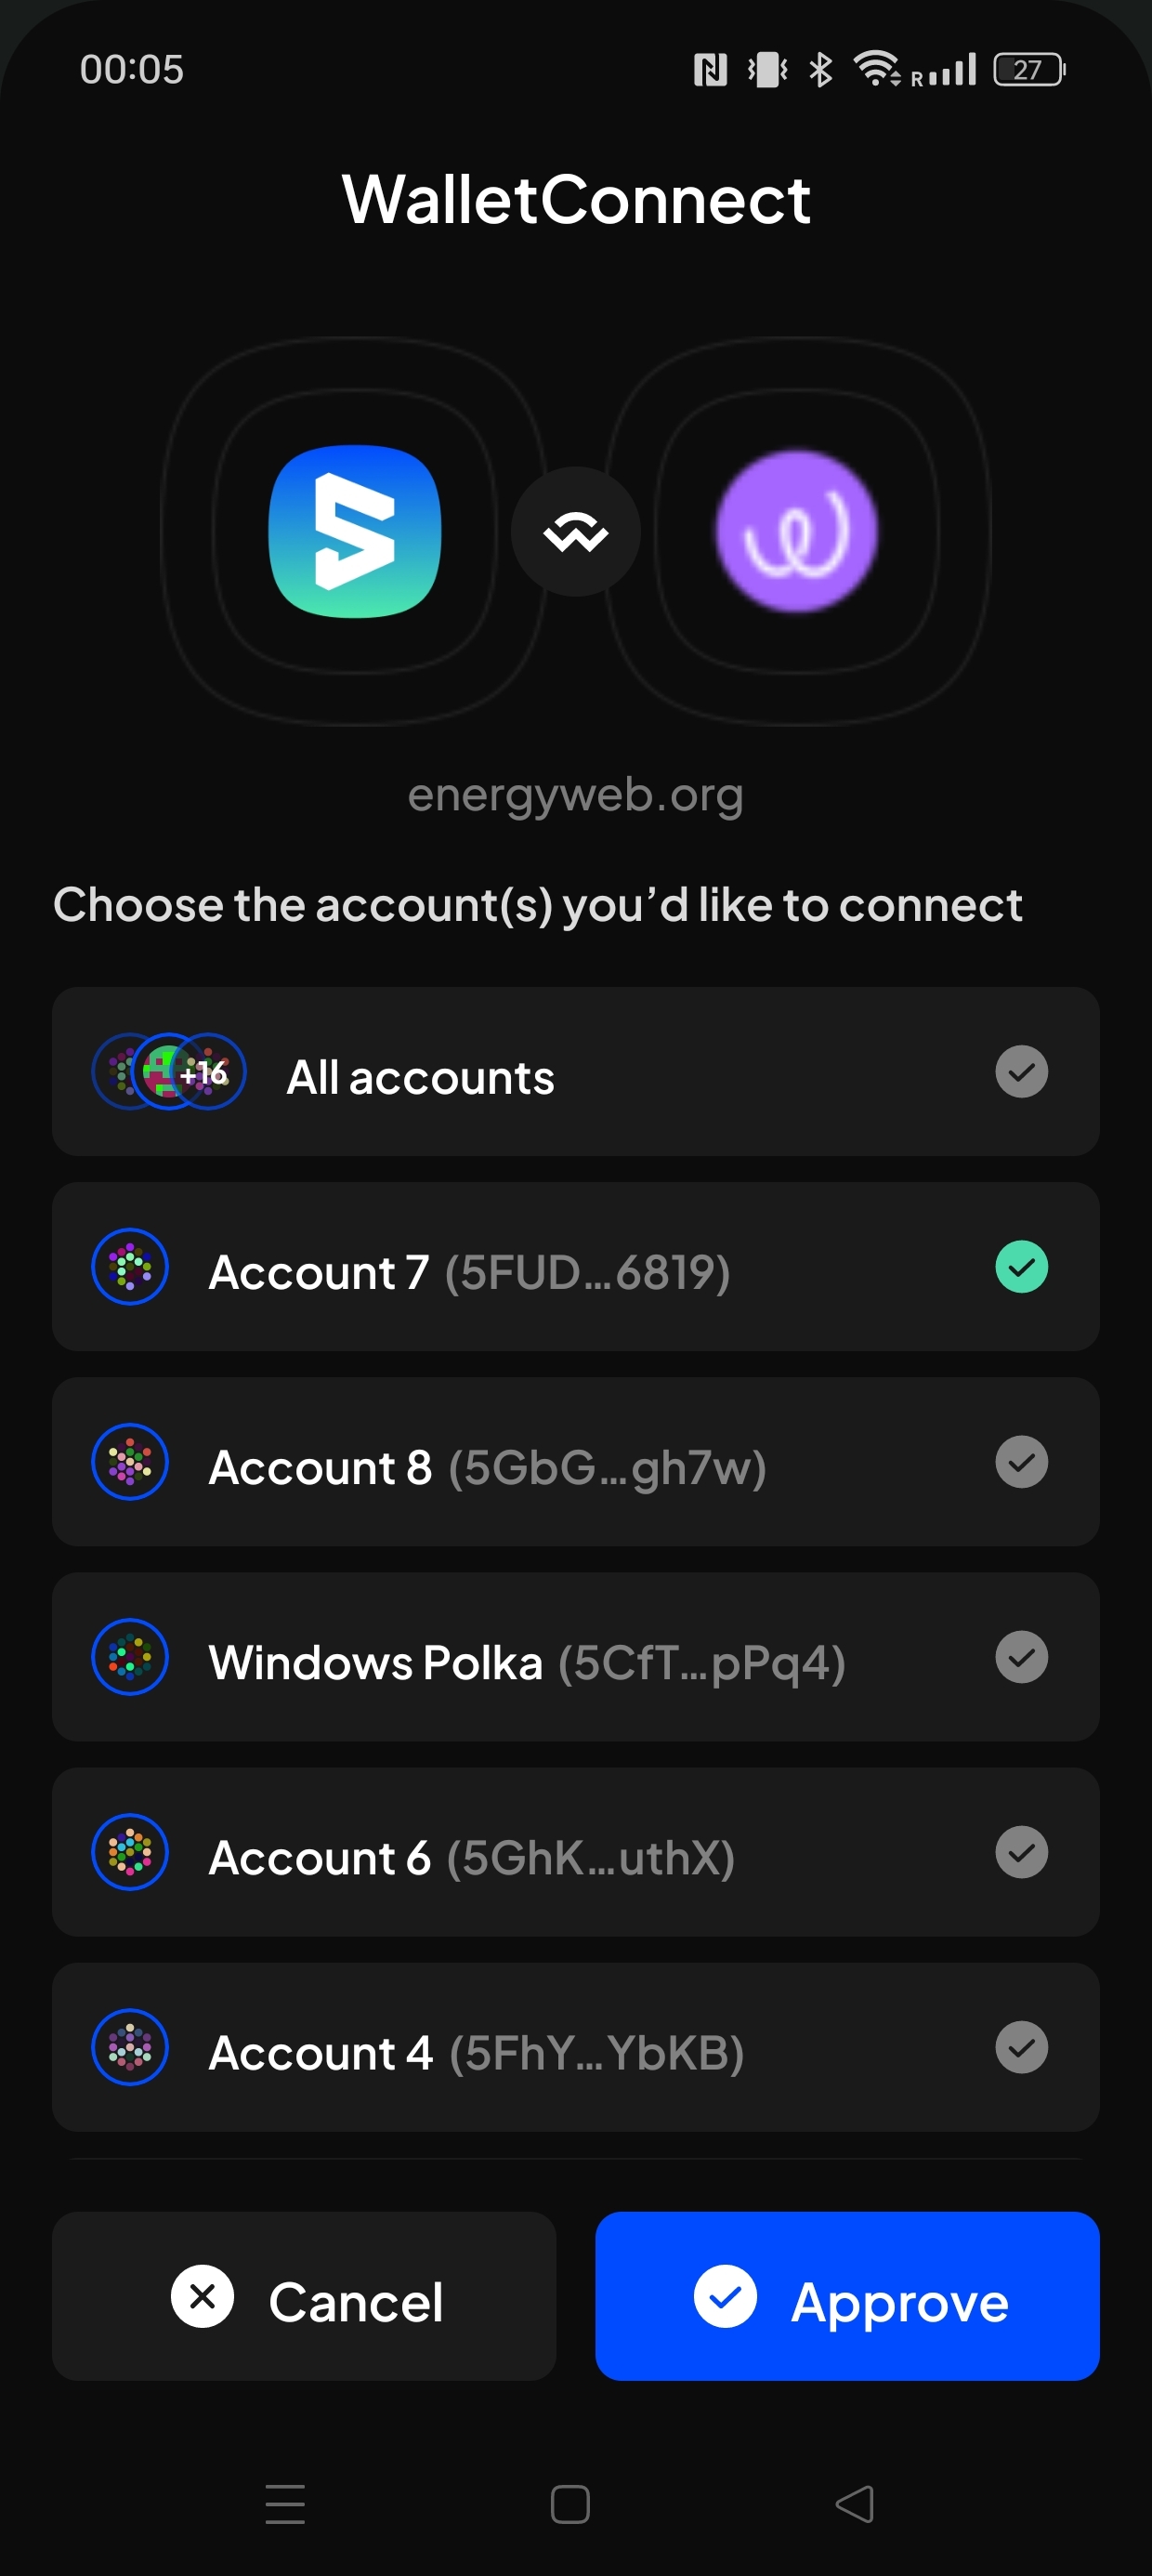
Approve the connection request in your wallet
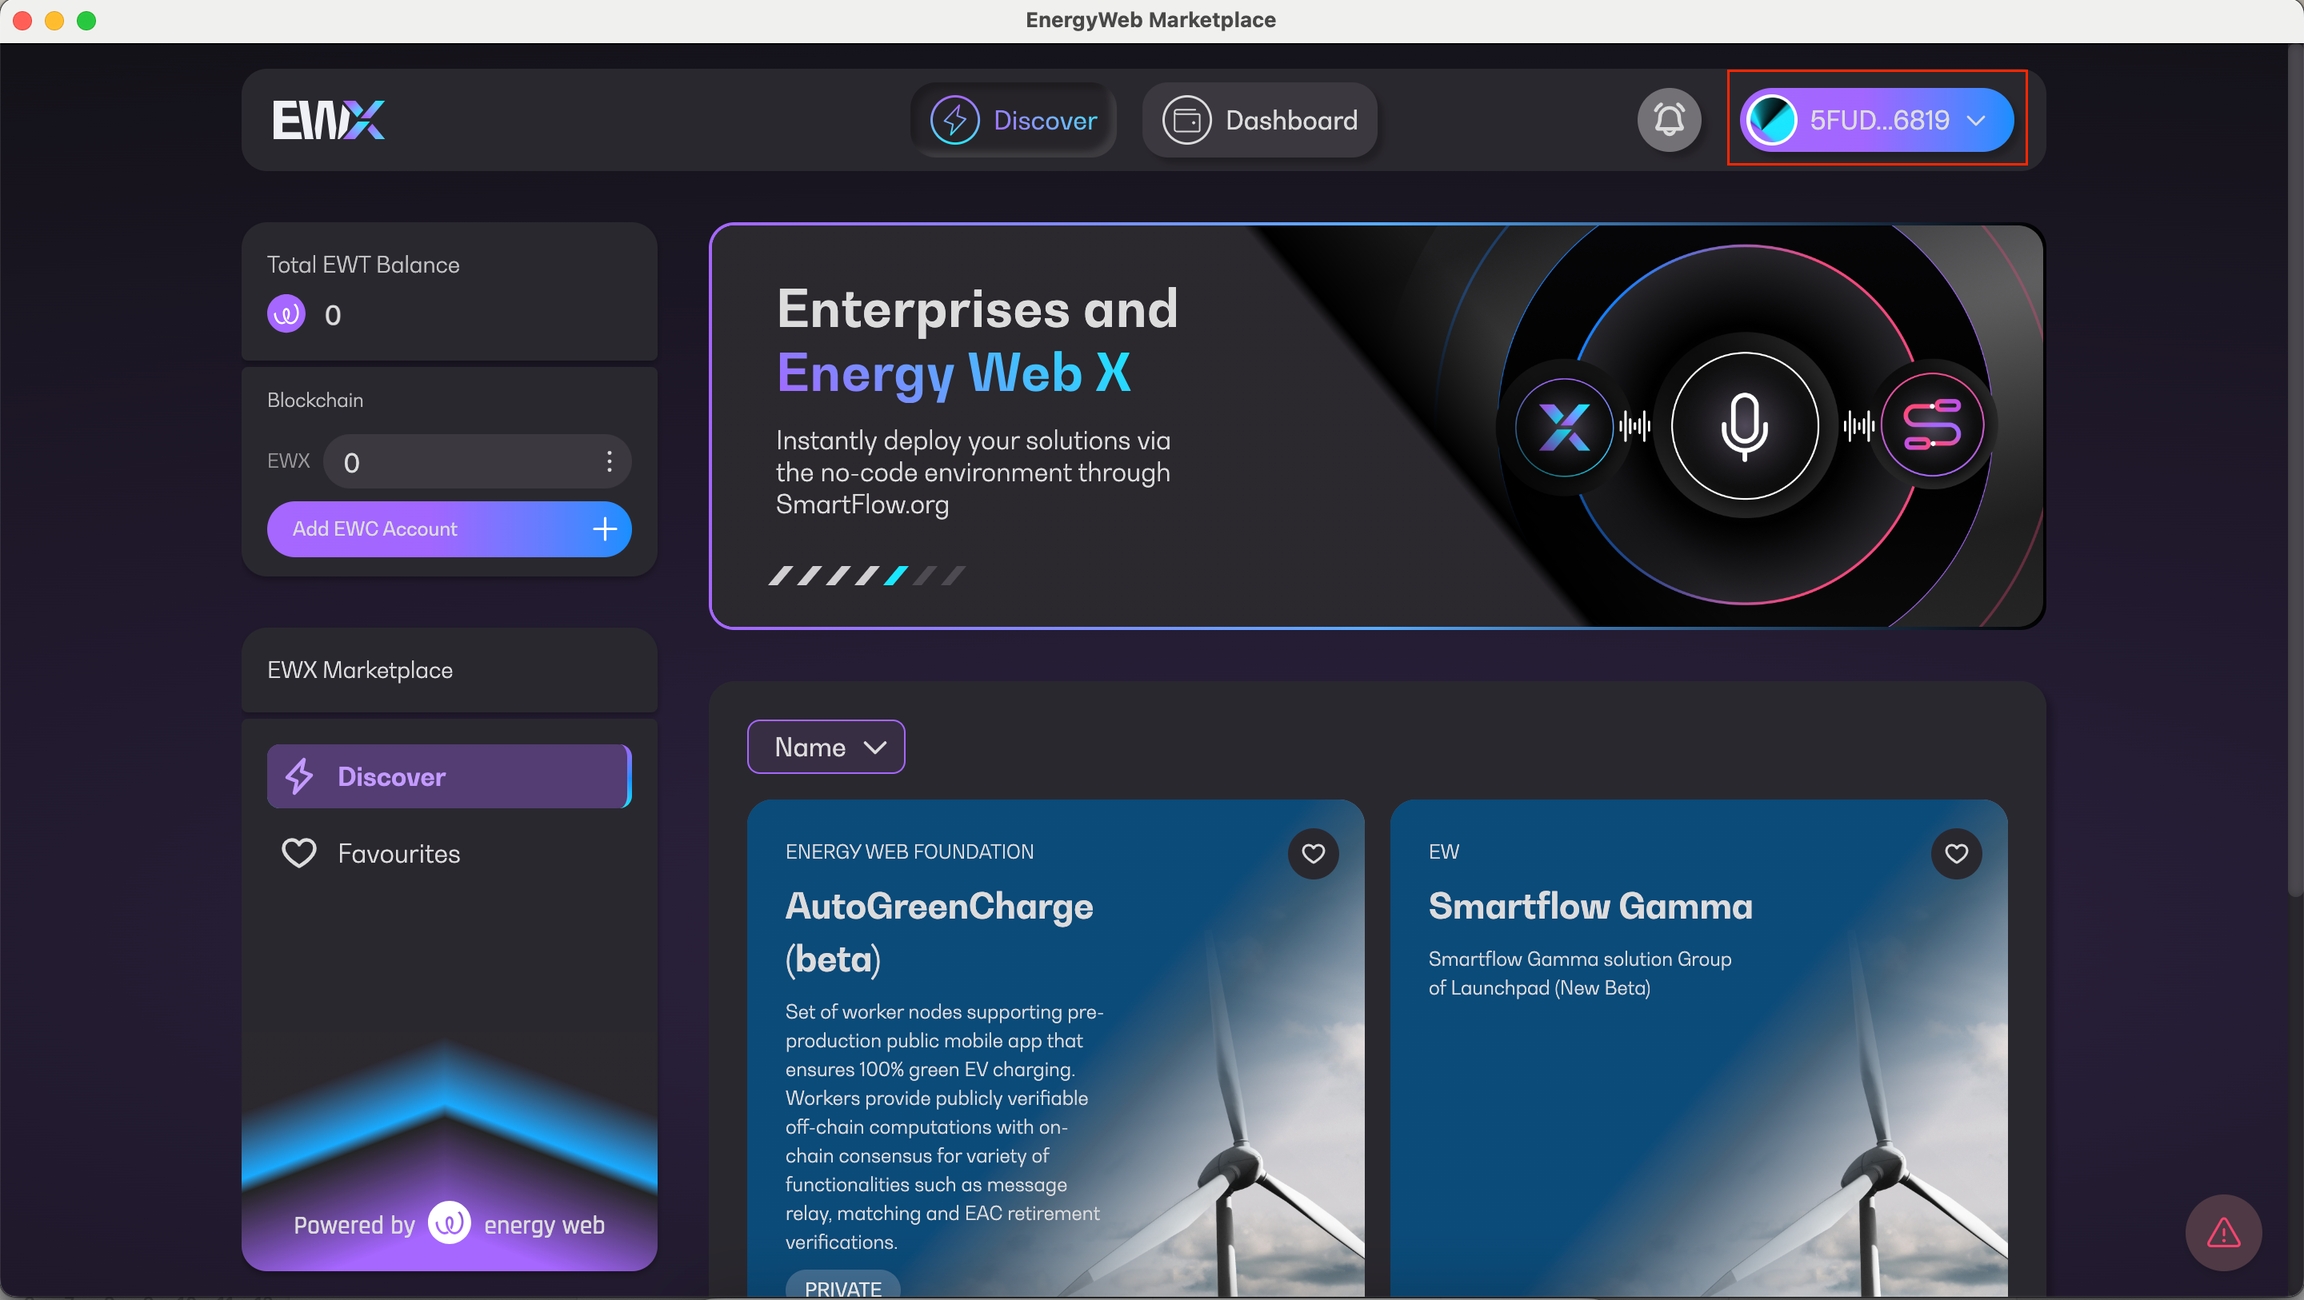
Once connected, you will be redirected to the Discover page and you will see your "operator" public address in the upper right corner of the screen as highlighted below
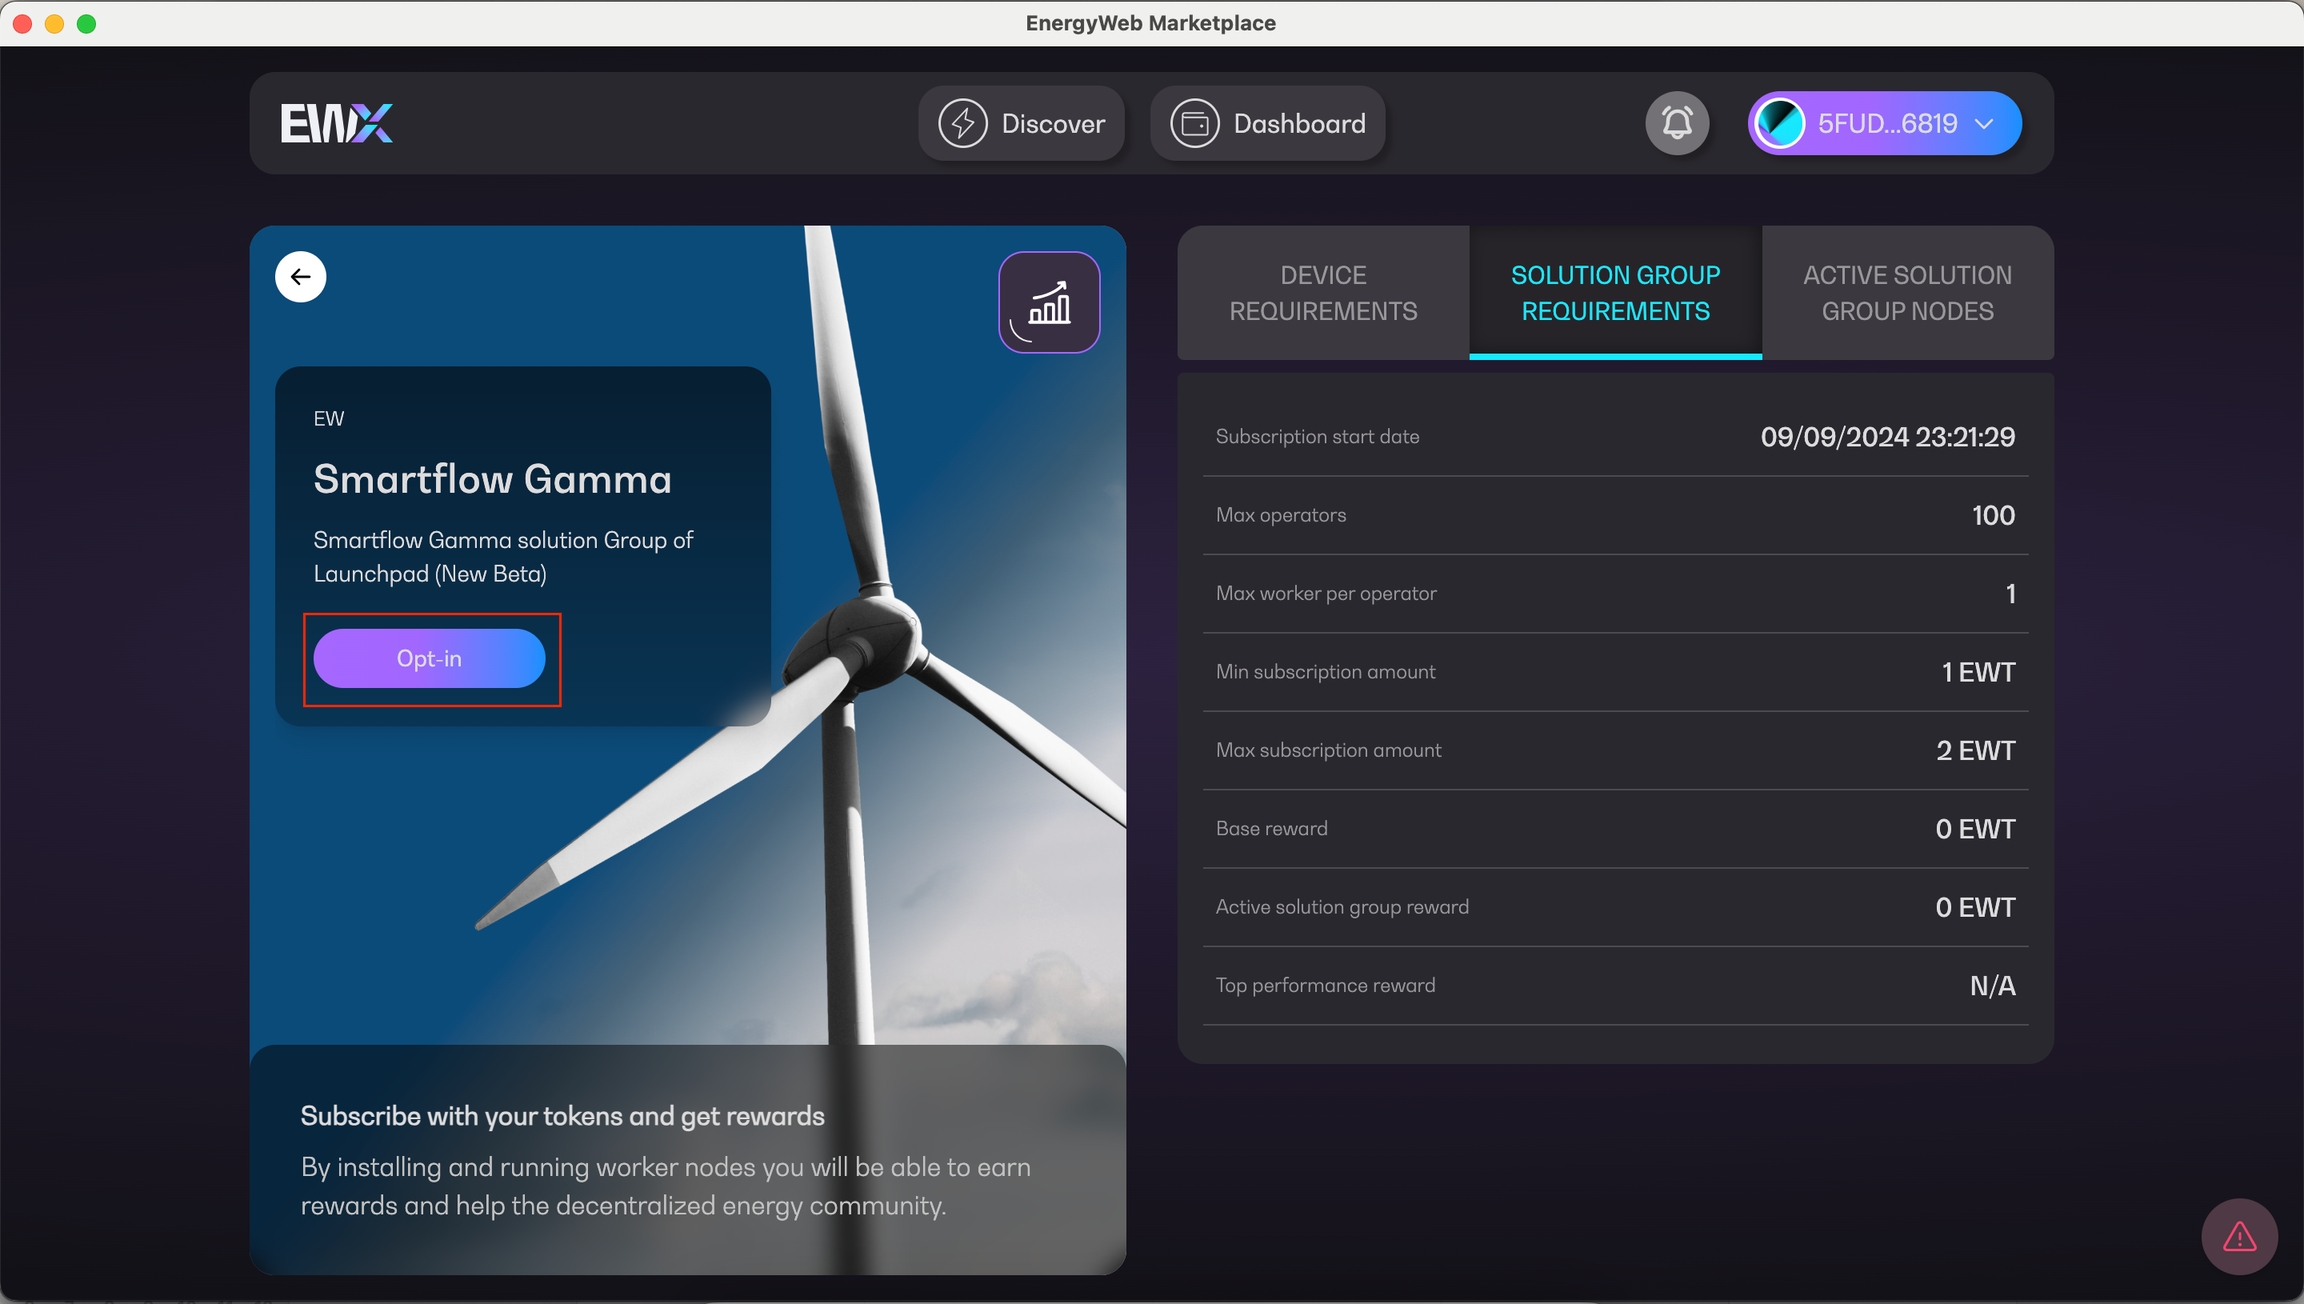
Browse through any solution group and click on it. You will be redirected to its details page. Then, click on the "Opt-in" button
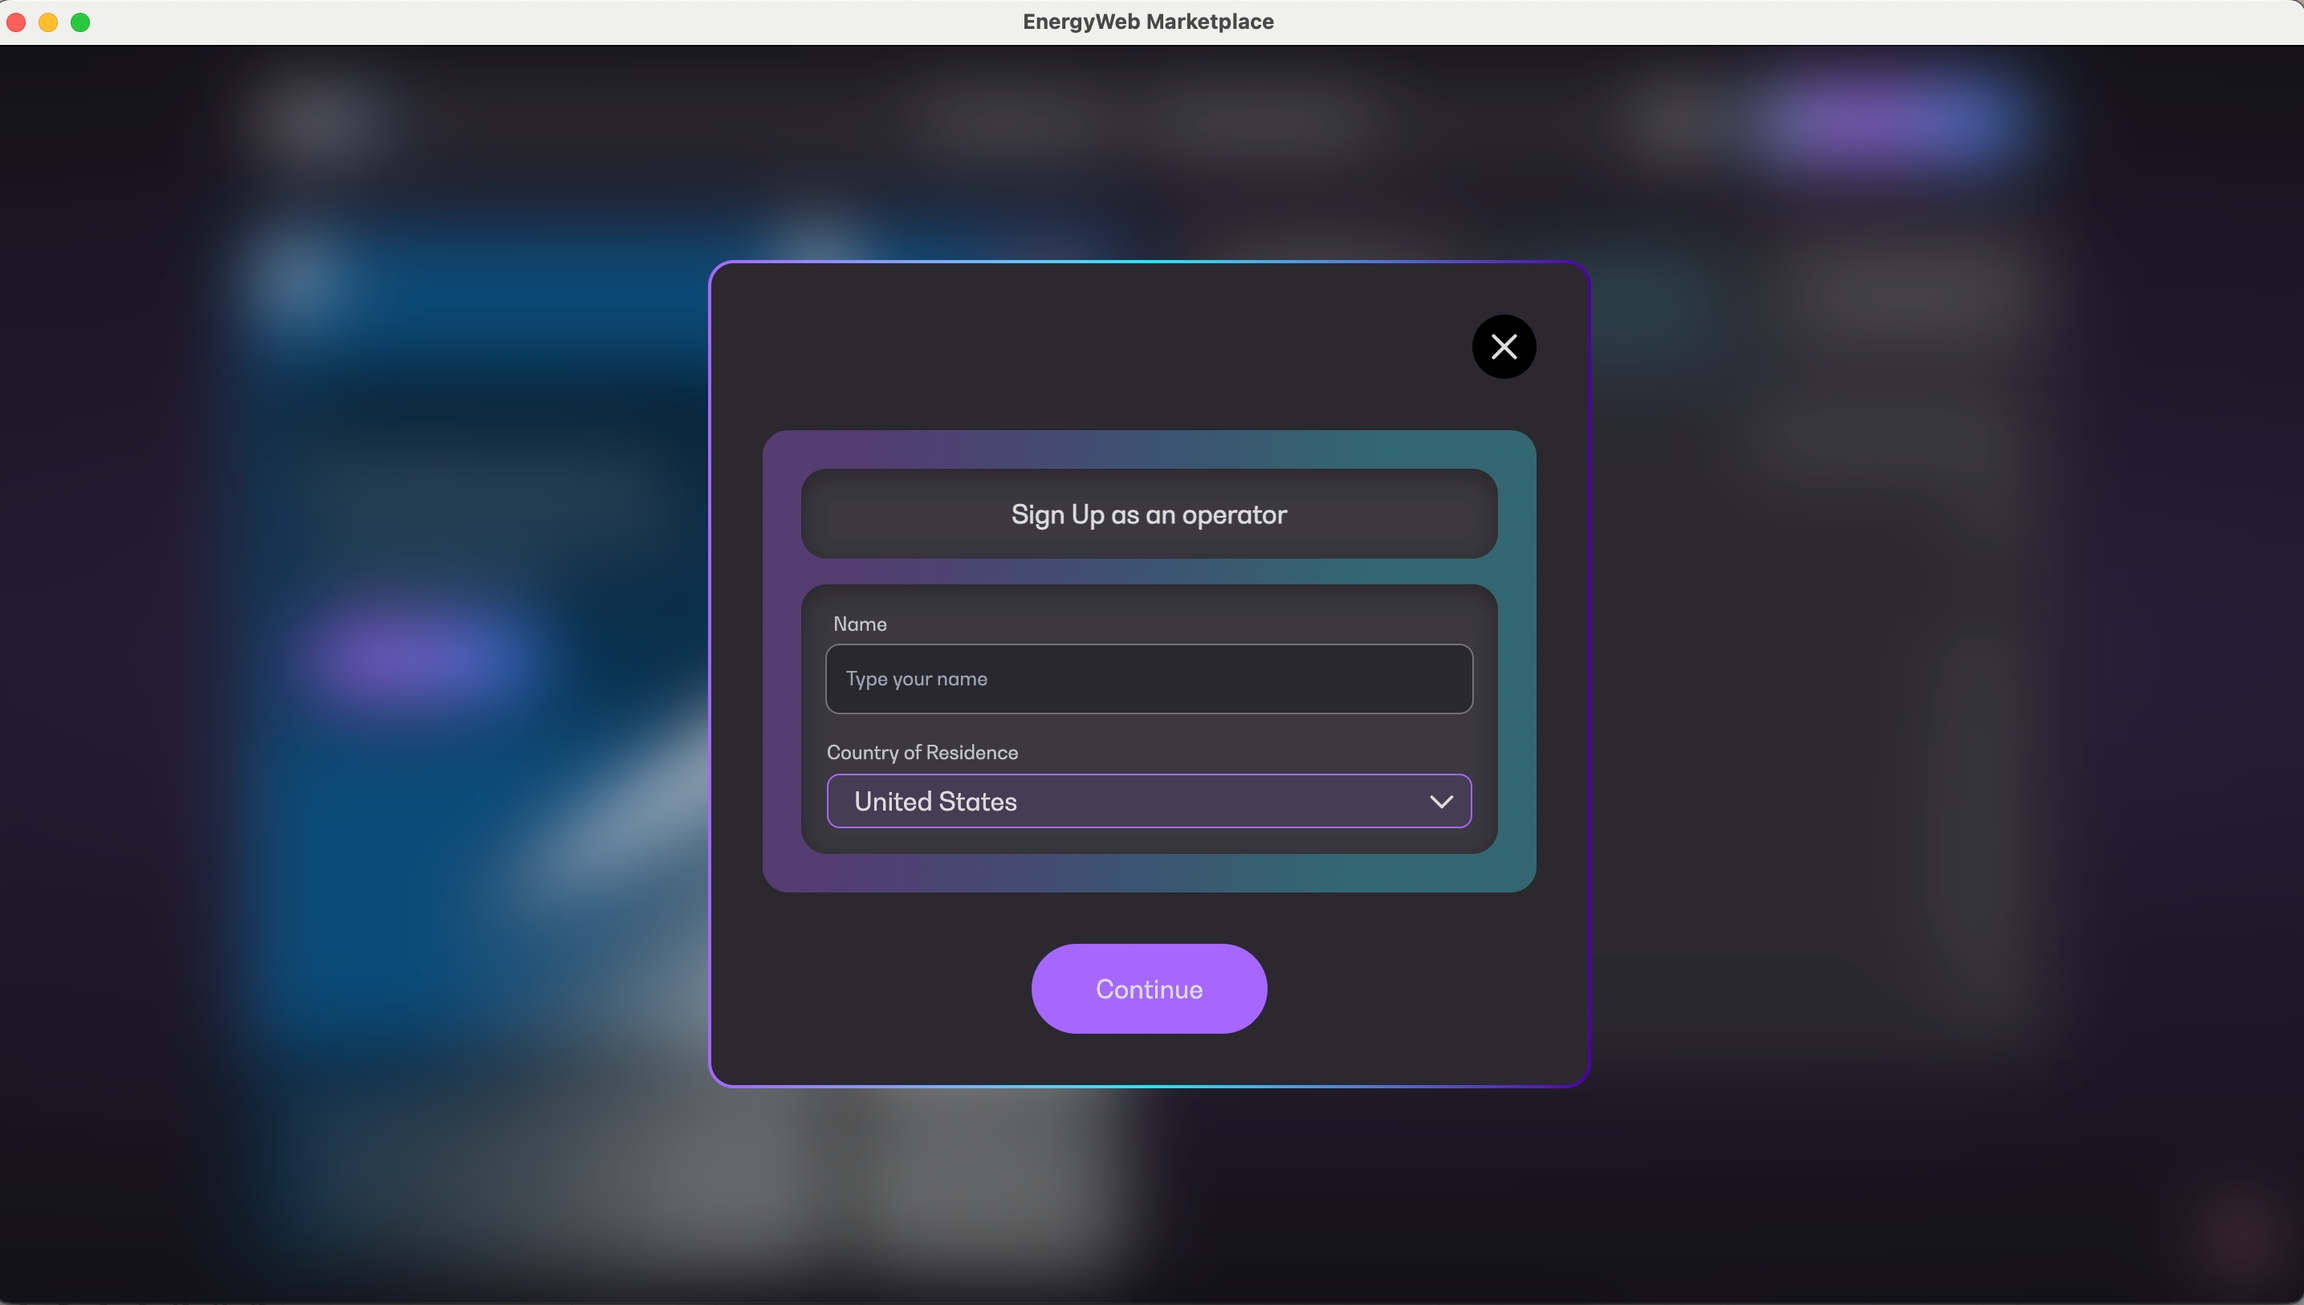
The sign-up operator dialog gets displayed. Input your details accordingly and approve the transaction in your wallet.
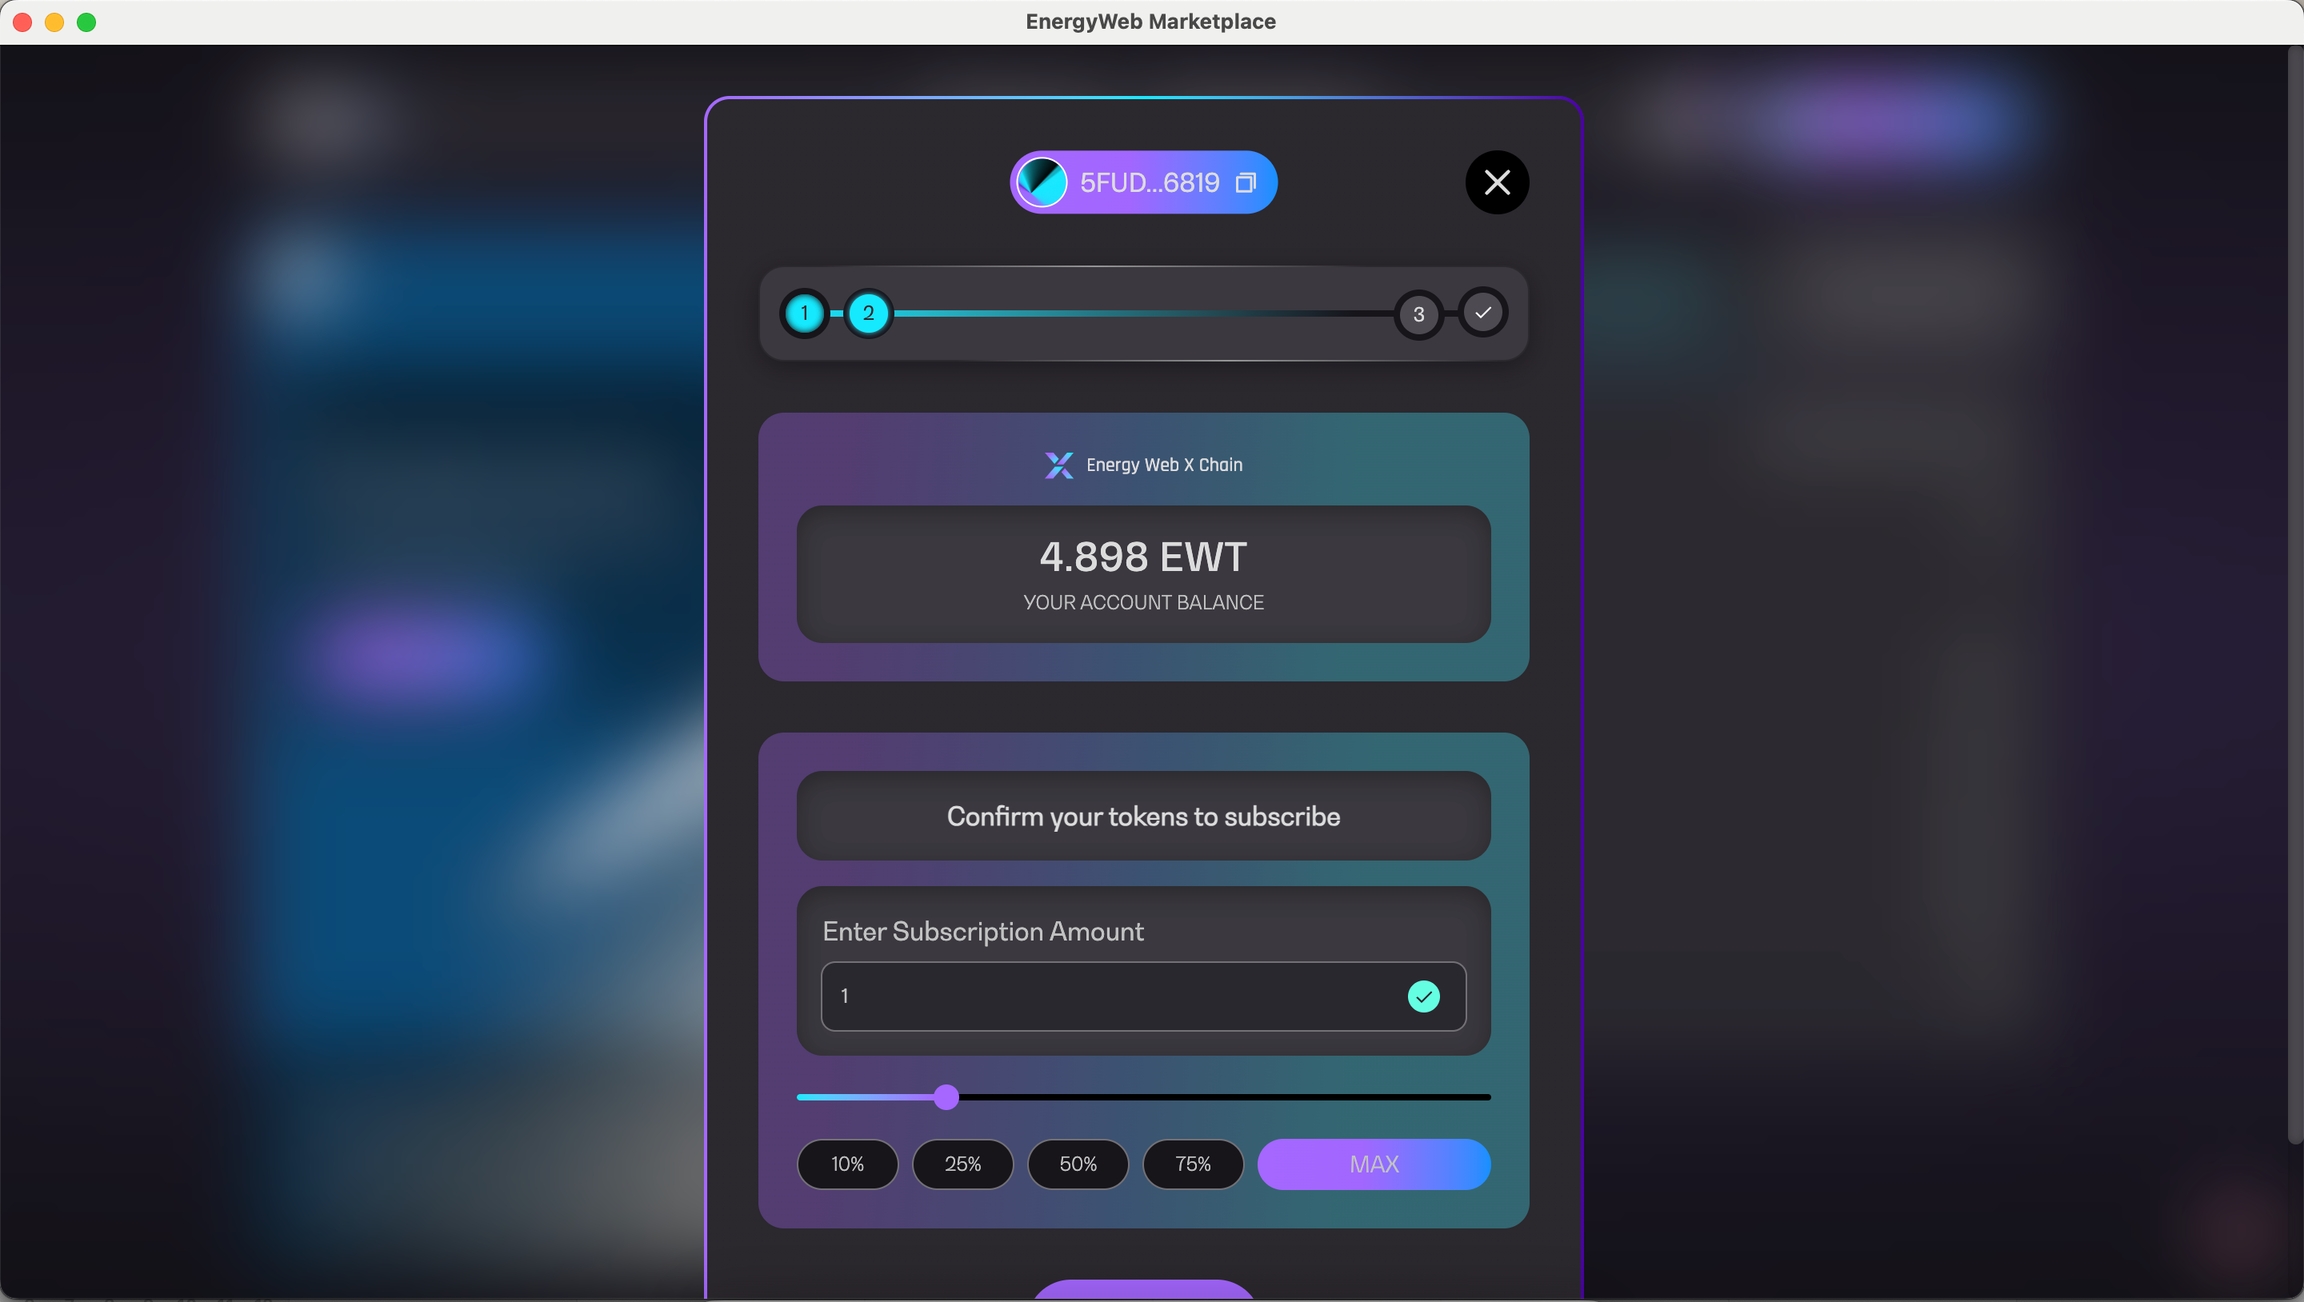
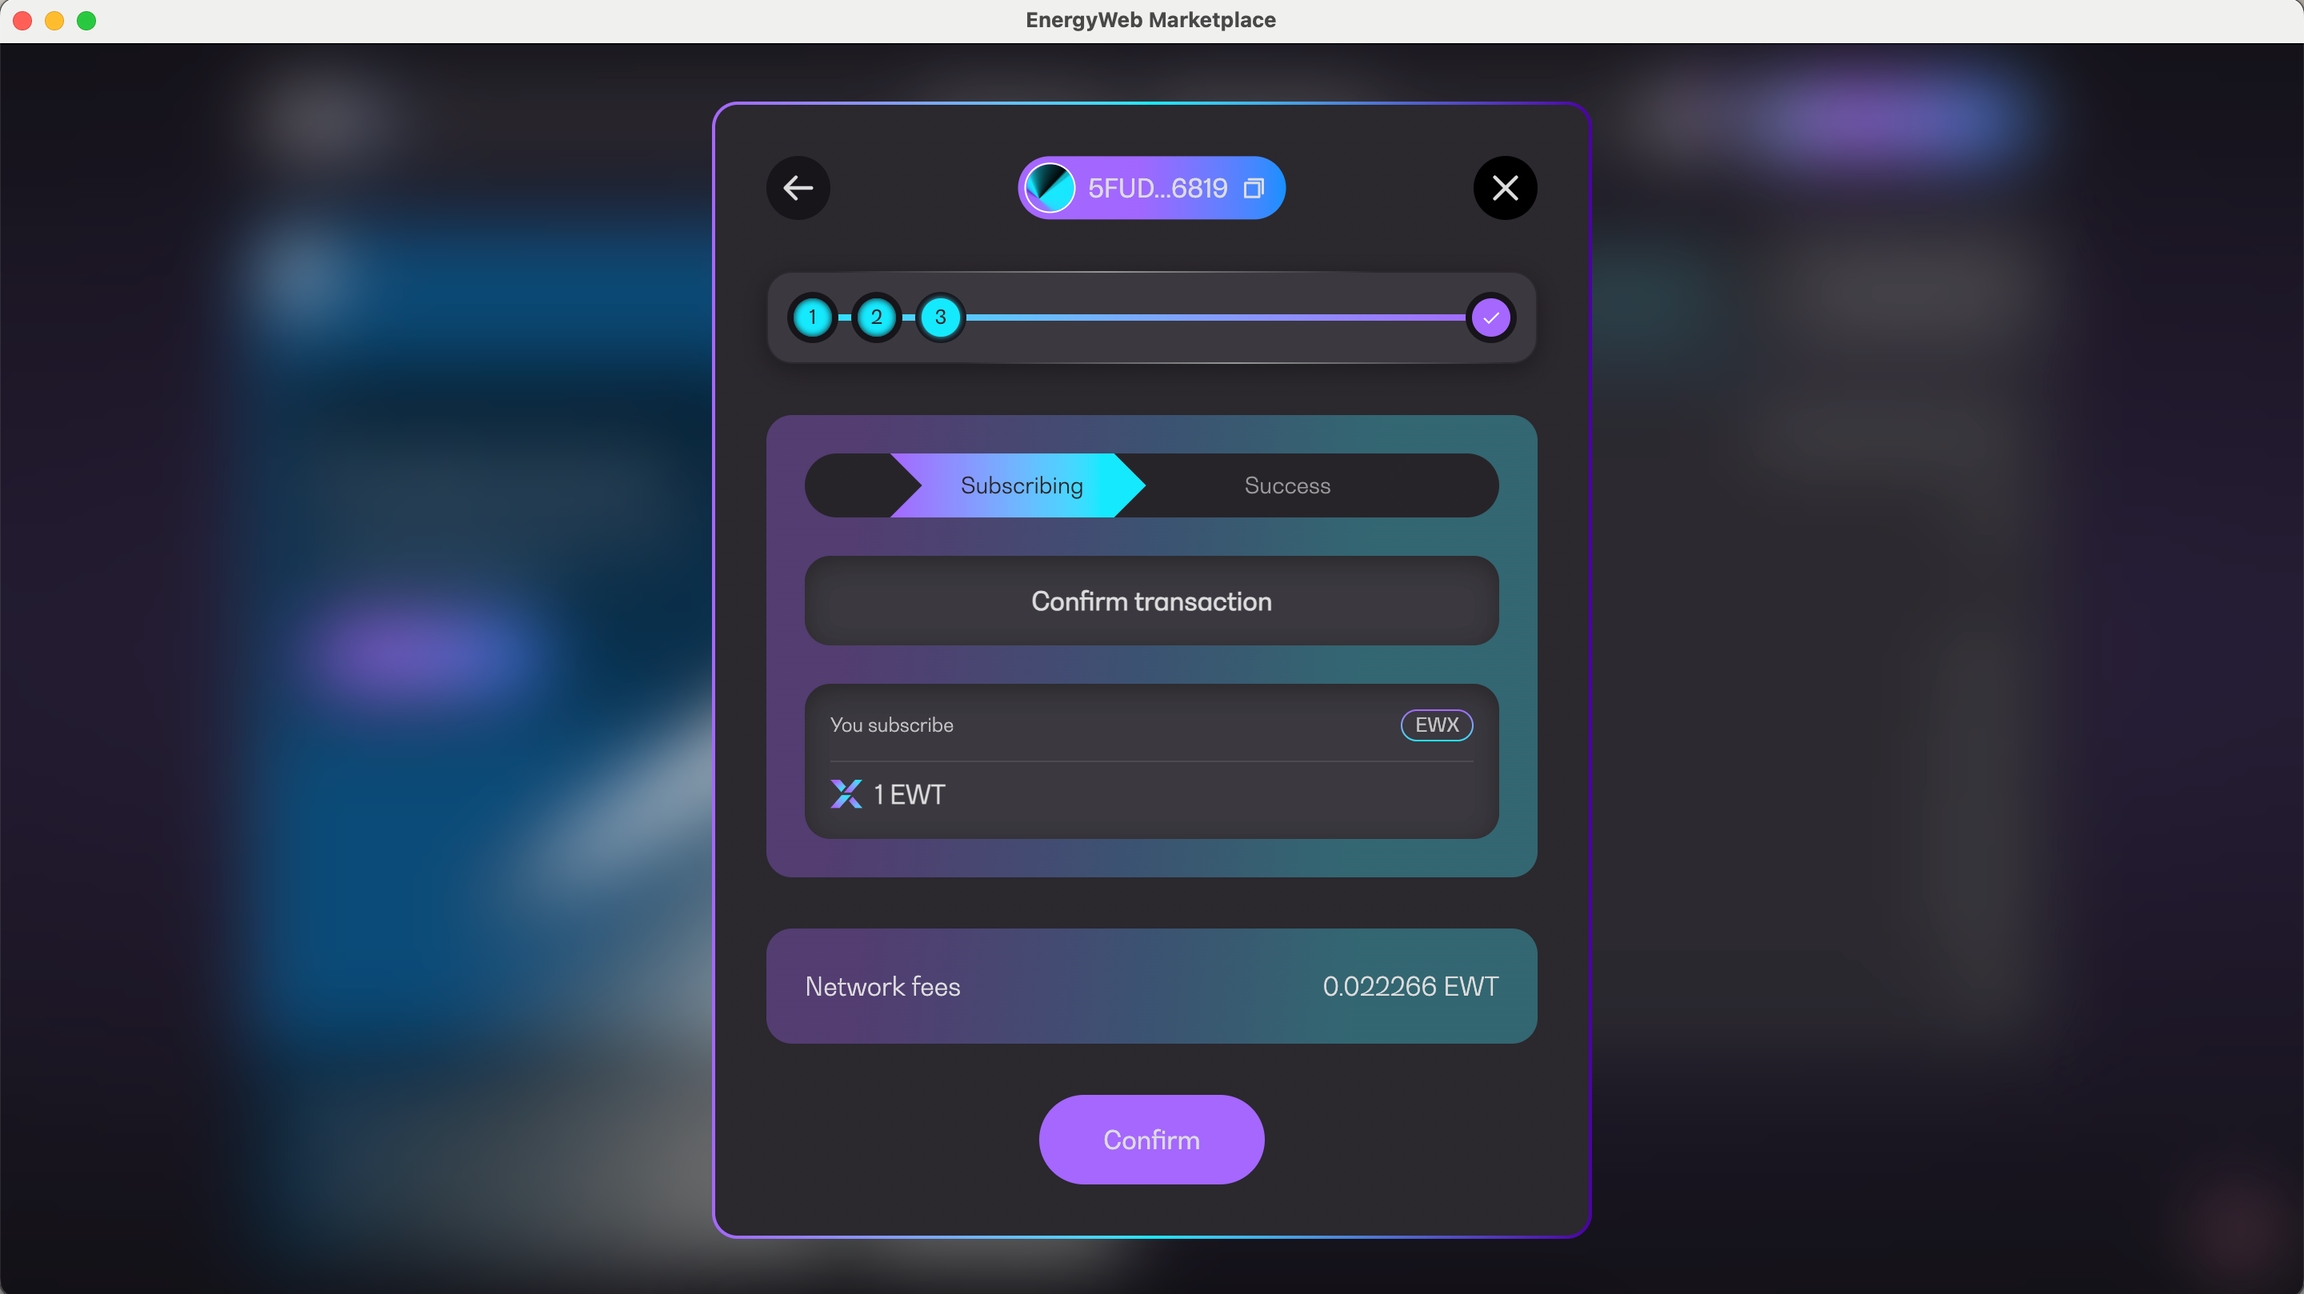
After the signing-up as an operator, you will be prompted to stake tokens to your selected solution group from the Discover page. Stake your desired amount and approve the transaction in your wallet.
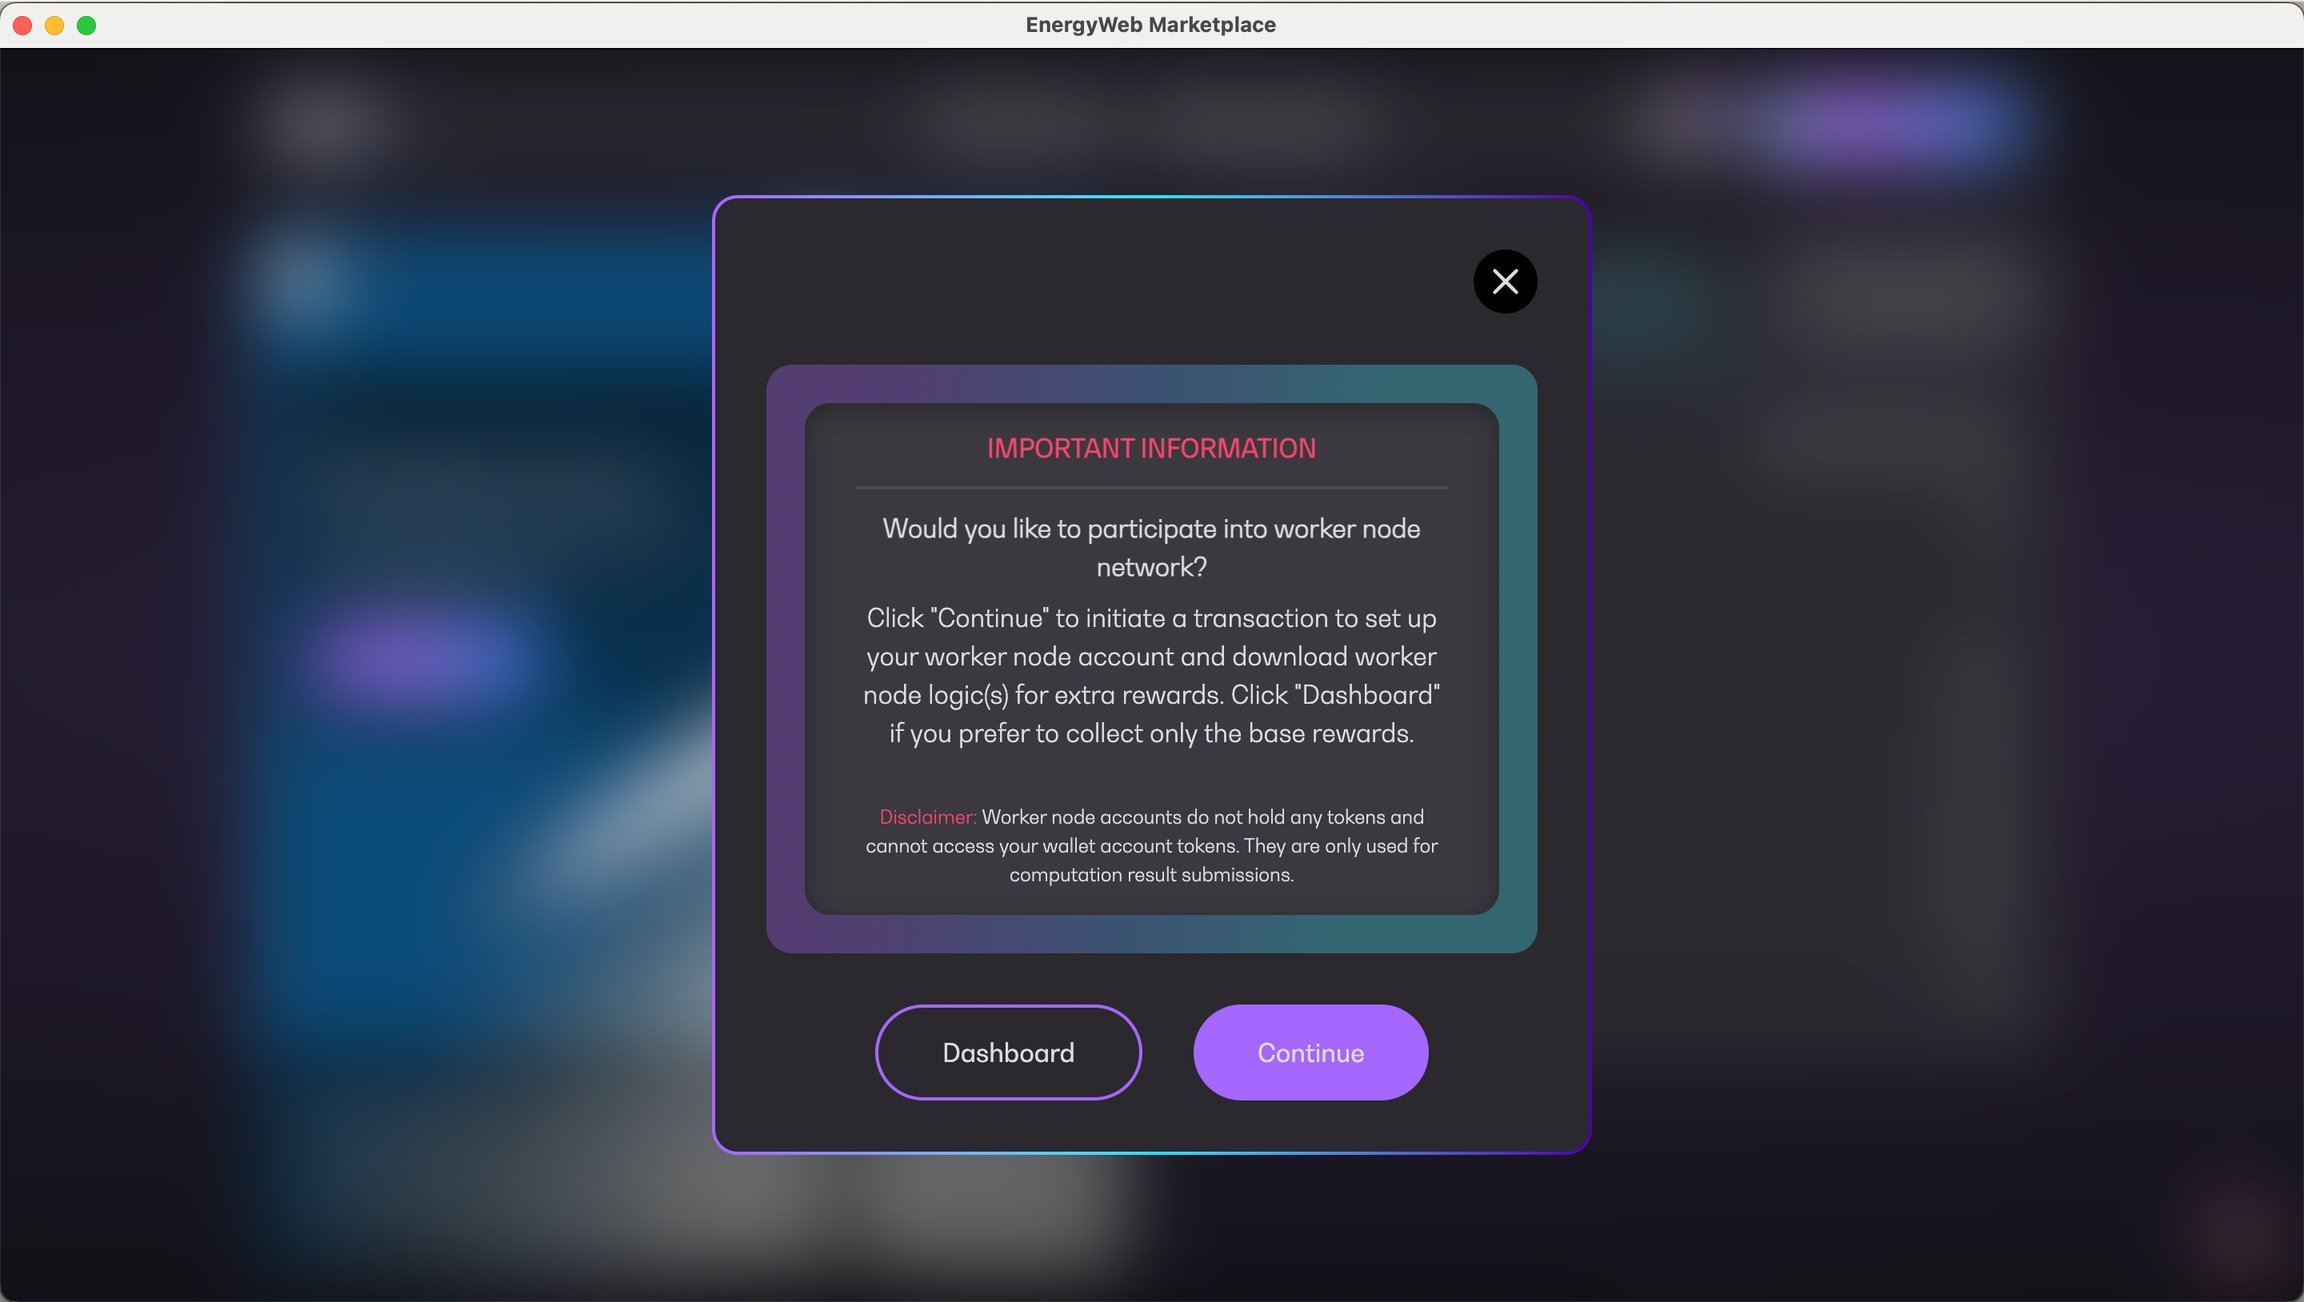
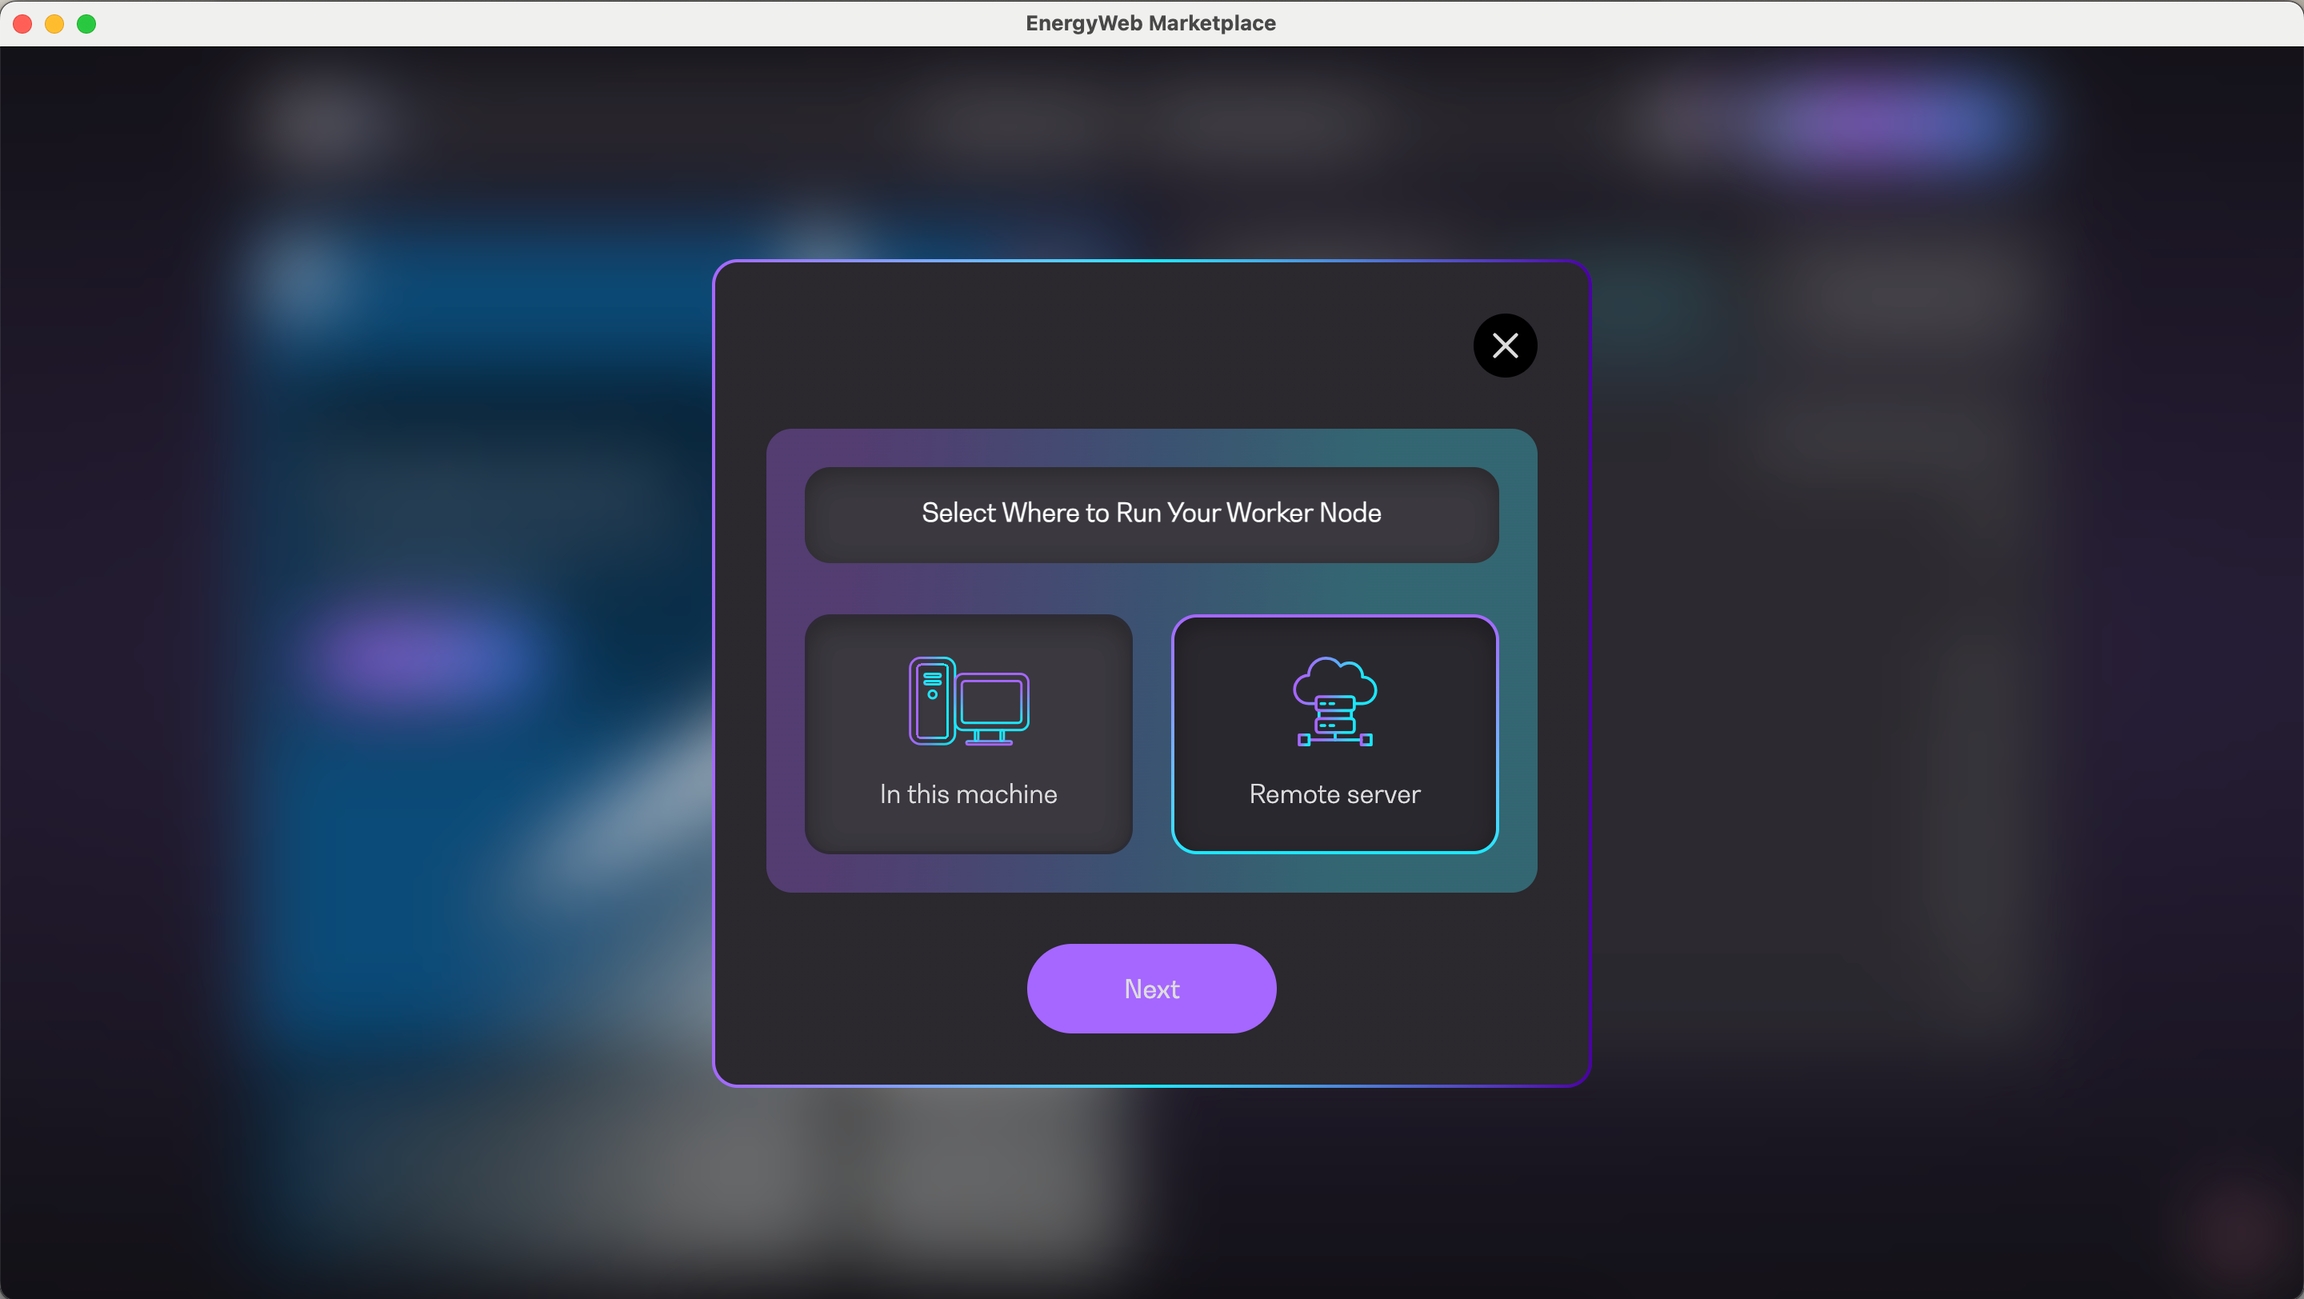
After subscribing to the solution group, you will be prompted whether to participate in a worker node network.
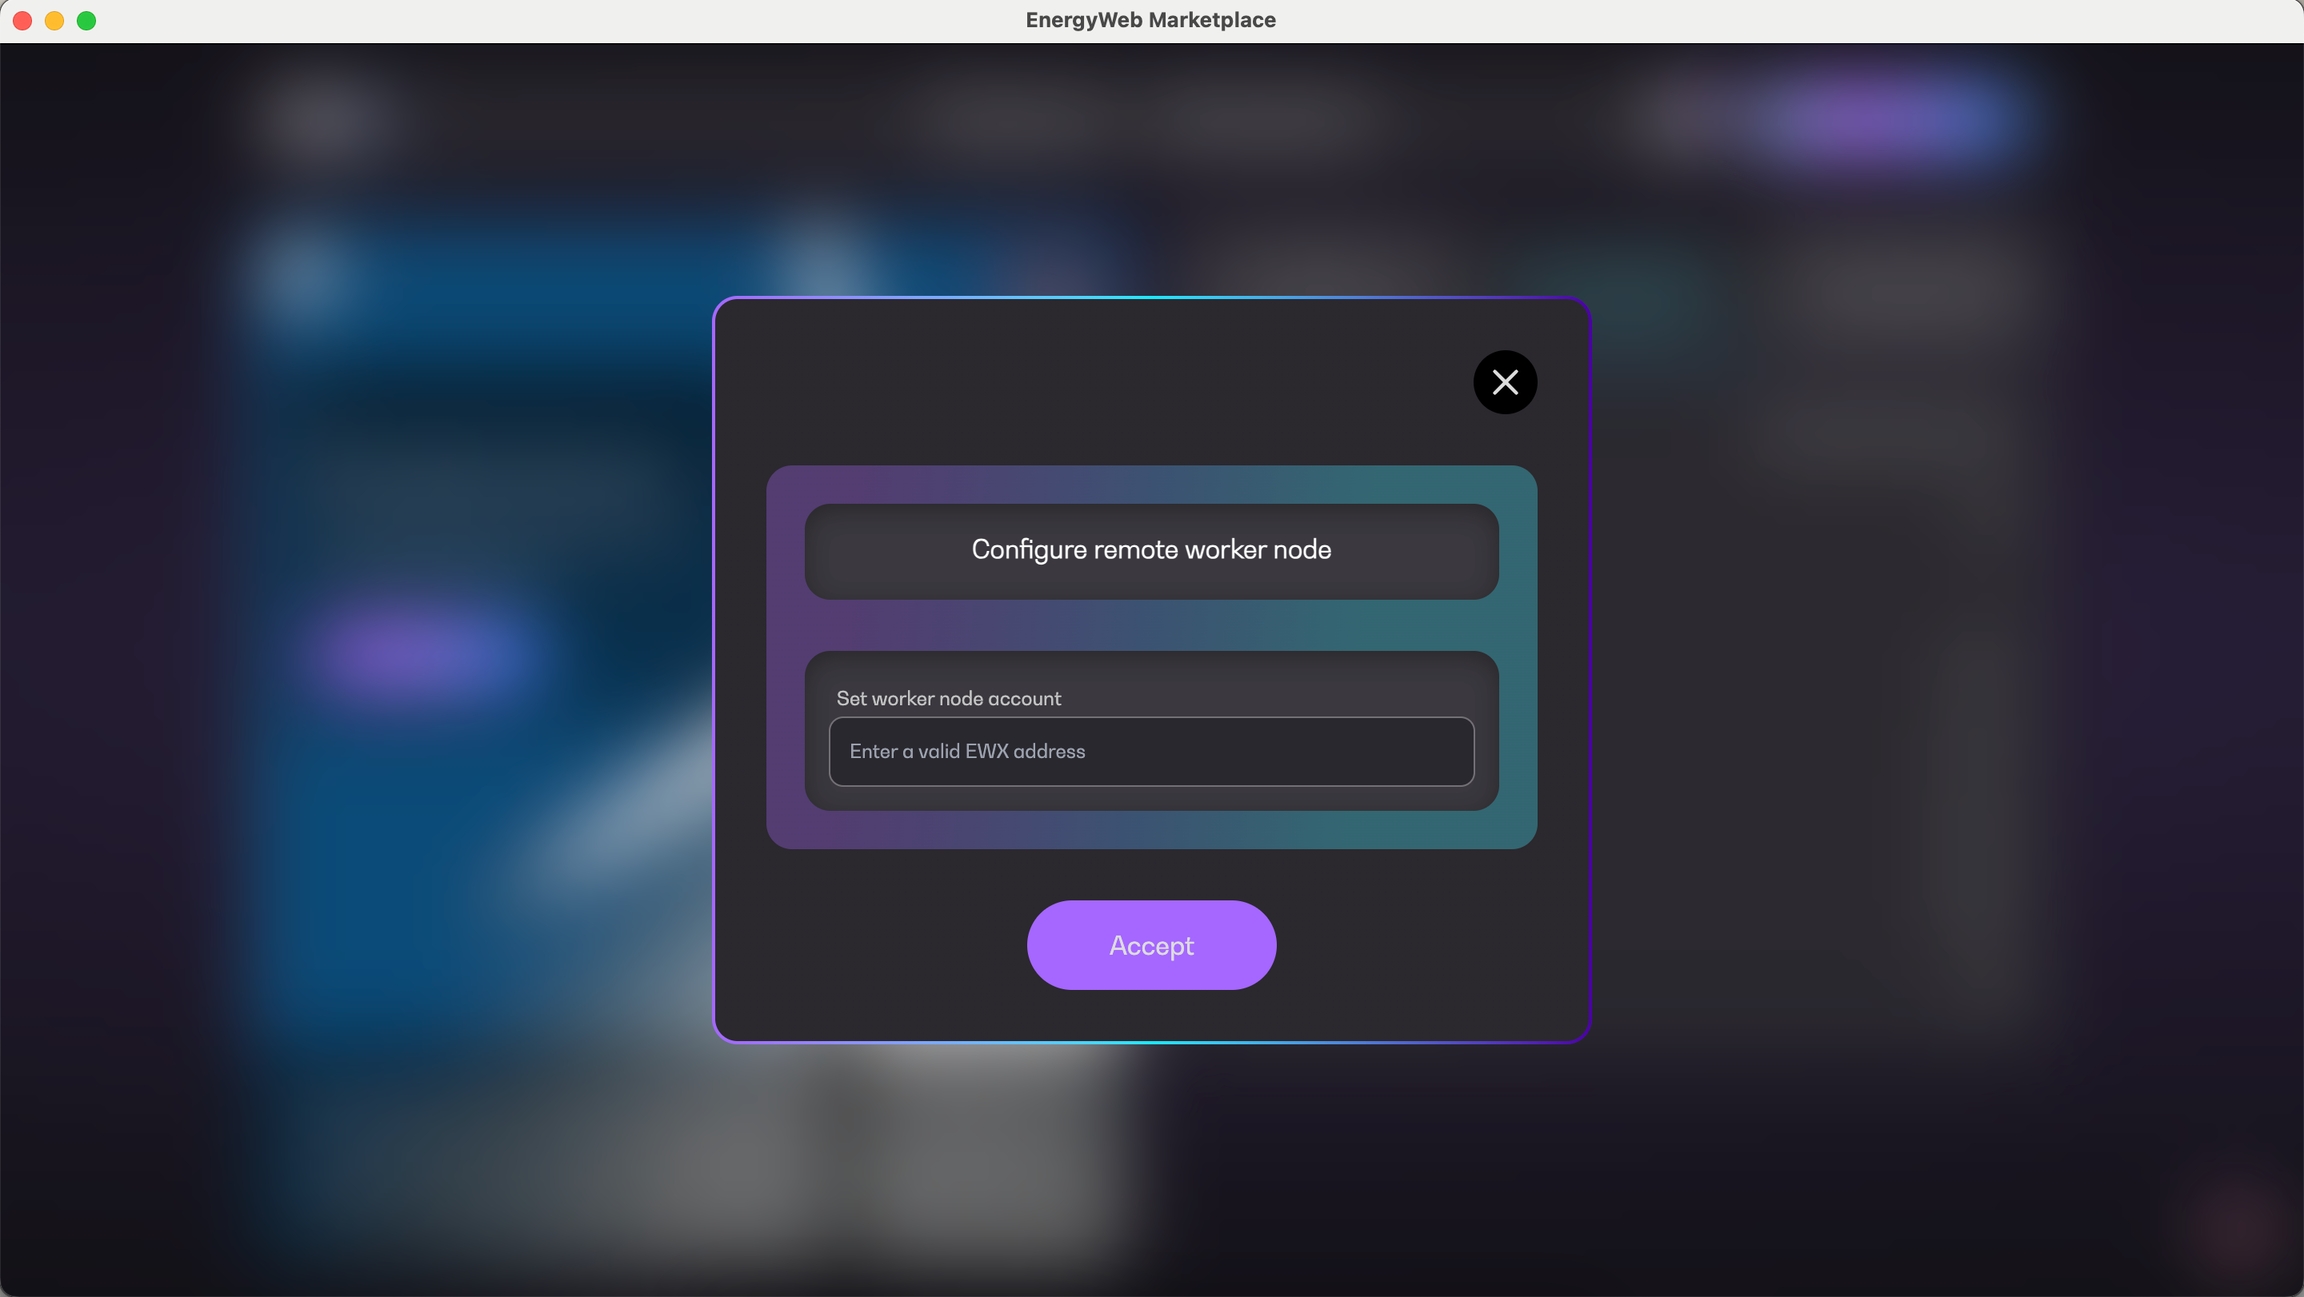
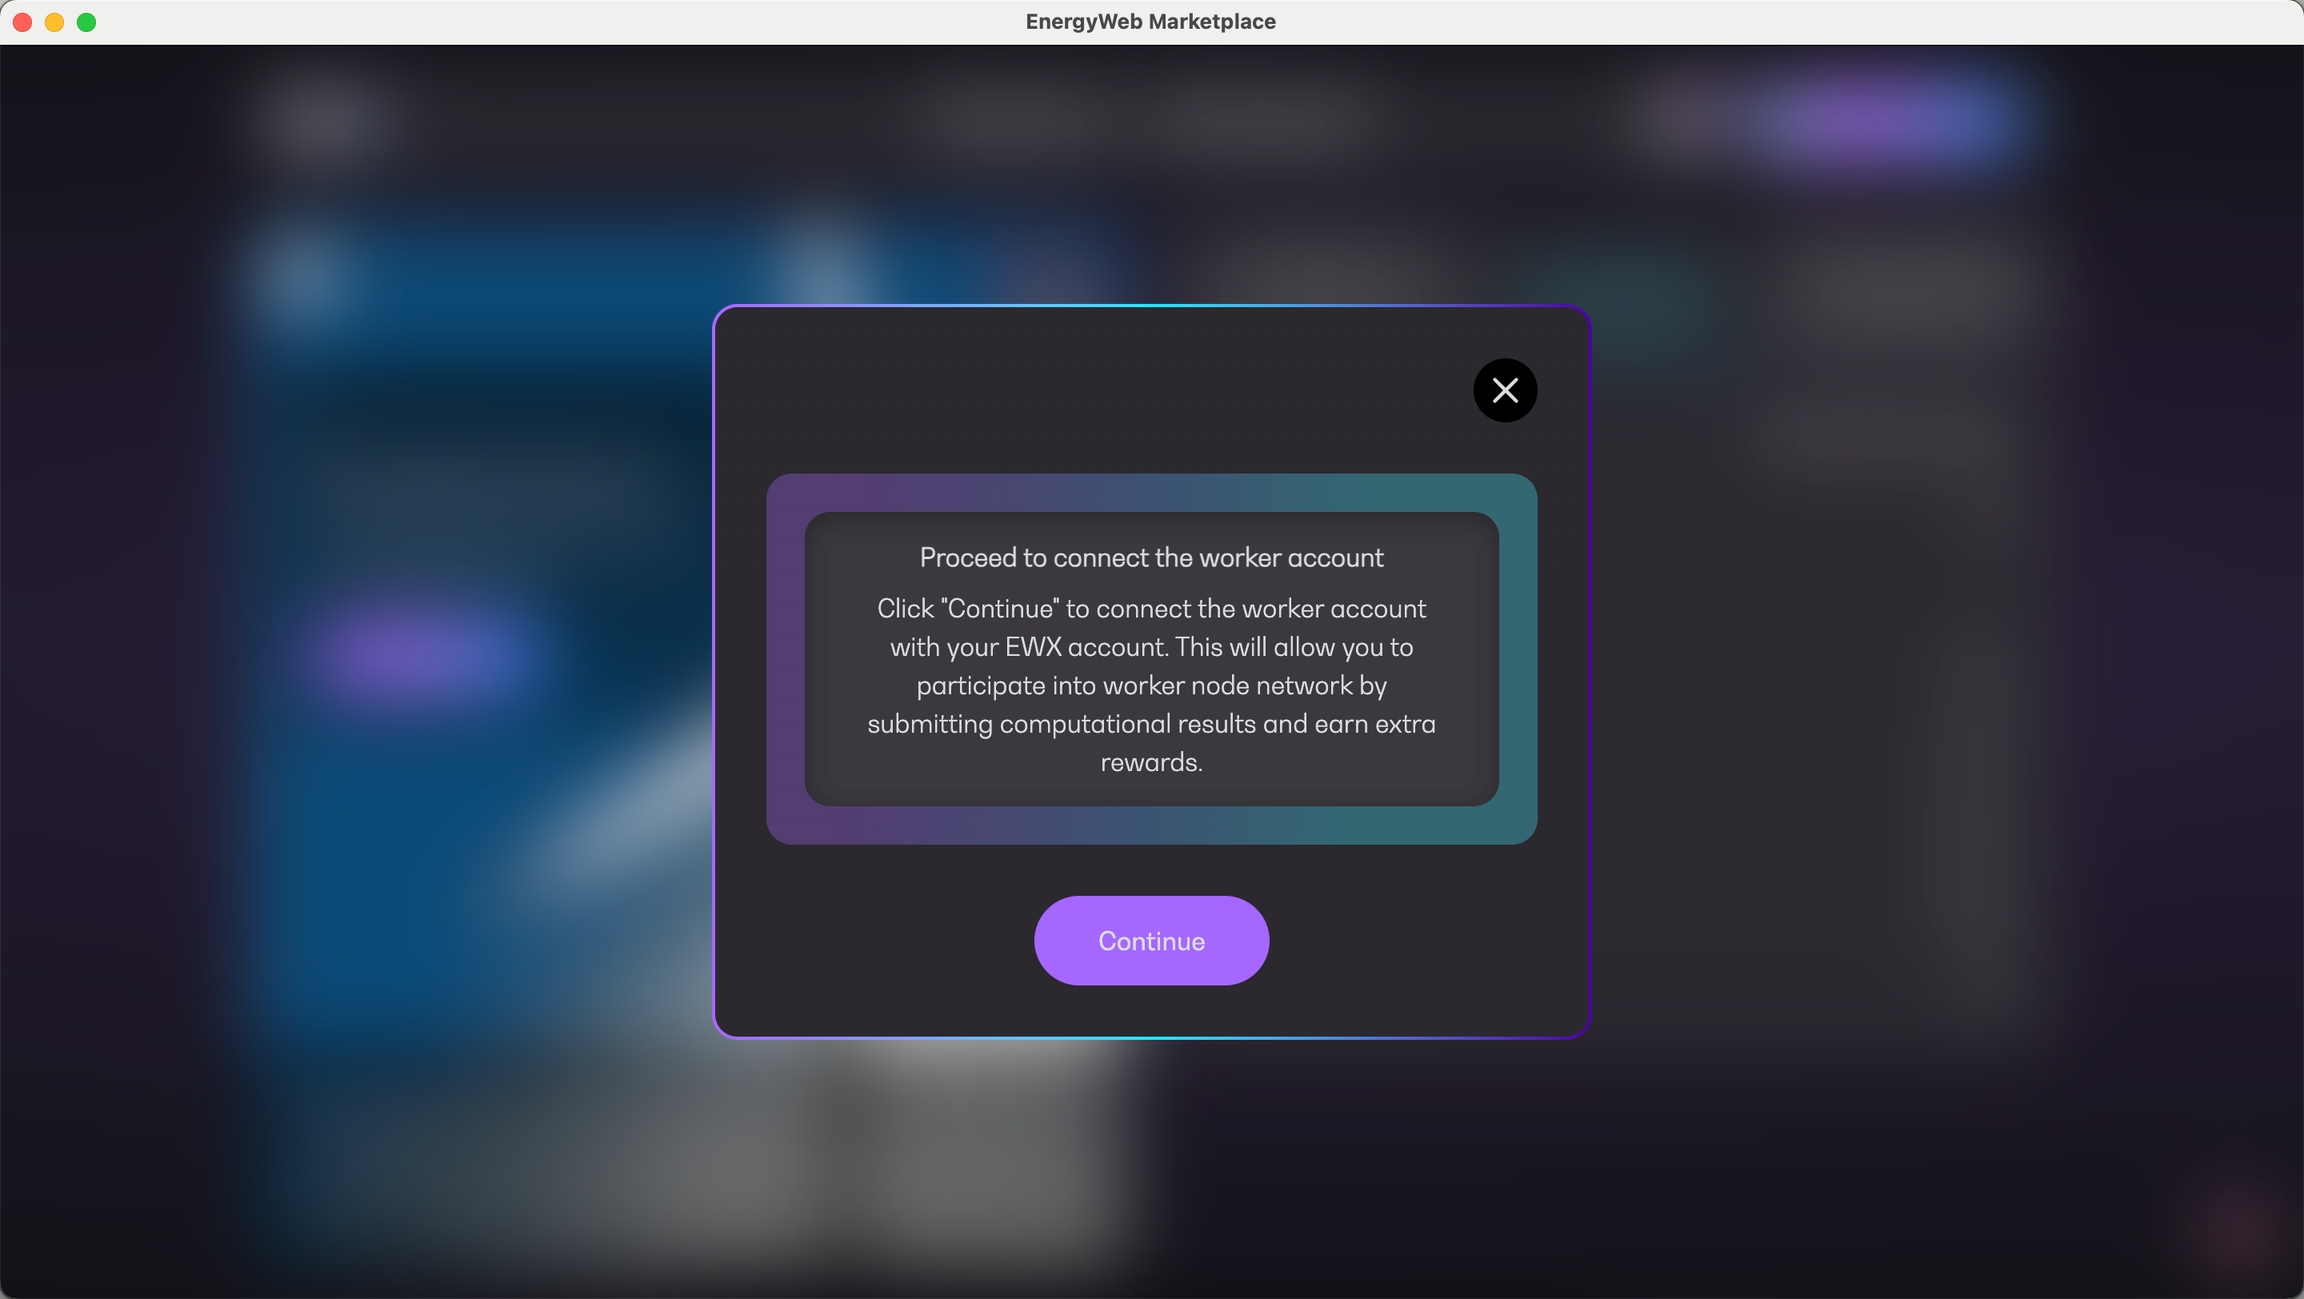
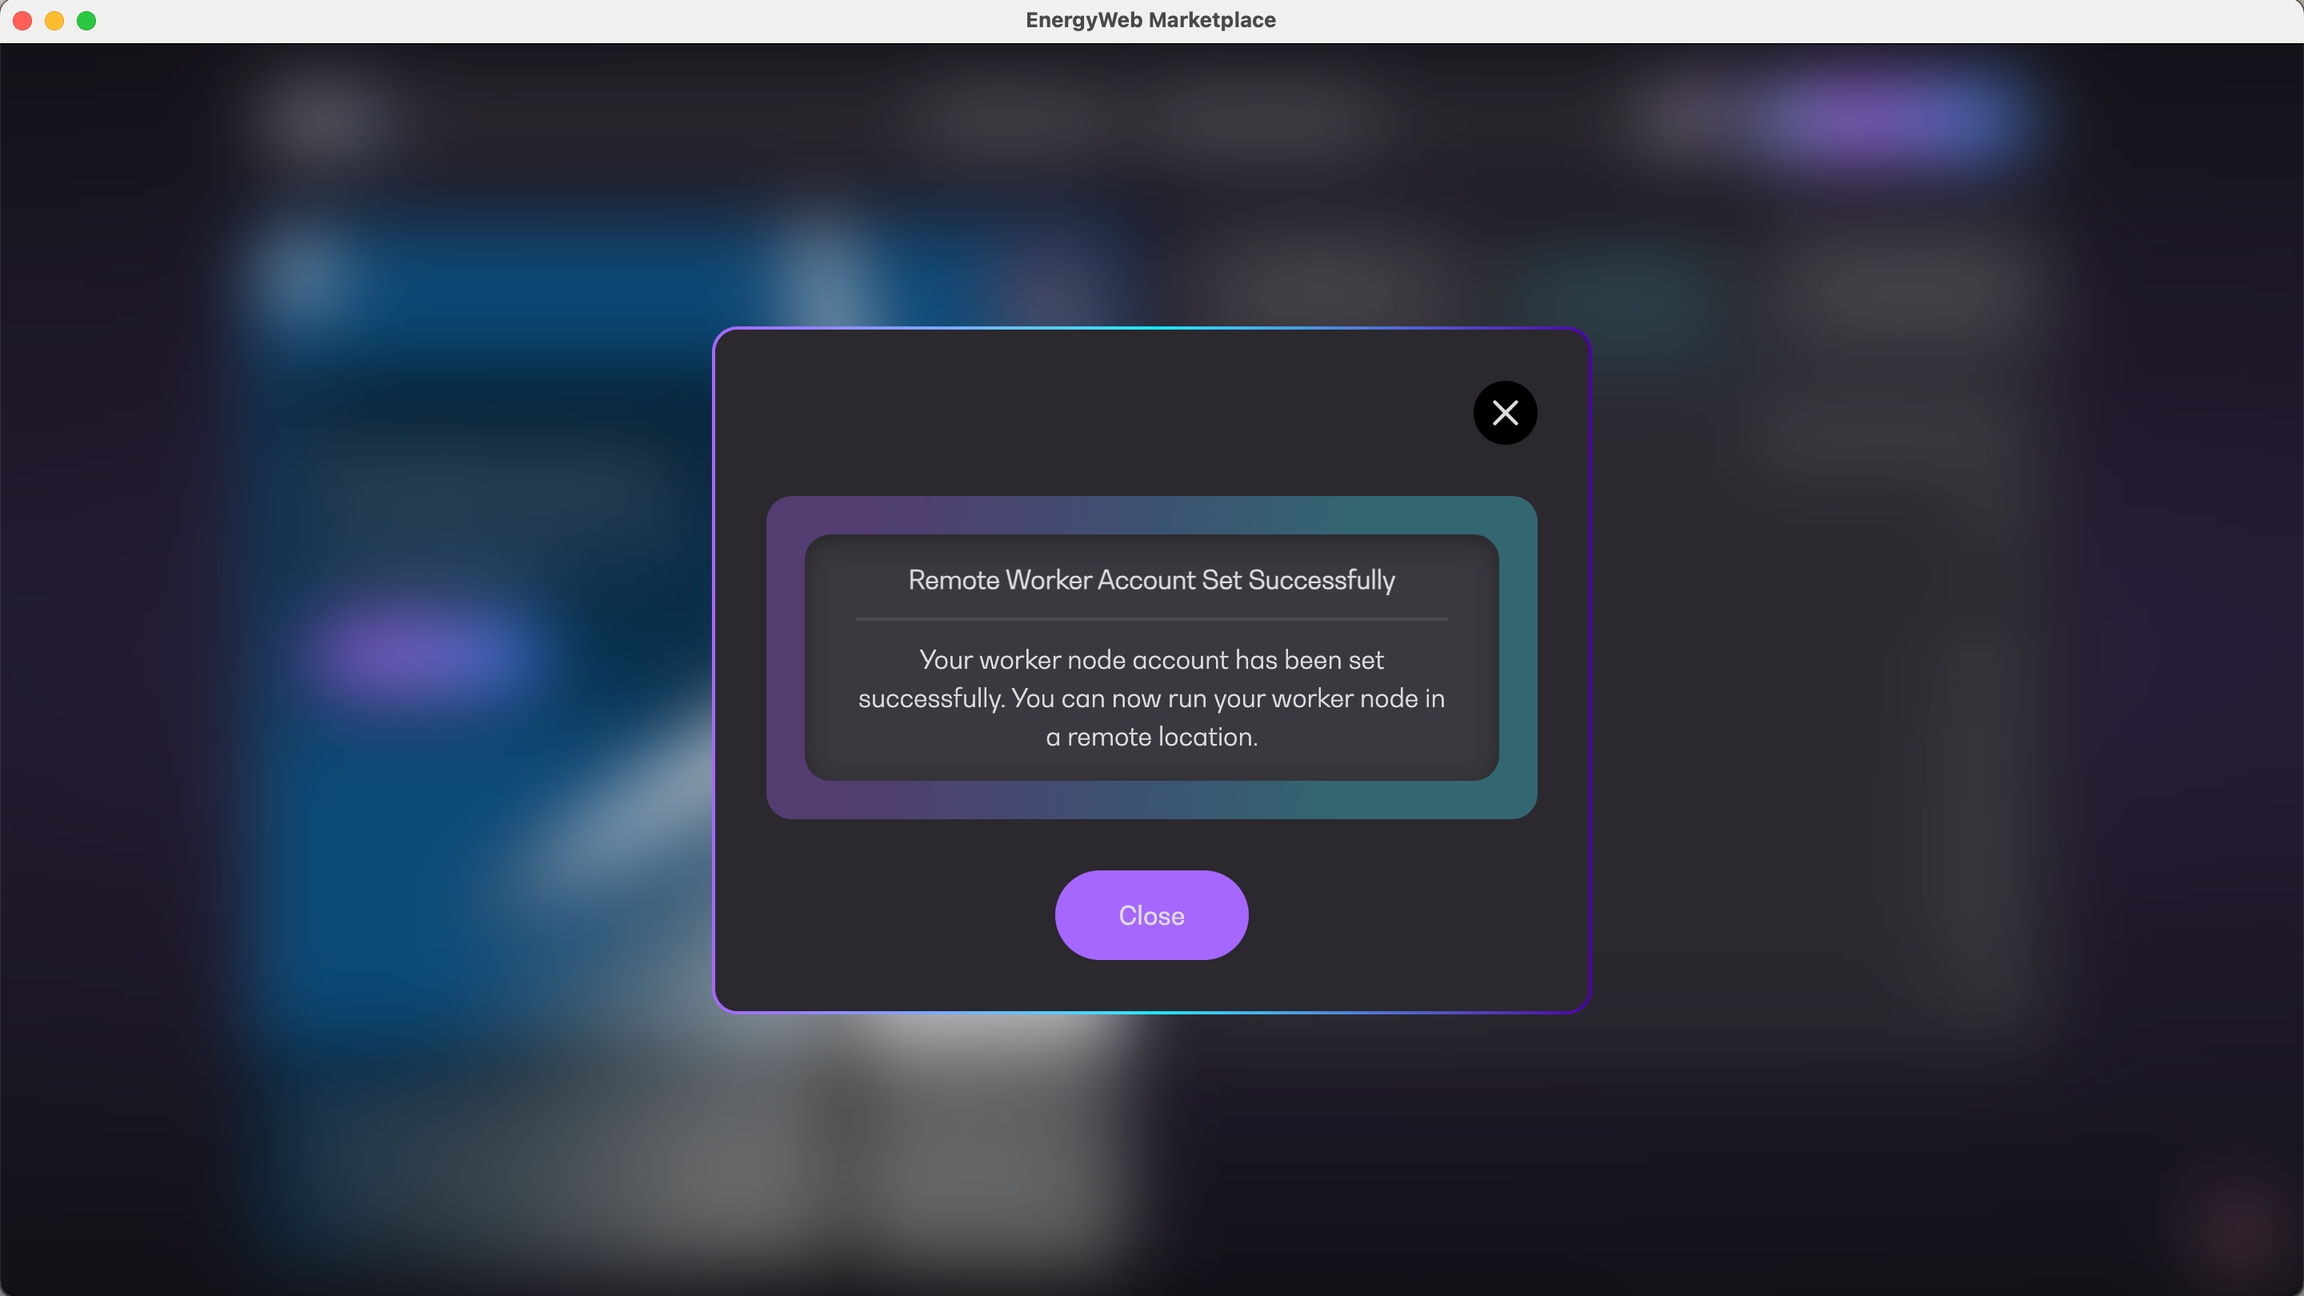
After setting your worker node public address above, you will be prompted to link your worker node account to your operator account.
The Operating Envelopes Partitioning is the most crucial step in the overall operating envelope passthrough process.
An "operating envelope passthrough" refers to a mechanism that allows for adjustments in the operational limits or envelopes of generating units or electrical systems. These envelopes define the safe operating conditions for various generation assets and network elements, helping ensure reliability and stability in the energy supply.
When unforeseen circumstances arise, such as significant changes in demand, generation availability, or system disturbances, the operating envelope can be exceeded. The passthrough mechanism enables market operators to make necessary adjustments to account for these situations, ensuring that the operation of the market remains secure and efficient. This process is vital for managing risks and maintaining grid reliability amidst changing conditions.
The process starts when the DNSP/DSO sends their operating envelope which needs to be partitioned accordingly, and forwarded to their respective aggregators. The partitioning process needs to take place in a fully trust-less and secured environment where data are pseudo-anonymized to protect aggregators' business interests.
The OEP solution aims to test the above business case. Below are the steps which constitute the OEP solution flow:
Fetch OEP request from the operating envelope sender every 30 minutes
Parse the operating envelope into JSON Object
Partition the operating envelope according to the aggregator using the NMI to aggregator mapping
Submit the root hash to EWX as a vote by initiating the EWX Marketplace App Integration node
To learn more about worker nodes, see .
Currently, EWF provides two (2) implementations of Worker Nodes:
🖥️
🗄️
In a nutshell, a Worker Node is a single processing unit in a network of nodes which has the ability to execute enterprise calculations, and submit votes to derive consensus-based, transparent results.
A general worker node typically involves below processes:
Sync operator subscriptions
Download and install solutions
Run solutions and cast votes
The worker node periodically syncs on-chain data for operator subscriptions. The syncing process informs the worker node that either a set of solutions is available to be installed (new subscriptions) or uninstalled (unsubscription or subscription expiry).
When the worker node is enabled to run the flows, it downloads the actual Node RED flow JSON files from IPFS using the CID. Subsequently, the flow files are installed in the local Node RED server bundled in the worker node itself.
An enterprise use-case is considered executing when the flow files get installed and are running in the Node RED server of the worker node. Each solution flow determines when and how the solution flow produces a result, and when to use the result to cast a vote.
Casting a vote simply follows below steps:
A solution is triggered to process the flow
The flow gets executed to produce a result
The result is transformed in to a Merkle Tree Root Hash
The flow requests for the worker to submit the hash as a vote
The worker enqueues the voting request
The worker submits the vote to EWX
Why does the result gets transformed into a Merkle Tree Root Hash? EWX nor the Worker Node never stores raw or calculated data unless the solution flow created by the enterprise themselves are designed and approved to do so after an extensive audit. EWX as a chain only stores the result hash for optimum performance and data security.
The Merkle Tree Root Hash can represent the actual calculated data as a single, unique vote. However, an adversary can never reverse-engineer the hash to derive the calculated or raw data. This ensures that the entire EWX ecosystem is secure and robust.
Here is a on how to deploy server-based worker nodes via .
Fetch to aggregator mapping from the NMI Registry. The NMI Registry is a backend API service which simply contains the mapping between NMI and aggregator.
Generate the of the partitioned data
Solution flows, which are currently in the form of flow JSON files, contain the actual detailed specifications and implementation of a specific business use-case. These are stored in a decentralized file storage called . The EWX registry stores the of the flow along with the rest of the solution metadata. These are stored locally in the worker node during the syncing process.
Please refer to potential for some examples of what a worker node can actually do.
A ZEL Request refers to a "Zero Export Limit" request. This request is made by generators or dispatchable assets to set their output to zero, often indicating that they are not able to inject power into the grid for a specific reason.
ZEL Requests can be relevant in several scenarios, such as:
Maintenance: When maintenance is being conducted on a generator, it may need to curtail its output temporarily.
Technical Issues: If there are technical problems that prevent a generator from operating safely or effectively, a ZEL Request signals that they will not produce energy.
Market Conditions: During high levels of generation leading to potential oversupply in the grid, generators might reduce output to maintain stability.
Market operators use these requests to manage the overall balance of the electricity supply and demand, ensuring system security and reliability.
The process starts when a retailer sends their ZEL request which needs to be partitioned accordingly, and forwarded to their respective aggregators. The partitioning process needs to take place in a fully trust-less and secured environment where data are pseudo-anonymized to protect aggregators' business interests.
The ZEL Request Partitioning solution aims to test the above business case. Below are the steps which constitute its solution flow:
Fetch ZEL request from the request sender every 30 minutes
Parse the request into JSON Object
Fetch NMI to aggregator mapping from the NMI Registry. The NMI Registry is a backend API service which simply contains the mapping between NMI and aggregator.
Partition the ZEL request according to the aggregator using the NMI to aggregator mapping
Generate the Merkle Tree root hash of the partitioned data
Submit the root hash to EWX as a vote by initiating the EWX Marketplace App Integration node


